Last Updated on November 12, 2025 by Michelle
If you know me, you know I had to do it…
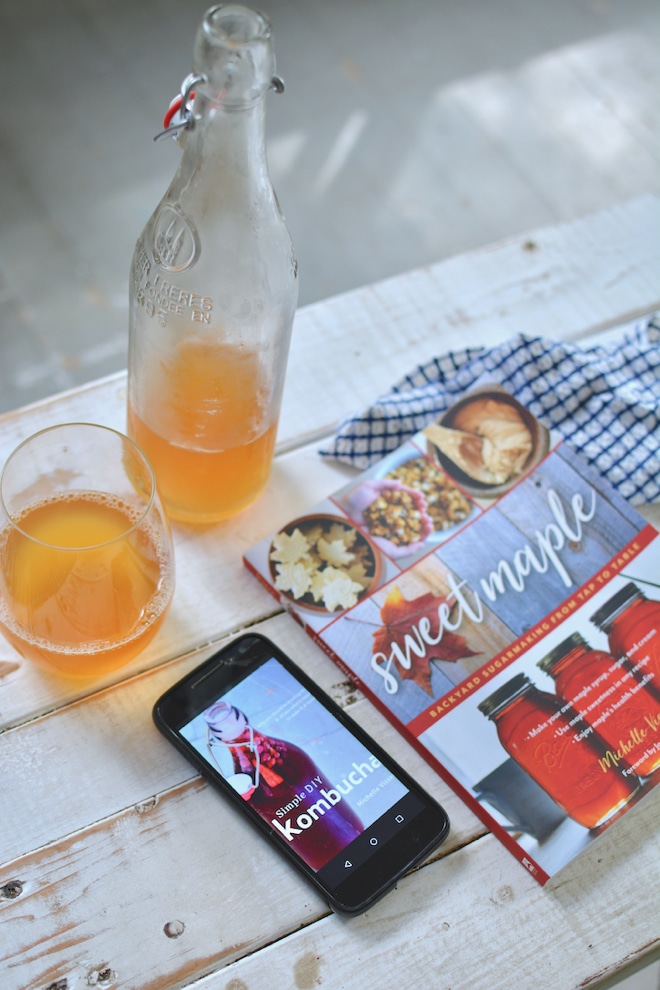
If you’ve grabbed a copy of my brand-new book, Sweet Maple (affiliate link there), you know I’m bound and determined to make everything that I can with the best choice of sugar known to man… all-natural maple syrup.
So, yes, I had to start making my kombucha with maple syrup.
This post explains 3 ways you can go about making maple kombucha in your first ferment, meaning your total sugar base is all-natural maple sugar. Another option is to add maple syrup to a second ferment. In that case, you could feed your scoby (in the first ferment) any sugar source you want and use maple syrup to sweeten your second ferment.
But that’s not what this post is about… More about that another day. (For now, see links at the bottom to some of my favorite second ferment recipes.)
If you need a scoby…
Save $$ on this organic scoby with code SOULYRESTED.
How to make maple kombucha
This post will help you brew a completely all-natural kombucha without a hint of refined sugar. Now that’s sweet, am I right? 😉
If you’ve stumbled upon this post and have no idea what this “kombucha” and “scoby” stuff is you might wanna go here for more info on all that. Or check out this post for the full scoop on what you’ll need to get started.
Folks said I was crazy.
So there I was, sitting back sipping my kombucha one afternoon right after I had sent my final edits on Sweet Maple (affiliate link) to my publisher and it hit me. I needed to ditch the refined sugar in my kombucha and try making it with maple.
When I first got this idea to make maple kombucha, folks seemed to think I was crazy. (That’s okay, it certainly wasn’t the first time.) I couldn’t find anywhere as a reliable source for how to do it either. Those sources I did trust told me it couldn’t be done and I would kill my scoby. So I knew two things…
- I would prove everyone wrong (or kill a scoby or two in the process… one or the other)
- I was alone in this experiment of making a maple scoby.
So I put on my big-girl pants and got to work in the kombucha corner of my kitchen.
Fast forward a few seasons, I’m loving my successful experiment of maple kombucha, and I stumble across an intriguing, hot-off-the-press article about findings at the Cornell Maple Program that suggests the public is longing for maple kombucha. Go figure!
Little ole me, sitting here in my little ole farmhouse kitchen, tucked away in little old nowhere… I was doing what the scientific geniuses at Cornell were doing! The article went on to explain that there’s an overwhelmingly positive response from the general public who is loving their maple kombucha. Well, duh.
That’s what I’ve been saying!
This is seriously good stuff guys! And, creating an amazing organic scoby that has only ever lived on pure, all-natural maple syrup? Well, I feel as brilliantly happy as any Cornell genius ever could!
Here are more drinks I love making with maple!
Try this delicious Maple Apple Cider. (A fall favorite of mine.)
I love making Maple Lemonade. (A refreshing summer drink.)
This Maple Switchel is another gut-healthy drink (and it doesn’t require a scoby).

How to make a maple scoby.
I took three approaches to growing a maple scoby.
Well, okay, to be honest I only took two approaches. The third one just happened, and I can take no credit for any effort at all on the third option.
- You can convert a current scoby.
- You can grow a new scoby.
- You can let your kombucha grow a new scoby.
Today we’ll look at all 3 options… the ones you have to work at and the one that takes no brain power at all.
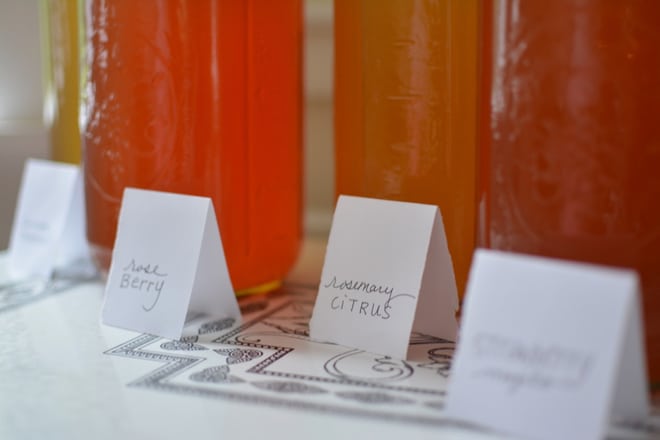
Once you get the hang of this, the sky’s the limit on the amazing kombucha flavors you can start creating. (I share lots of tried-and-true second ferment recipes in Simple DIY Kombucha.)
Converting a scoby from refined sugar to maple syrup
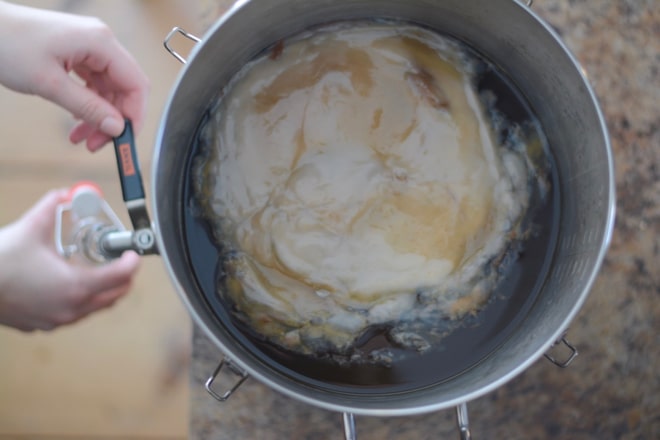
First, I took a new scoby from my established one and started a new batch of kombucha that I fed a little less refined sugar and a little more maple syrup gradually, each time I brewed a new batch. This slowly got the scoby used to a new food source and prevented starving it before it learned to adjust. You can totally work this out in your own estimates and adjustments… just be sure to write it all down. Trust me, you think you’ll remember it, and then you totally don’t. Not that I’ve ever done that. 🤫
Or feel free to check out my kombucha Master Class for all the nitty-gritty details. Basically, let me do the trial and error, and make the mistakes, and then teach you all I learned.
In my crash course, Simple DIY Kombucha, you’ll find the exact schedule I followed as I converted my refined sugar scoby over to a 100% maple scoby, all laid out in an easy-to-follow format, that worked for me, over 6 brew cycles. It took about one month and my scoby was thriving on pure maple syrup.
Growing a new scoby with maple syrup
Make your own maple scoby is surprisingly easy and probably the best way to have your own maple-based scoby. Oh, and sidenote–you can follow these same steps for any kind of scoby, fed with any type of sugar.
You do need a little floater of a tiny piece of scoby in order to grow a new one. I found one in my current brew and used that. If you already make your own kombucha, they are ultra easy to find. There are little floaters of scoby floating around in kombucha all the time. Tiny is fine.
If you don’t brew your own kombucha yet, you’ll have to make a trip to the store and inspect all the unflavored kombuchas for sale. Turn the jars upside down and around until you find the best floating specimen of scoby. Or until the produce manager kicks you out for manhandling the drinks. Whichever happens first. 😉
Place your tiny scoby “floater” in a little bit of tea that you brew just for it. You’ll want to combine 1/2 cup hot water with 1/4 TB of loose leaf tea (or 1 tea bag). If you’re new to making kombucha, there’s plenty to learn about what teas to use, but for now you’re safe to choose a simple non-flavored black tea.
Check out Simple DIY Kombucha for a break down of the best types of teas to use when brewing kombucha and the ones I personally have had the most success with that you’ve probably never heard of.
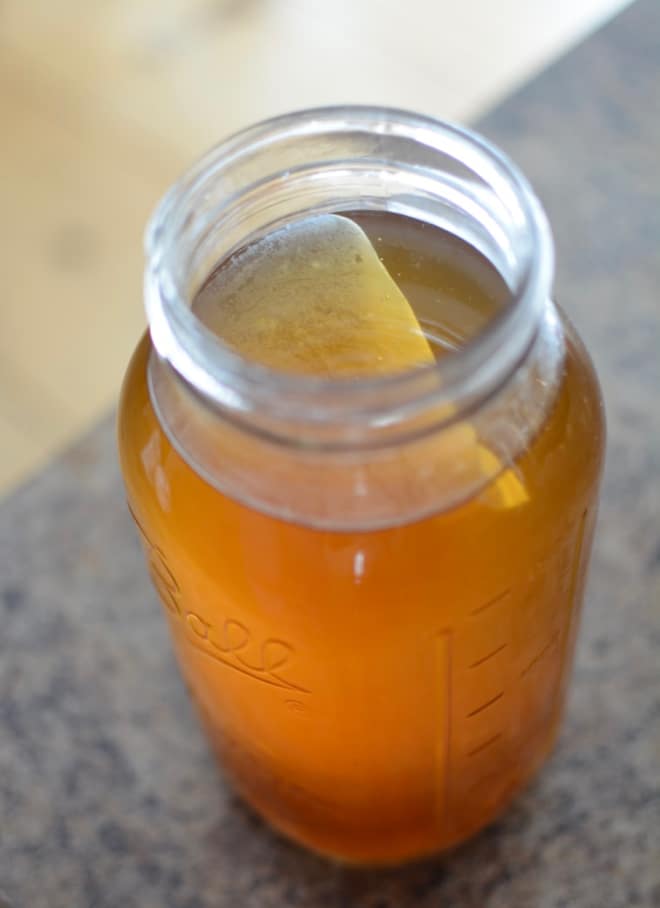
When nice and dark, add 1 TB maple syrup and 1/2 cup cold water. Make sure it’s cooled to room temp before adding in the tiny scoby wannabe. That part is super important!
Secure a piece of fabric over the jar, so your little bit of brew can create and take on the good bacteria in the air. Then let natural goodness happen. Ideally, set your jar in a warm area, 68-85°F, but not in direct sunlight, and let it be, untouched, for a week or two.
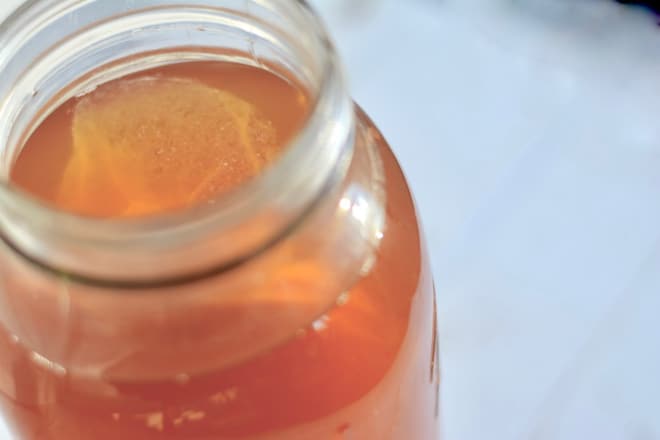
About a week into your science experiment, you may notice the scoby doing its magic. It will be a clear film across the liquid. Over time, it’ll become thicker and less translucent. Most likely you’ll need to wait a month or so until your scoby is thick enough to actually brew some kombucha.
If you give it 3 weeks and see no difference in your concoction—no sign of scoby growth—you’ll need to toss your little experiment; recite Edison’s brilliant quote, “I have not failed, I’ve only found 10,000 ways that won’t work;” and try again. And don’t worry, I’m positive you won’t need to do this 10,000 times before you succeed.
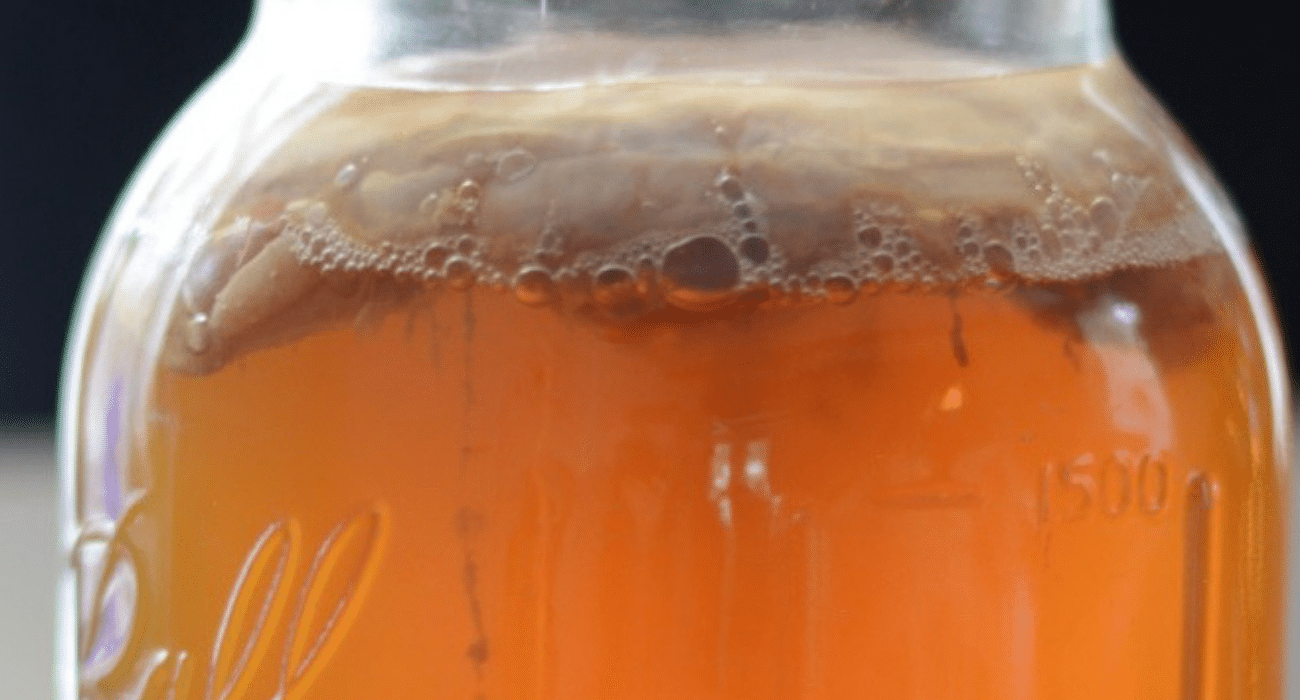
Letting your maple kombucha grow a scoby
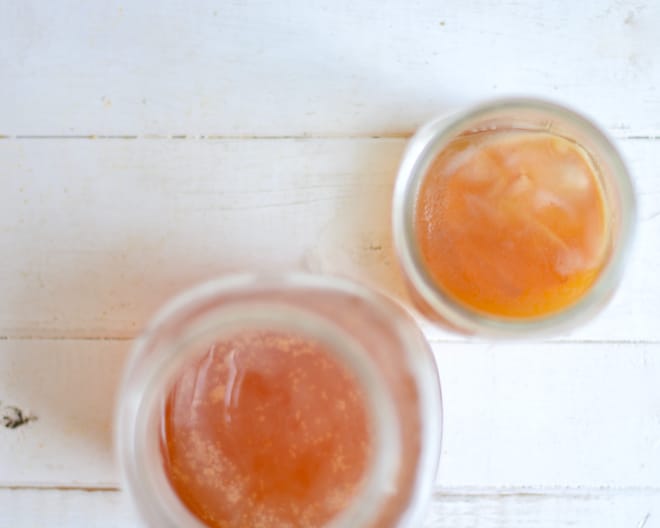
It may not look like much, but that picture above? That right there is Maple Scoby Kombucha Success. On the right/top is the beautiful scoby I grew from scratch. When I first decided to go for this kombucha goal, I thought for sure I would fail, but boy was I wrong. It was super easy and so exciting to watch gut health form and grow right there in a mason jar on my counter.
On the left/bottom is an even crazier success. While I was eagerly trying to grow my own scoby, one started forming totally on its own in another jar of kombucha that I was transitioning to maple syrup. In the second ferment. (Again, we’re not talking about second ferment maple kombucha today. I’ll have to write about that topic soon.) While the jar was totally sealed. I wasn’t trying to do a darn thing but make a bottle of kombucha. Crazy, but true.
The longer time went on and the more I made kombucha over the years, I realized this wasn’t unusual at all. These scobys really do seem to take on a life of their own sometimes.
But really, isn’t that just like life? You labor hard and hope big and then, out of nowhere, you realize another blessing right there in front of you that you didn’t see coming or do anything to deserve. I never would have thought I’d see an analogy for God’s grace in a symbiotic culture of bacteria and yeast in my kitchen. I never would have thought I’d WANT a symbiotic culture of bacteria and yeast in my kitchen… but oh was I wrong. On both accounts.
Fyi, never use a second-ferment scoby as your primary one for new batches. I feed mine to the chicken–they LOVE it–but it’s also great to add to your compost pile.
How long does it take to grow a new scoby?
You can grow a new scoby from scratch in a month or less. If your kitchen is warm it could only take a few weeks.
On the other hand, if your kitchen is cool, the scoby formation could take even longer than a month. In general, if you’re able to keep your kombucha at an average temperature of about 70°F, you’ll have a new scoby in no time, sending out glorious strands of yeast and making oh-so-good-for-you fermented goodness.
If you’d like to monitor your kombucha temperature, that’s extra easy with a handy stick-on thermometer. This is the one I use.
I applaud you that you’ve made it this far into this crazy-long post! You obviously care about your gut health (or you just like to try fun new things), and you’re obviously a fan of maple syrup.
You may want to check out my new book, Sweet Maple. (affiliate link) For a peek inside and a long list of reviews, glance right here.
More kombucha and maple goodness you’ll love:
Go here to find out the full scoop on every product I use for making kombucha.
This article shows you how we cut the cost of making maple syrup IN HALF. Seriously.
Enjoy 10% off this organic scoby with code SOULYRESTED.
“So whether you eat or drink or whatever you do, do it all for the glory of God.”
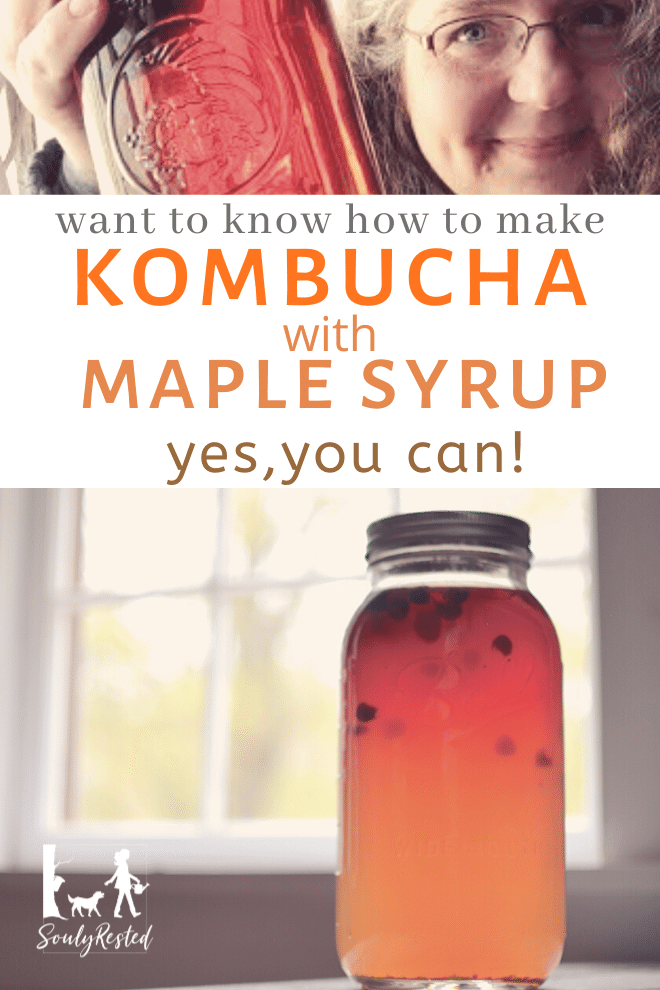
Pin this for later!
Click on the image below to pin this post.
I do want to make kombucha. I need to print this info out so I can make notes. I habit your book but did not see the directions in it. I saw a maple switchel but no kombucha.