Last Updated on November 6, 2025 by Michelle
I’ve been fermenting foods for a decade now, but I think I just may have done my favorite fermenting to date.
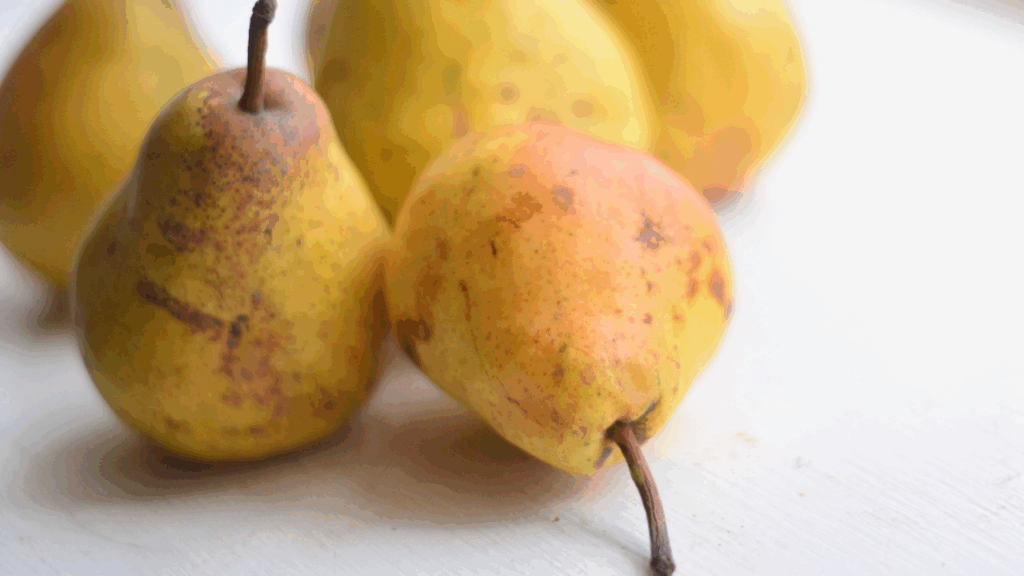
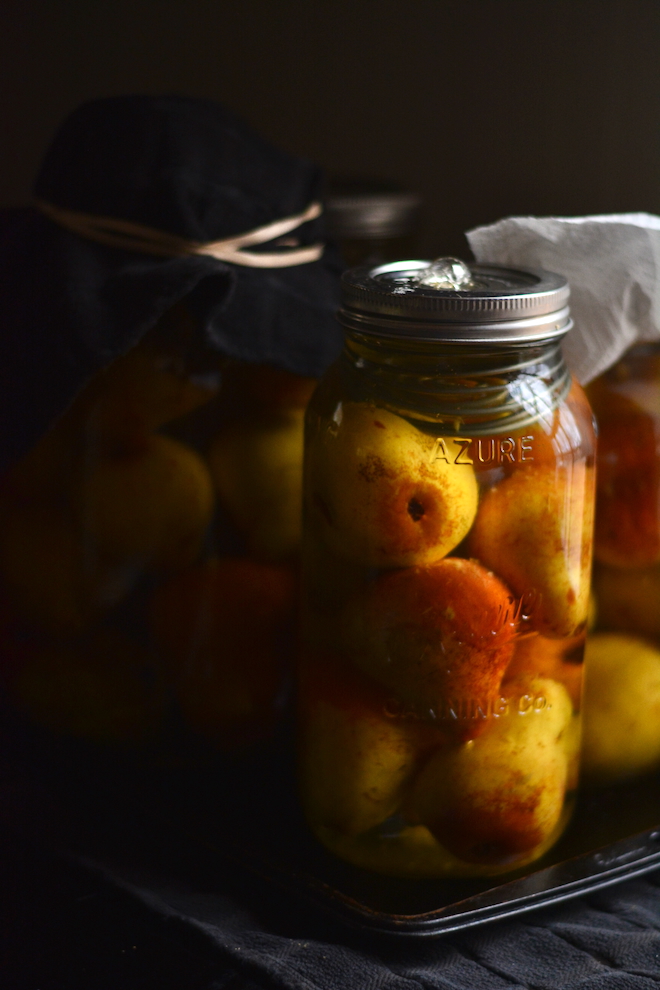
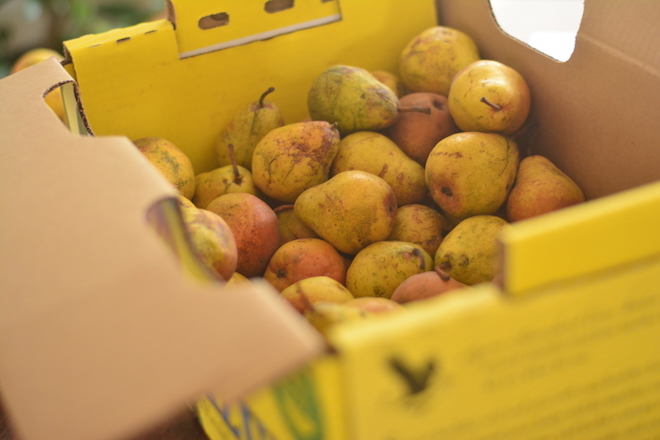
I hesitated if I would like fermenting whole pears, but the organic ones I ordered from my favorite independent food supplier were the perfect size to be able to ferment 8-10 of them whole in a 1/2-gallon jar and I decided it would be an awesome treat on the dark cold winter nights to pull out a whole pear to enjoy, if it worked.
Man oh man am I glad I was adventurous and went for it. These are SO good.
They’re carbonated pears! You need to make these.
What do fermented pears taste like?
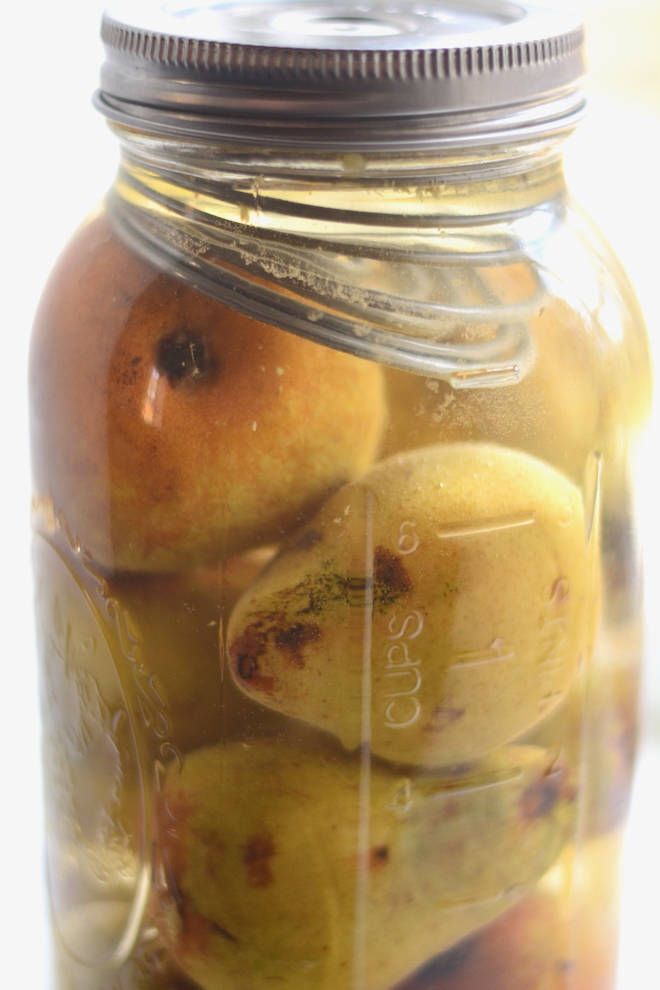
Fermented pears taste exactly like fresh pears, just a little mushier (it’s great to ferment slightly green pears if you want them less mushy) and quite carbonated. Seriously, who wouldn’t love bubbly carbonated fruit? (Do you see the bubbles bursting out of that jar above? Yeah, baby, bring it on.)
Why should you ferment fruit?
The main reason I ferment fruit is to keep it longer. I hate canning, and honestly it doesn’t produce results that are as delicious as when I ferment.
I also love that fermented food is 1000x better for us than any processed food. (Not a scientifically baked statistic, but it’s definitely true.) And bonus, fermented food captures good bacteria in the air and then when we eat it we are helping our microbiome by replenishing the good stuff in it.
How do you store fermented fruit?
Typically, I store my fermented fruit in the fridge. When I’m fermenting peaches or fermenting blueberries, I separate the fruit from the brine when it’s time to store the fruit in the fridge, otherwise the fruit will become total mush.
But with these whole pears, I’ll leave them in the brine, since they’re so large and won’t go mushy as easily. Since there are only 8-10 in a jar they won’t last more than a few days in my fridge anyway. But I could also store them separate from the brine.
For the whole pears that I’m going to store in my root cellar, they definitely have to be stored in the brine.

Fermented Pear Recipe
What you’ll need:
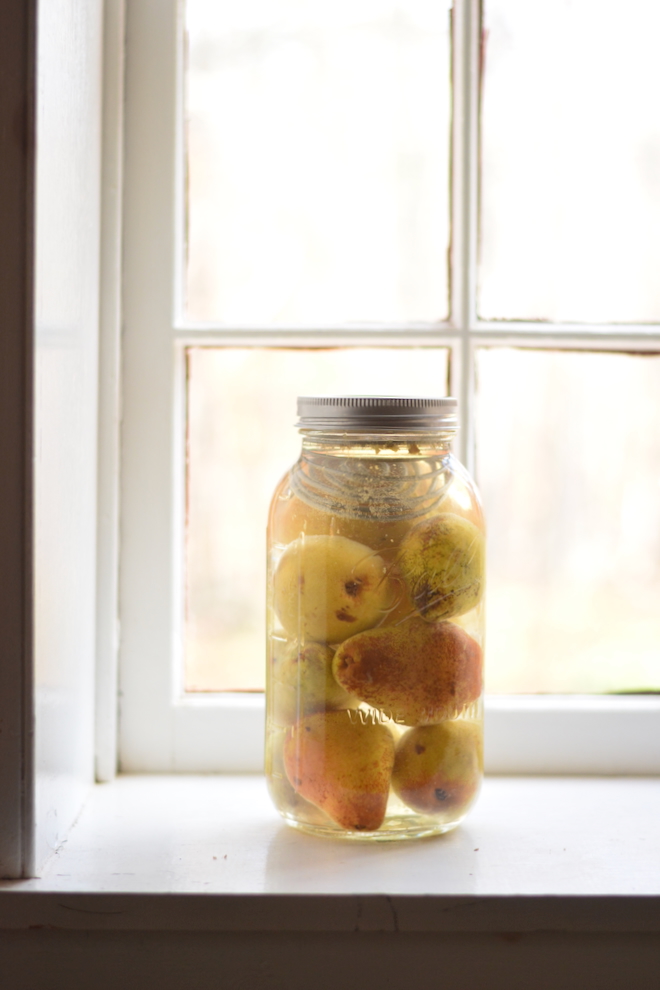
A large wide mouth jar. I used this one.
8-10 small sized organic pears. (I got mine from Azure Standard.)
1 tsp chopped fresh ginger
1/4 cup sugar
1-2 TB kombucha starter tea (see notes)
Directions:
- Wash your pears in water. No need to scrub them. We want the natural microbes on the skin to do their job and make some ferment magic.
- Place them in the jar. I needed to spend a minute or two finagling them until I could fit the most possible.
- Add your ginger, sugar, and kombucha starter tea.
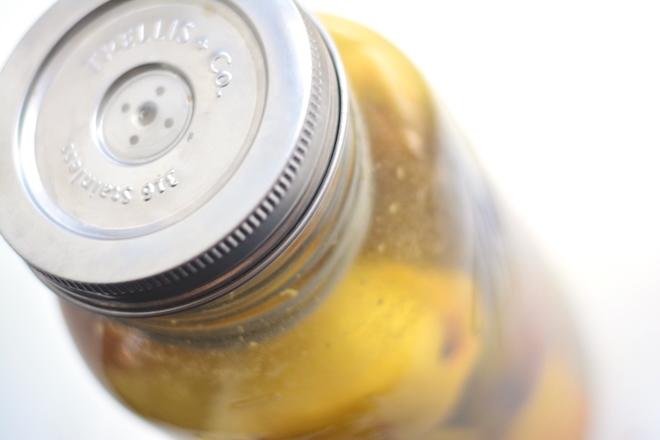
- Top with a ferment spring and lid (or anything you have that will keep the pears on the top submerged in the brine and bugs out of your jar).
- Place your jar on a plate, to catch the brine as it bubbles out in the days ahead, as the lactic acid builds up.
- After about 3-5 days, remove the fermenting spring and lid, replace with a standard lid, and place the jar in your refrigerator.
Notes about fermenting pears
- Any fermented starter would work. If you make cheese, use some whey; if you make water kefir, use some of the liquid.
- If you don’t have a starter culture on hand, like kombucha or whey, you can still ferment your berries, just grab this 6-pack of starter cultures. You’ll only need 1/2 of 1 packet for this recipe.
- I used raw cane sugar instead of a more expensive all-natural sugar option like I normally use (like maple syrup or honey or one of the great options in this Ultimate Guide to Choosing Sugars). This sugar is just there to feed the good bacteria, it’s not so much for us.
- This fermenting kit has ingenious springs that do an amazing job keeping your food submerged in the brine and lids that keep your ferment breathing yet keep out what you don’t want in your ferment. I have 3 sets and need more.
- You can definitely also cut up your pears, into slices or cubes, before fermenting. I do that too.
- If you’d like to know how to make your own kombucha, I got ya covered with everything you need to know about Simple DIY Kombucha.
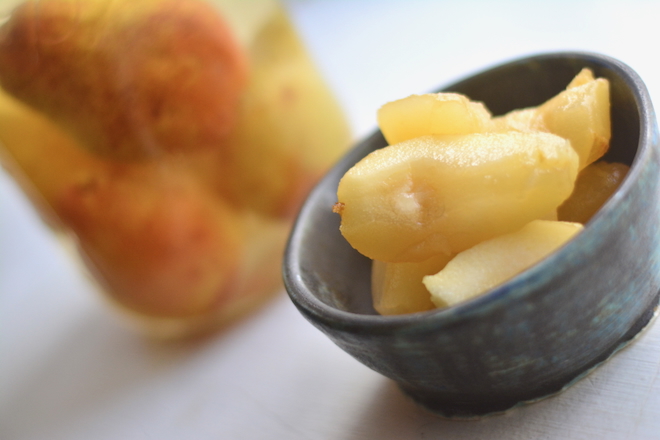
How to eat fermented pears
If I ferment my pears whole I like to eat them whole with breakfast, or for a mid-day treat or late-night snack. I will sometimes eat them without cutting them, but they are a little soft and messy that way, so more often I will cut them into fourths and enjoy them that way.
But fermented pears are honestly delicious to enjoy in any way you’d enjoy pears. They’re delicious:
- over oatmeal
- mixed in cereal and milk
- on top of a tossed salad
- on top of vanilla ice cream
- mixed in yogurt
- blended in a smoothie
Fermented Pears
Ingredients
- 8-10 small organic pears.
- 1 tsp chopped fresh ginger (optional)
- 1/4 cup sugar
- 2-3 TB kombucha starter tea see notes
Instructions
- Wash your pears in water.
- Place them in the jar.
- Add your ginger, sugar, and kombucha starter tea.
- Top off jar to completely cover the pears with water. (See notes.)
- Top with a ferment spring and lid (or anything you have that will keep the pears on the top submerged in the brine and bugs out of your jar).
- Place your jar on a plate, to catch the brine as it bubbles out in the days ahead, as the lactic acid builds up.
- After about 3-5 days, remove the fermenting spring and lid, replace with a standard lid, and place the jar in your refrigerator.
Notes
- Use room temperature water and then add a lid and agitate jar so sugar starts to dissolve. Or feel free to mix your sugar and water with the water at a warmer temperature, as long as you let the mixture cool to room temperature before adding it to your jar of pears.
- If you don’t have a starter culture on hand, like kombucha or whey, you can still ferment your berries, just grab this 6-pack of starter cultures. You’ll only need 1/2 of 1 packet for this recipe.
- I used raw cane sugar instead of a more expensive all-natural sugar option like I normally use (like maple syrup or honey or one of the great options in this Ultimate Guide to Choosing Sugars). This sugar is just there to feed the good bacteria, it's not so much for us.
More on Fermenting Food:
- Foods to eat for gut health (podcast episode)
- How to ferment blueberries
- How to ferment cherry tomatoes
- The Cost of DIY Kombucha
- Making sourdough without wasting discard
–> AND DON’T MISS THIS! … Go here to grab my FREE 8-page Pantry Checklist, loaded with discount codes on my favorite things in my kitchen. You’ll be glad you did.
“He satisfies the thirsty and fills the hungry with good things.” Psalm 107:9
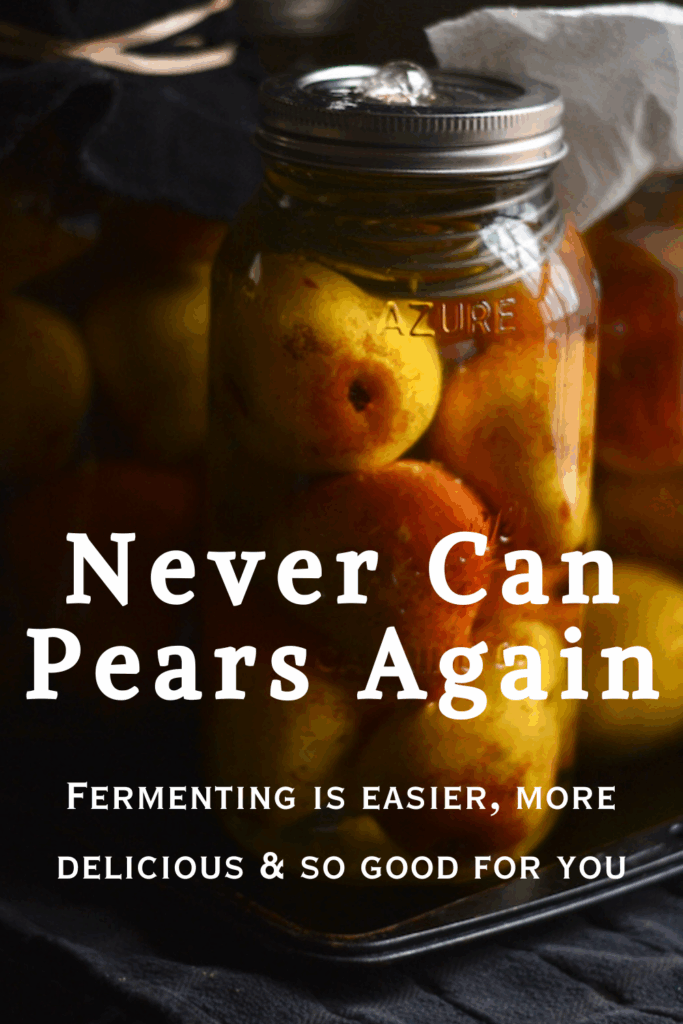
Pin this for later!
Click on the image below to pin this post.
If you haven’t tried it, I just learned you can use the liquid as a sourdough starter too! Amazing how everything can work well in other processes!
Whoa!! I never thought of that!! Have you tried it?
Can I use the whey from straining my yogurt?
yes! that should be great.