Last Updated on July 8, 2022 by Michelle
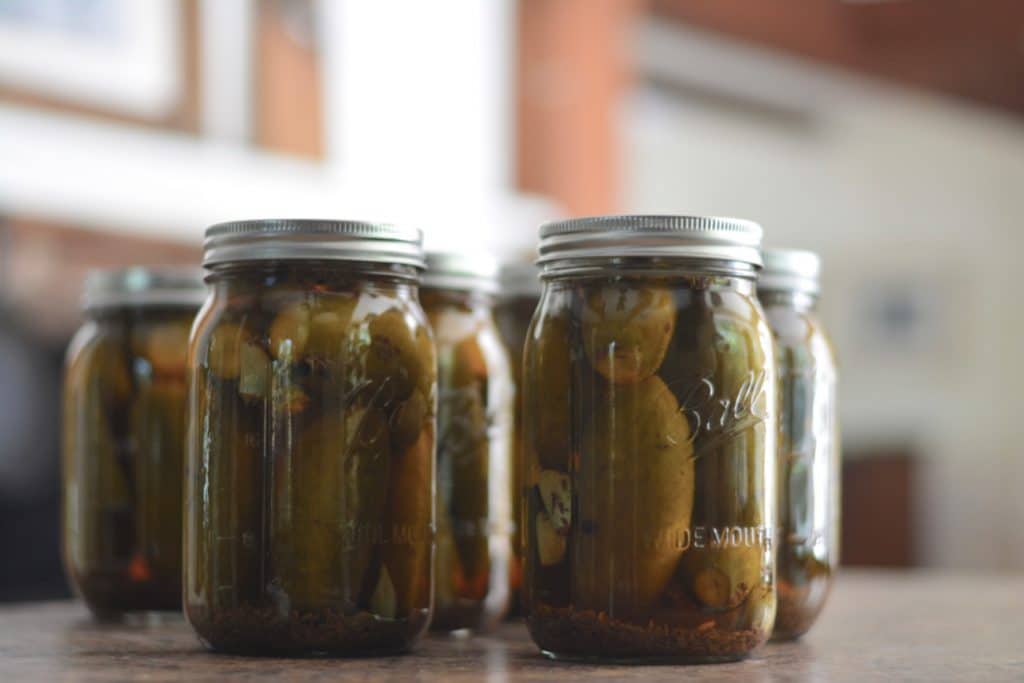
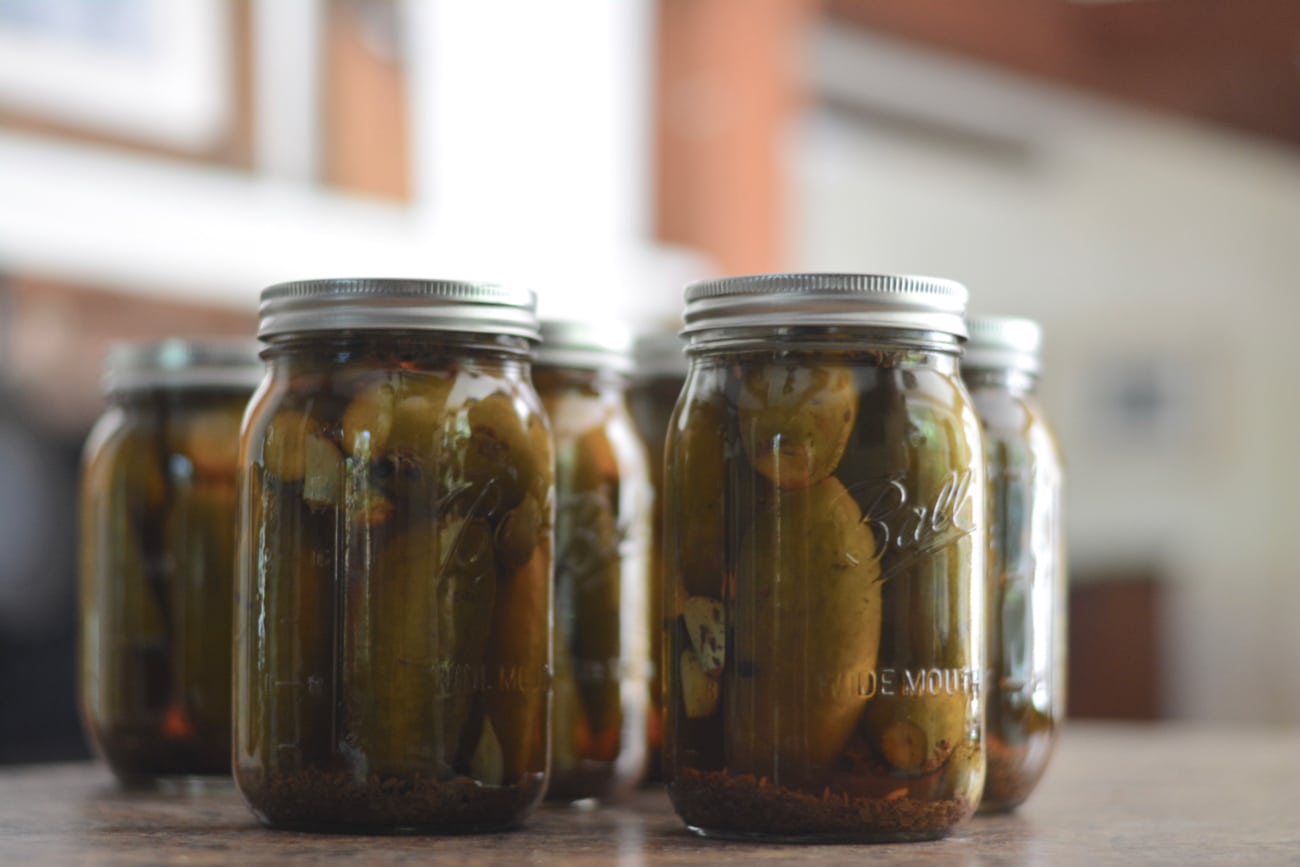
Nobody wants to put the effort into canning dill pickles nd wind up with mush. We all want a wonderfully crispy pickle, no? This article is packed with all I’ve learned over the years to make delicious, crisp, dill pickles. Every time.
Choosing what cucumbers you will plant
I personally choose to grow two varieties of cucumbers: one specifically for making into dill pickles and ones for eating–sometimes in salads, and sometimes while still in the garden.
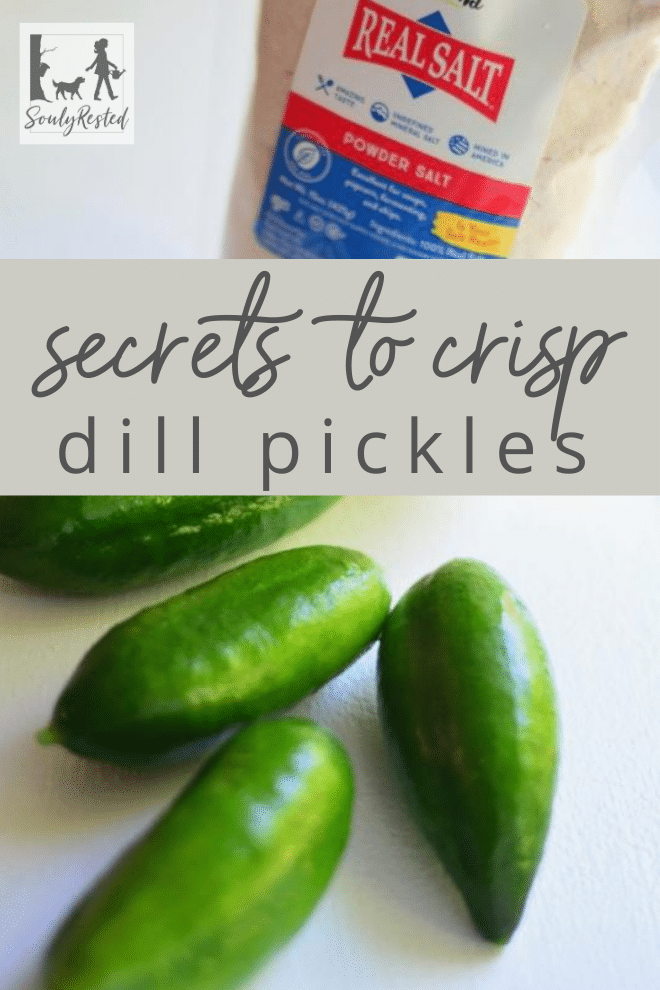
But I always struggle with which I want to have more of–pickles or cucumbers–so for my standard cucumber, I always choose a variety that will can well, in addition to tasting great straight off the vine, like this one. If I want to make pickles with this variety I will pick them earlier, when they’re about 3-4 inches long, and if they’re for my salads I’ll let them mature into a slightly longer length.
You might want to pass over the thin-skinned varieties, like the English hothouse cucumbers, if you want them to be dual-purpose. The thinner skinned cukes don’t withstand the 15 minutes of being in the hot canner very well, and they are more likely to wind up soft and wimpy–not the kind of adjectives I like to use for my pickles thank you.
Even so, having said that, I will tell you I canned wonderful pickles last year with these burpless cucumbers, harvested small and young.
Knowing the right time to pick your cucumbers
I often wonder if any variety of cucumber will make tasty, crisp pickles if you harvest them at the opportune time and follow the tips below.
The age you harvest them is very important. Too young and thin-skinned, and they won’t be crisp on the other end of the pickling process. On the other hand, if they’re too old, their skin will be too tough and their seeds will be large and bitter.
How can you tell a cucumber’s age? Size is the best indicator, once you know your variety and how large it gets at maturity. I never let a cucumber stay on the vine until full maturity, well except for those sneaky ones that hide in plain sight and I somehow never see until they’re a foot long. I like to pick the cucumbers on the small to medium size, when the skin is not as tough and the seeds are smaller. You can always take a bite of one, right in the garden, to know if it’s the right size. If it’s not bitter and has a nice crunch, you have yourself a keeper.
Equipment you’ll need
The equipment absolutely matters when it comes to canning.
For instance, I’ve tried the no-name mason jars. Many times. And I’m never happy with them.
They are an odd size when trying to fit in the canner and, since they tend to be a tighter fit, have lead to more than one cracked jar, which kinda drives me insane. So yeah, the few bucks I saved when I had the momentary loss of brain power and bought no-name canning jars was in no way worth it.
If you’re looking for a great online source of mason jars, and a whole lot of other great canning gear, look no further than this amazing family-owned business.
Canning tools (this is the one I have, but for this recipe I only use the funnel and jar lifter)
Canning pot and a rack (this is the one I have) that will hold your jars securely while boiling
Tips For Canning Crisp Dill Pickles
- Add a 1/2 tsp of black tea or a grape leaf to every quart-sized jar. They both release tannins, which are naturally occurring compounds that inhibit the enzymes in cucumbers that make them go soft. If you’re using black tea, feel free to just open a few tea bags you have around and measure 1/2 teaspoon into each jar. I always have black loose leaf tea in the kitchen for making kombucha, so I use this tea for both making kombucha and canning pickles.
- If possible, pick your cucumbers out of your garden early in the morning, before they’ve exerted any energy that day.
- Process your pickles as soon as possible after picking them. The water in cucumbers begins to evaporate as soon as you pick them, which means they start to soften.
- Choose smaller cucs when you can… the giant ones are much more likely to make mushy pickles.
- Don’t over process your pickles, leaving them to boil any longer than needed.
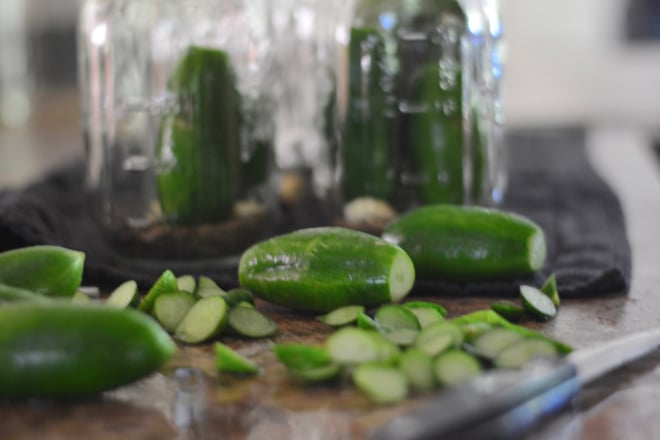
- Make sure to cut off the blossom end of the cucumber. The blossom contains an enzyme that can change your pickles’ chemical balance and make them soft. From what I understand, the vine end of the cucumber doesn’t have this enzyme, but because it can be hard to distinguish which end is which, it’s an easy practice to simply cut off both ends.
Choosing your ingredients
In addition to choosing perfect cucumbers, you want to use the best ingredients, all around, for the best pickles.
Choosing your Salt
I only use Redmonds Real Salt because I know exactly where it’s mined and exactly what’s in it. Salt and minerals.
No added chemicals, thank you.
If you’d like to snag some of this amazing stuff, use coupon code SWEETSALT for 15% off your entire order right here.
You can use any variety of Real Salt that you have on hand, but if you’d looking for the perfect one for canning, I’d recommend this one. It’s the finest salt you’ll find anywhere and that means it dissolves super easily and the mineral chunks are smaller.
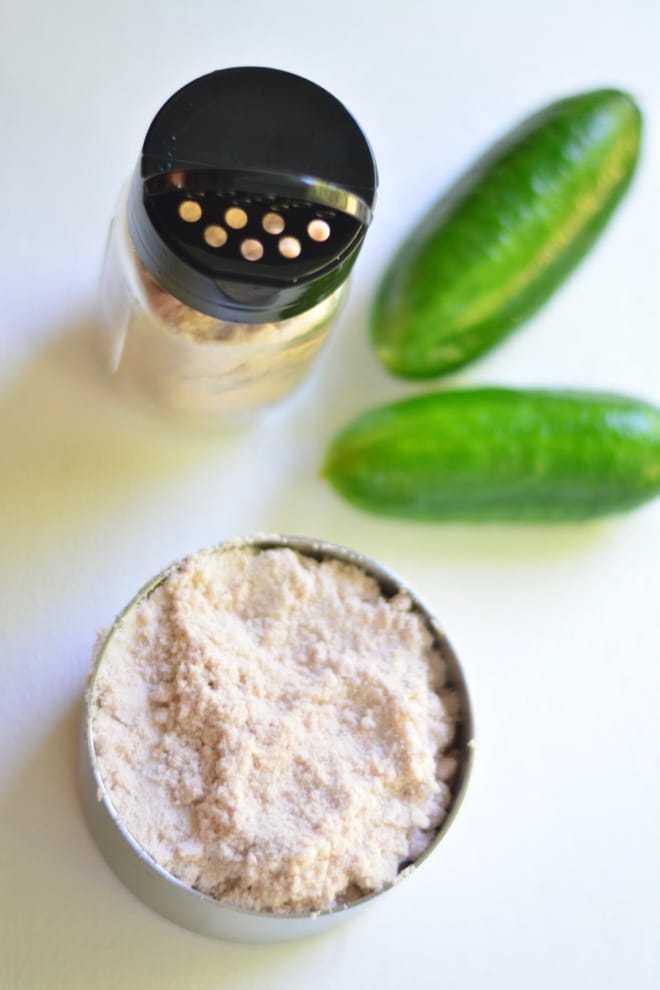
But aside from all the health benefits of using only a genuine real, mineral-laden salt for canning, the brine is gorgeous and it turns my pickles into stained glass beauties.
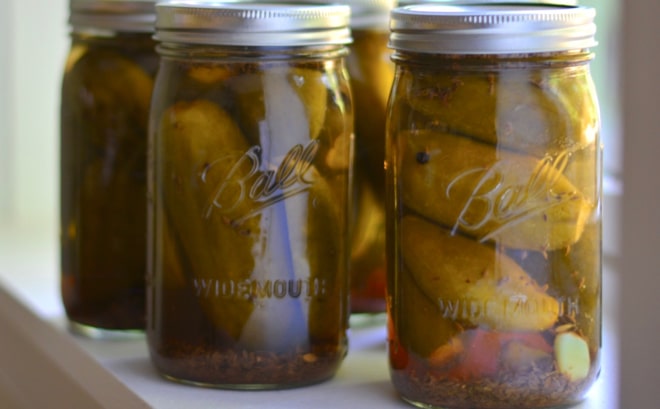
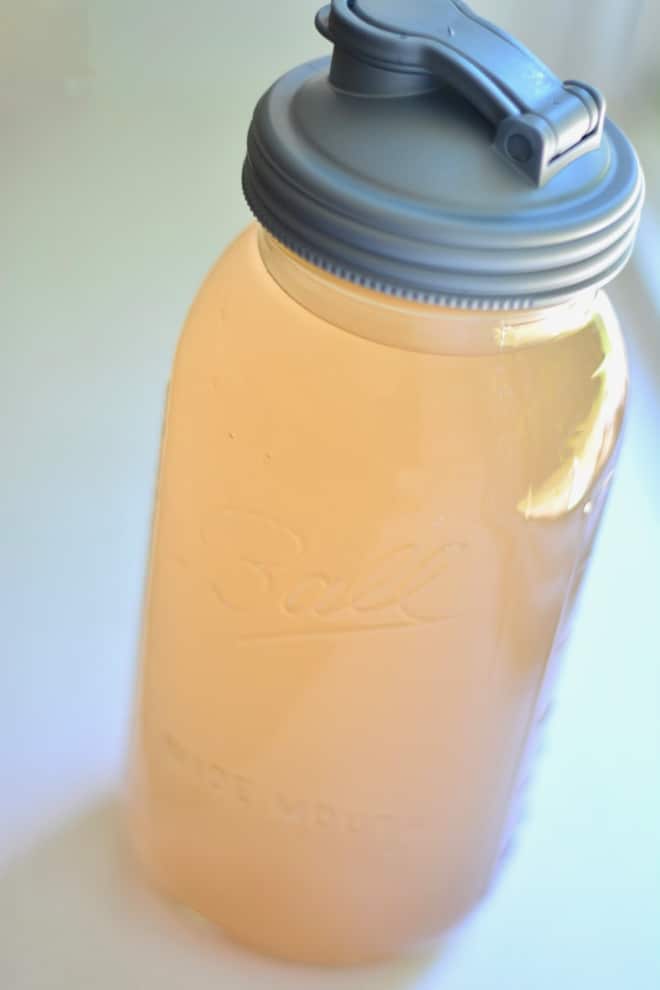
If you make too much brine, no problem, just store it in the fridge until you’re ready to can another batch of pickles.
Side note, I remember being concerned the first time I made a brine with this mineral salt, because the minerals settle to the bottom after it sits for a little while. I opened the fridge a few hours after making my pickles the first time and was greeted with clear brine and lots of pink sediment.

I spoke to Redmonds and confirmed that when minerals are in their pure form and most natural state, they actually will not fully dissolve. Because this salt is 100% natural, the brine will always separate as the minerals settle to the bottom of the jars, and this is totally okay. The salt itself is fully dissolved, just the pink colored minerals settle to the bottom until you give it a stir.
Choosing your Dill
Because our family loves cucumbers I plant a lot. And I pickle a lot. So I like to buy my bill in bulk for a much better price than I can find locally. At the grocery store, the little container of dill isn’t cheap and I’d need a couple just to do one batch of pickles.
So I was super happy to find this source for whole dill seed. I love that it’s in 3 separate sealed bags that will keep for many years. And I love that when I open a new bag the contents are the perfect amount to do 1 batch of 7 quarts of pickles, then the rest fits perfectly in a quart sized jar that I store in a cool, dark pantry. I’ve stored a quart jar like this for many years, and it’s still nice and fresh and makes delicious pickles.
If you’re just looking for one bag of dill seed, this is a great option.
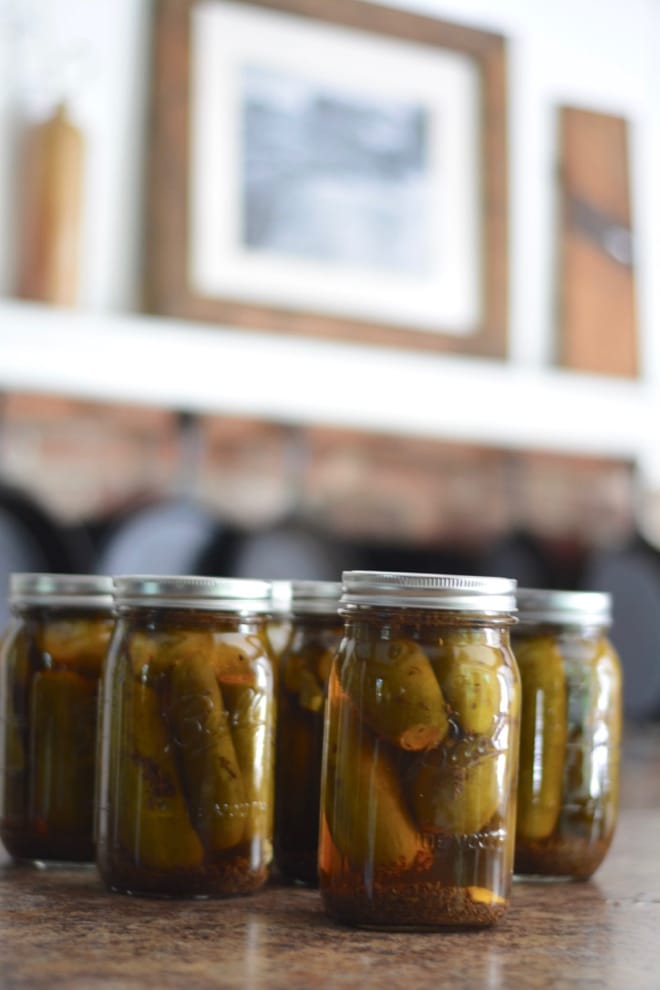
Recipe for Crisp Dill Pickles
Ingredients (per quart jar)
Fresh-picked cucumbers
1/2 tsp of black tea
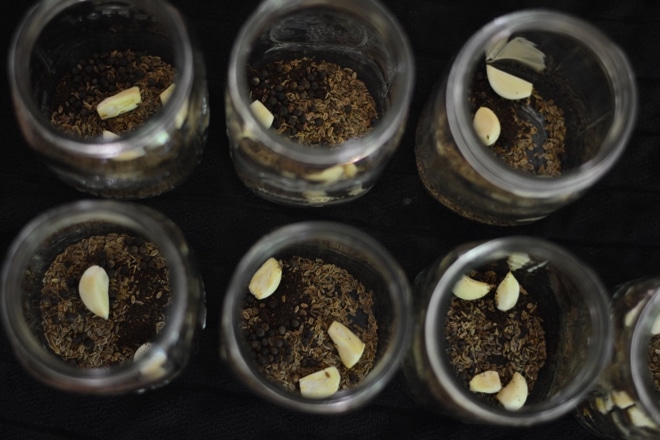
4 tsp whole dill seeds
2 whole garlic cloves
1/2 tsp peppercorns
brine (see below)
Directions
- Sterilize your jars by placing them in your canner and filling them, and the canner, with water. Bring to a boil.
- While the jars are sterilizing, scrub your cucumbers and cut off the ends.
- Prepare your brine. I make double the brine and store extra in the fridge until I have another batch of pickles.
- Carefully remove jars from canner using your jar tool and good oven mitts.
- Pour most of the hot water in your jars back into the canner as you remove them, except for a few jar’s worth that you can pour into a nearby empty pan, so you have just the right amount of hot water to cover your filled jars when you submerge them.
- Add spices, garlic, and tea to each jar.
- Pack cucumbers into jars and fill with hot brine (ideally, between 165-180 degrees), within half an inch of the top of the jar, but making sure the brine covers your cucumbers.
- Wipe the tops of the jars dry, place a canning lid on each (no need to boil the lids), and tighten the rims.
- Place jars back in hot water bath (making sure they’re covered with 1-2 ” of hot water) and bring them to a boil. Since your water was just boiling, this shouldn’t take long.
- Once your water is boiling, process pickles for 15 minutes.
- Using a jar lifting tool, remove jars from the canner and line them up on a towel on your counter to cool.
How to Make Your Brine
4 quarts water (16 cups)
2 quarts white vinegar (8 cups)
1/2 cup salt (I use this salt. Use code SWEETSALT. This recipe uses 1/4 of the bag.)
Heat the water, vinegar, and salt to a boil. Remove from heat and keep covered.
The faster you can pack your jars, the hotter you can keep them, and your water in your canner, and the less time your cucumbers will be processing (because they return to a boil quickly) and the crisper they will be.
You certainly can cold pack your jars, just keep in mind that you won’t have a crisp pickle. Still delicious, just not crunchy.
Other Information You’ll Love:
Making sourdough bread (without discard)
Answering all your questions about kombucha.
And I list my favorite tools in my homestead kitchen right here.
I know that there is nothing better for people than to be happy and to do good while they live. That each of them may eat and drink, and find satisfaction in all their toil—this is the gift of God. Ecclesiastes 3: 12-13
Pin this for later!
Click on the image below to pin this post.
Find out why SoulyRested was considered to be one of the Top 20 Must-Read Homesteading Blogs of 2018 and then one of the Top Homesteading Blogs of 2019 as well.
Glance at my Resource Page if you’d like to get a glimpse of all the supplies I use and recommend for everything from gardening, to homeschooling, to chicken care, to nature journaling, to maple syrup making.
I’d love to connect!
To find me in some other neck of the woods, just click any (or every!) icon below:
And please join in on my resource library. I’m often adding sweet bonuses.


