Last Updated on November 6, 2025 by Michelle
Kombucha improves your gut health and tastes delicious… if you know a few insider tips and secrets about how to make kombucha with a SCOBY.
I won’t lie. Kombucha totally intimidated me. And the SCOBY kinda grossed me out.
If you can relate, I’m glad you’re here.
Today the kombucha tide will change for you, I can feel it. In a few weeks you’ll be the Queen of DIY Kombucha.
How to make kombucha with a SCOBY
Today I’m busting down the myths that are holding you back and telling you–step by step–how to make kombucha at home, for beginners and anyone else who currently thinks a SCOBY is a super-weird slimy blob.
You might be a SCOBY fan before you’ve made it to the bottom of this page. Seriously. Stick with me.
Join me in my kitchen & we’ll start a batch of kombucha together:
And bookmark this page. Come back often, skipping to the section you need on any given day when the intimidating voices in your head try to convince you you can’t do this. Because you CAN. And man will you be glad you did.
How do you make kombucha at home?
It’s much easier than you think to save money and enjoy making kombucha at home.
There was a learning curve for me, but once I figured out some simple tips and tricks, it was like a lightbulb moment.
I knew I wanted to share these simple insights with others, cause, well, the world would be a better place if we were all improving our gut health, naturally and deliciously.
Plus, making kombucha is probably the most fun thing I do in my kitchen… it genuinely makes me happy to bottle up, flavor, and serve this amazing elixir. So I got to work and put everything together–all my secrets & fool-proof tips–and created Kombucha Academy.
So don’t hesitate–dive into Kombucha Academy. It will save you all the time, effort, and mistakes that so many folks make and you’ll be a master kombucha artisan in no time flat.
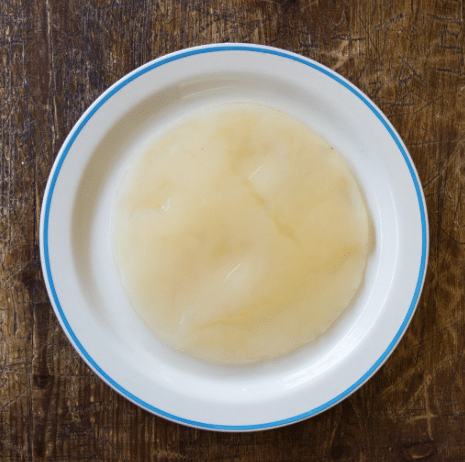
What is a SCOBY made of?
SCOBY stands for Symbiotic Culture Of Bacteria and Yeast. Not too catchy, I know, but a scoby makes up for its lackluster name and, well, dare I say it, squeamishly ugly appearance, in its super hero powers.
How long does kombucha take to ferment?
There is actually no answer and yet so many answers to this question… in short, kombucha should ferment as long or a short as needed to taste the way you like it.
If you like it to taste on the sweeter side, your kombucha should ferment much less time than someone’s kombucha who likes a vinegary tasting brew.
The temperature in your home, the health of your scoby, and even what you’re using to flavor your second ferment will all be factors that impact how long it takes for your brew to go from sweet to vinegary. 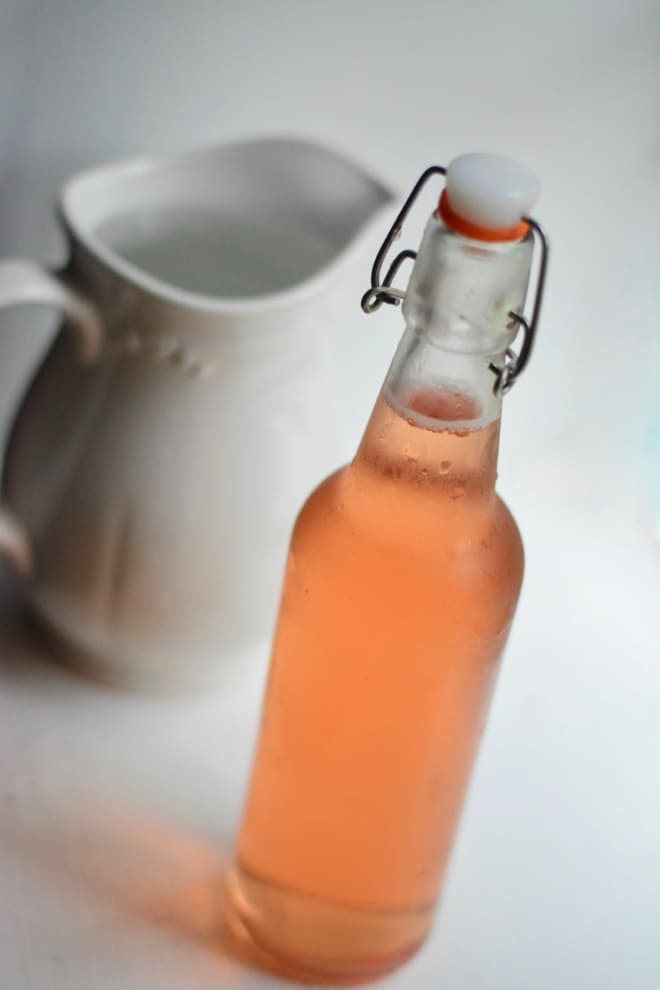
Is homemade kombucha worth it?
I decided long ago that I needed to know how much money I was saving by making my own kombucha. I knew it was saving us a lot, but I was blown away when I did a detailed cost analysis.
It turns out I save over 80% when I’m making kombucha at home.
See my cost breakdown and the shocking details on just how cheap it can be to make your own kombucha right here: DIY Kombucha–What’s it really cost?
Is kombucha actually good for your gut?
Because it is full of good bacteria and healthy yeast, kombucha is very good for your gut.
It is loaded with probiotics, which is good food for our gut. (source)
I talk more on this podcast episode about why gut health matters and the best foods and drinks to encourage good gut health: Simple Doesn’t Mean Easy Podcast (S5 E20)
What do you need to get started making kombucha?
You really don’t need much to get started making kombucha, and most items are self-explanatory, but read on for the nitty gritty details on each of these items. But rest assured, except for that last item, you probably have all of these in your kitchen today:
- A jar (or other fermenting vessel)
- water
- sugar
- tea
- square of fabric & rubber band
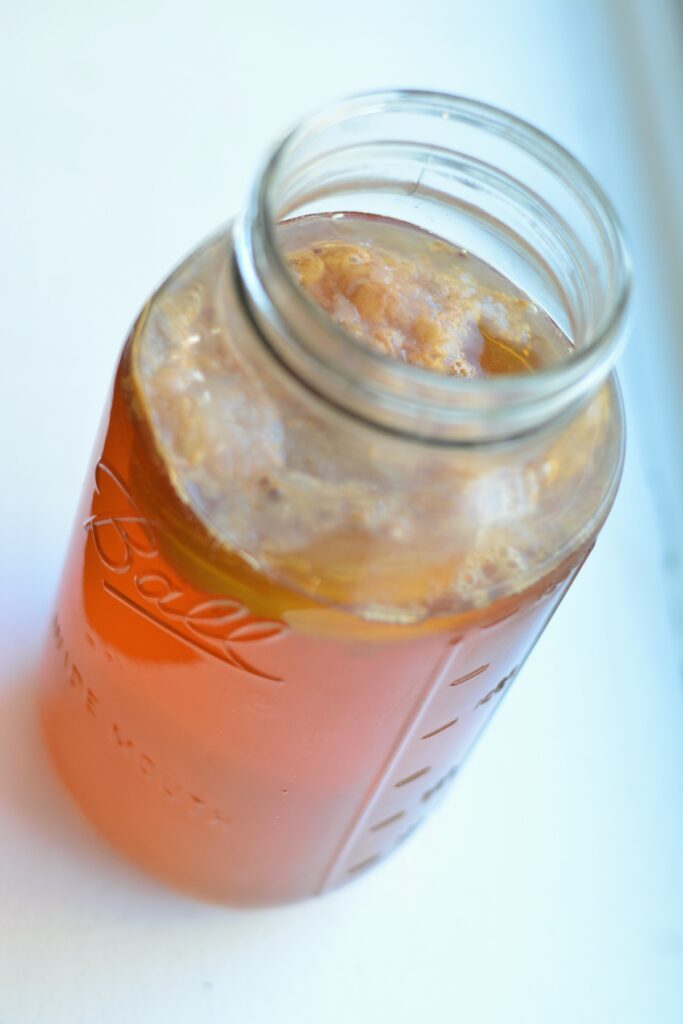
- a scoby with starter tea
Go here to grab the absolute best choices for everything you need to get started: The Best Kombucha Products
What do you need to know about your kombucha supplies?
Here are some more details you should know about your kombucha-making supplies:
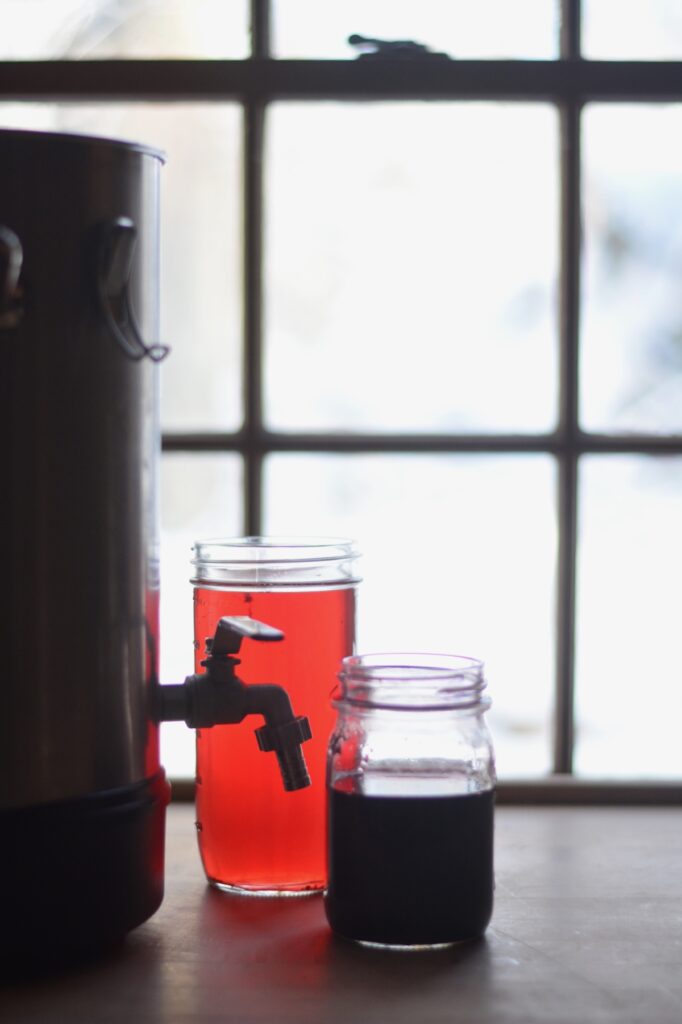
- A “fermenting” vessel—The 4-gallon one linked below is my favorite option. I’ve been using mine for almost a decade and it’s still going strong. But keep reading for suggestions if you’re not sure what to use for your fermenting vessel. And trust me, you can keep it super simple.
- Water—tap water may have contents in it that could kill a scoby, so stick with filtered water if you’re not sure. But go here to read more about this : Can I Use Tap Water for Making Kombucha? (Spoiler alert–I do.)
- Sugar—you have lots of choices, but to start, I recommend plain ole refined white sugar. This is the only place you will ever see me say this. I’m kinda a sworn enemy of refined white sugar, and truth be told I haven’t bought it in years. More here about The Best Sugar to Use (& what sugar to avoid). I personally use organic cane sugar for my kombucha, but having said this, trust me, you can definitely use cheap refined sugar for making kombucha.
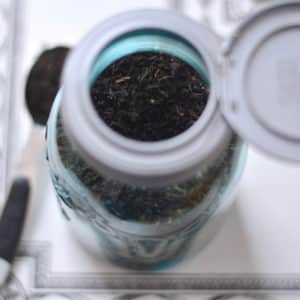
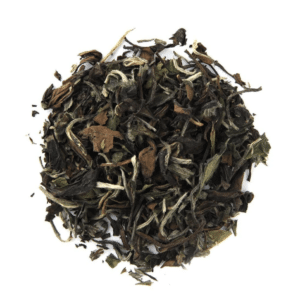
- Tea—I love all the amazing options linked below, but I break down all kinds of options in Kombucha Academy if you really want to delve into the delicious art of kombucha. I’ll walk you through all the tips and insider secrets it took me years to learn & you’ll be an overnight expert, wasting zero time or money on month’s–or year’s!–of failed attempts.
- A scoby & starter tea–maybe you have a friend or neighbor who can give you a piece of a scoby? If not, I gotcha covered. Scroll down for the best organic scoby that will arrive in your mailbox in just a few days. (And don’t miss the discount code!) Your scoby will come floating in some starter tea. I recommend a minimum of 1 cup of starter tea for every 1/2 gallon of kombucha you’re making.
Go here to grab the absolute best choices for everything you need to get started: The Best Kombucha Products
How to make kombucha when you have a scoby
Now we’re to the good stuff. I know it can seem intimidating, but you’re only 6 steps away from your first batch of kombucha. You got this.
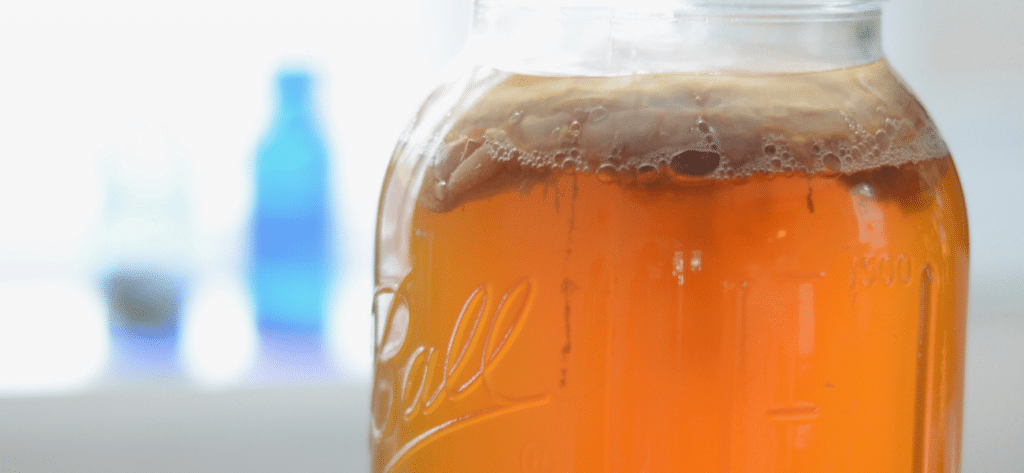
1. Place scoby and 1 cup starter kombucha in a brewing vessel. It can be as simple as a 1/2 gallon mason jar. In fact, let’s go with that for these directions.
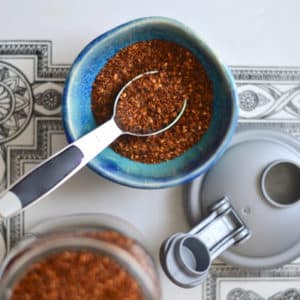
2. Boil a few cups of water. Take the pan off of heat and soak 1 TB of organic black tea (or 4 tea bags) in the hot water for 10+ minutes… see my favorite teas for kombucha below. Remove your tea.
3. Add 1/2 cup sugar while the tea is warm and stir until dissolved. Or, to make all-natural maple kombucha, add 1/3 cup of maple syrup. (While refined sugar will not dissolve unless your tea is hot, maple syrup of course isn’t necessary to add while the tea is hot.) Add some cold filtered water at this point if you’d like your pot of tea to cool down quickly (but not more than will be able to fit in your 1/2-gallon jar).
4. Once it’s room temperature, you can add your tea mixture to the mason jar. Never add hot or even warm tea to your scoby; always let it cool to room temperature or you will kill your scoby.
5. Cover this first ferment jar with a breathable covering for 2-7 days (fabric, not cheesecloth, which will allow fruit flies in). After 2-3 days, feel free to taste it daily. When it’s not too sweet but not vinegary tasting, it’s ready. If it starts to get a little vinegary tasting don’t wait… it will get very vinegary very quickly (especially if it’s warm in the room).
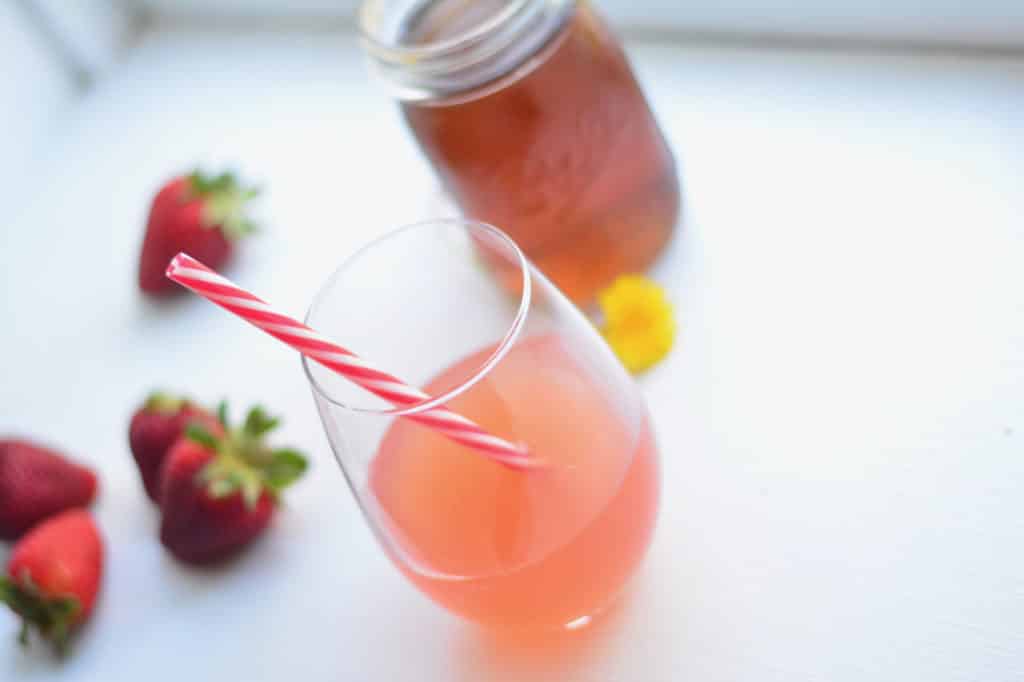
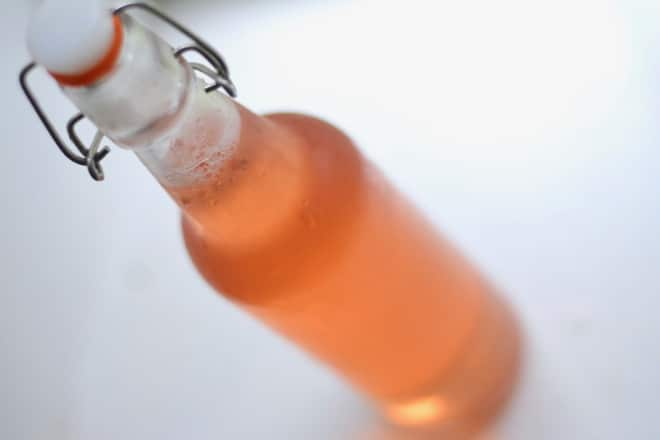
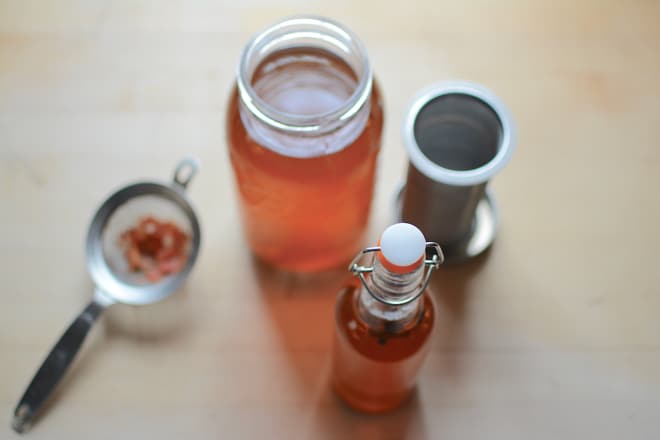
6. When your kombucha is ready, remove the SCOBY to a bowl. Stir the liquid with a plastic or stainless steel spoon. If it’s nicely fermented it will get nice and fizzy as you stir. After stirring, pour 1 cup of starter fluid in with the scoby to start the process all over again and bottle and flavor your kombucha.
Taadaa… you’ve done it. Now head over and join Kombucha Academy. In no time you’ll genuinely be a pro and you’ll be saving the cost of the course in just a matter of weeks.
Even better! Use code SOULYRESTED and save 20% off the already discounted price of Kombucha Academy. Now you have absolutely no excuse, right? Go check out why folks are loving Kombucha Academy.

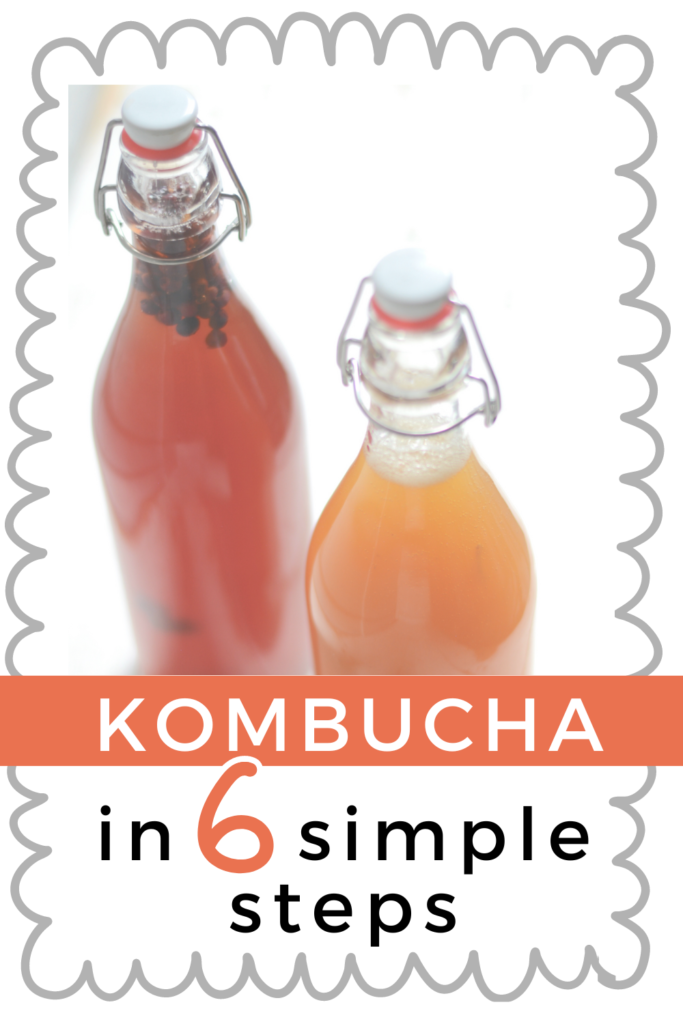
Make Your Own Kombucha
Ingredients
- water
- ½ cup sugar
- 1 TB organic black tea or 4 tea bags
- SCOBY & starter fluid
Instructions
- Place scoby and 1 cup starter kombucha in a brewing vessel. It can be as simple as a 1/2 gallon mason jar. In fact, let’s go with that for these directions.
- Boil a few cups of water. Take the pan off of heat and soak 1 TB of organic black tea (or 4 tea bags) in the hot water for 10+ minutes… see my favorite teas for kombucha below. Remove your tea.
- Add 1/2 cup sugar while the tea is warm and stir until dissolved. Or, to make all-natural maple kombucha, add 1/3 cup of maple syrup. (While refined sugar will not dissolve unless your tea is hot, maple syrup of course isn’t necessary to add while the tea is hot.) Add some cold filtered water at this point if you’d like your pot of tea to cool down quickly (but not more than will be able to fit in your 1/2-gallon jar).
- Once it’s room temperature, you can add your tea mixture to the mason jar. Never add hot or even warm tea to your scoby; always let it cool to room temperature or you will kill your scoby.
- Cover this first ferment jar with a breathable covering for 2-7 days (fabric, not cheesecloth, which will allow fruit flies in). After 2-3 days, feel free to taste it daily. When it’s not too sweet but not vinegary tasting, it’s ready. If it starts to get a little vinegary tasting don’t wait… it will get very vinegary very quickly (especially if it’s warm in the room).
- When your kombucha is ready, remove the SCOBY to a bowl. Stir the liquid with a plastic or stainless steel spoon. If it’s nicely fermented it will get nice and fizzy as you stir. After stirring, pour 1 cup of starter fluid in with the scoby to start the process all over again and bottle and flavor your kombucha.
Grab my Pantry Checklist & lots of great deals on great ingredients
I am happy to share my pantry checklist with you because I firmly believe real food–like DIY kombucha–can be much more “doable” and convenient to make if we just make sure to have the important staples on hand. I also firmly believe we all need to keep some moolah in our pockets whenever possible, so I’ve filled my pantry checklist with exclusive discount codes as well. Go here to grab yours right now. It will take about 4 seconds & instantly save you time and money.
More kombucha tips:
- Our favorite flavors for kombucha
- The best summer flavors for kombucha
- Can I use Tap Water to Make Kombucha?
- How to make maple kombucha
Kombucha tools:
Go here for my full list of products that make DIY kombucha the best.

Kombucha teas:
Go here for my full list of products that make DIY kombucha the best.
Talk to me about your kombucha…
If you have questions, leave a comment below. And please tag me on ig to show me your kombucha @souly.rested.
“If you are willing and obedient, you will eat the good things of the land.” Isaiah 1:19
Pin this for later!
Click on the image below to pin this post.
I’m back to brewing kombucha again. Thanks for your posts and encouragement to start again. I found that I do like it even without a second ferment!
😭 the link to your continuous brewing vessel is broken! I really need to invest in one but haven’t been able to find one that I trust/would work for me. I think it would be a game changer in my kombucha game, which is currently a losing game with lots and lots of vinegar mostly.
Well, I’m sad…..I had 2 scobies from my first try making ACV around Christmas but I didn’t know how to keep them so I threw them away 😟. Now I wish I had researched it a little more so I could try this recipe!! I’ve always been curious about Kombucha.
I know an amazing source for a organic scoby if you decide you want to try! 🙂
I’ve bought my scoby and now just need to get it all started. Do I have to do my first brew with black tea or can it be with Rooibos? Thanks for all your info!
You definitely can use rooibos (I love it), but only to a certain degree since it has less tanins than black tea. You might love Kombucha Academy! I give lots of indepth tips on how to choose the right teas and time saving tips on making a concentrated tea brew. Let me know if you’d like a discount code! 🙂 (just reach out)
I made Jun a couple of years ago and it was really good. Joined your Kombucha Academy and look forward to starting since the Holidays are over and I can focus. 😅. Thanks for the recipe!
Yay!! I think you’ll love Kombucha Academy!