Last Updated on June 20, 2024 by Michelle
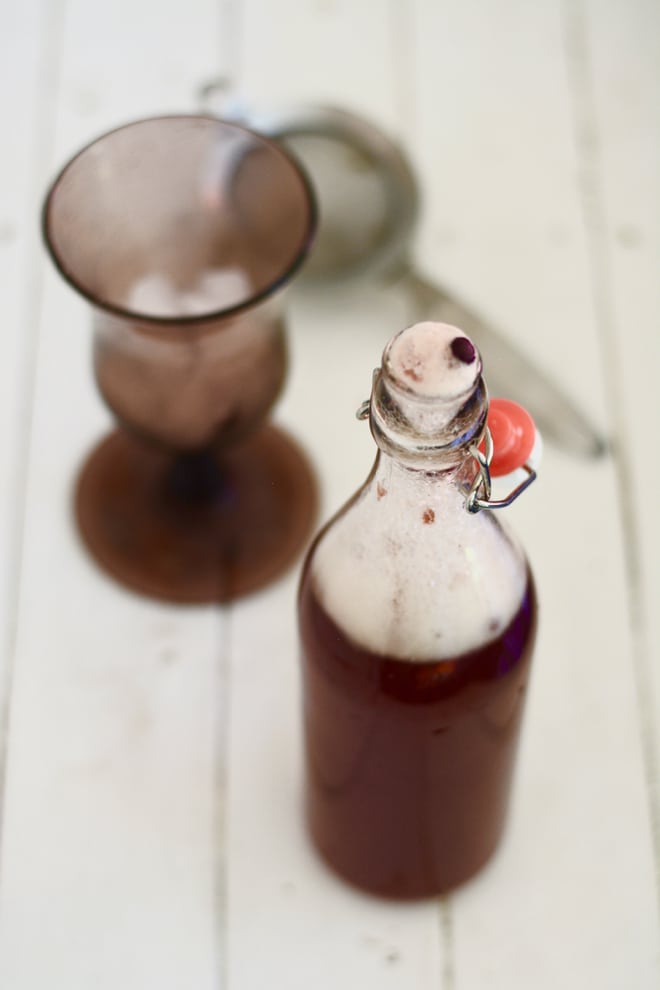
Apparently I talk a lot about kombucha. And why wouldn’t I? This amazing elixir has restored the health of my gut flora, one small drink at a time. And it tastes amazing.
If you’d like to snag some of my favorite kombucha recipes and learn more about this amazingness, go here to access that goodness immediately.
How to Assemble a Kombucha Starter Kit
As Christmas neared last year, I realized just how much I’ve been talking up this glorious homemade, fermented, gut-friendly, probiotic drink. Suddenly friends and relatives were texting me or pulling me aside and whispering that they need to know what exactly this kombucha effort entails because they have a friend, or a daughter, or a mom whom they wanted to give a gift of kombucha.
Of course a DIY kombucha “starter kit” is a perfect gift for all kinds of reasons, all year long, for yourself or for someone you love. So I’m always happy to oblige when someone asks for advice. I’ve tried many kombucha products over the years, and I can confidently recommend some great ones.
If your friend would like to learn all-things kombucha with an expert by her side, she will love this!–Go here to find out more, or read on for more details.
My favorite kombucha I’ve ever made? That’s easy. I fill you in on all the details right here.
— DISCLOSURE: this post contains affiliate links. These links take you directly to all the products I use and love for making kombucha right here in my own kitchen. —
How to Give the Gift of Kombucha
It starts with the SCOBY.
First off, you can’t do a darn thing without a wonderful specimen of good bacteria, aka a SCOBY (Symbiotic Culture of Bacteria and Yeast). I’ve looked around and read up on SCOBYs and of all I’ve found, this one is my favorite. This scoby grew double in size seemingly overnight, and makes some fantastic kombucha. These SCOBYs are grown with love and great attention. That’s important.
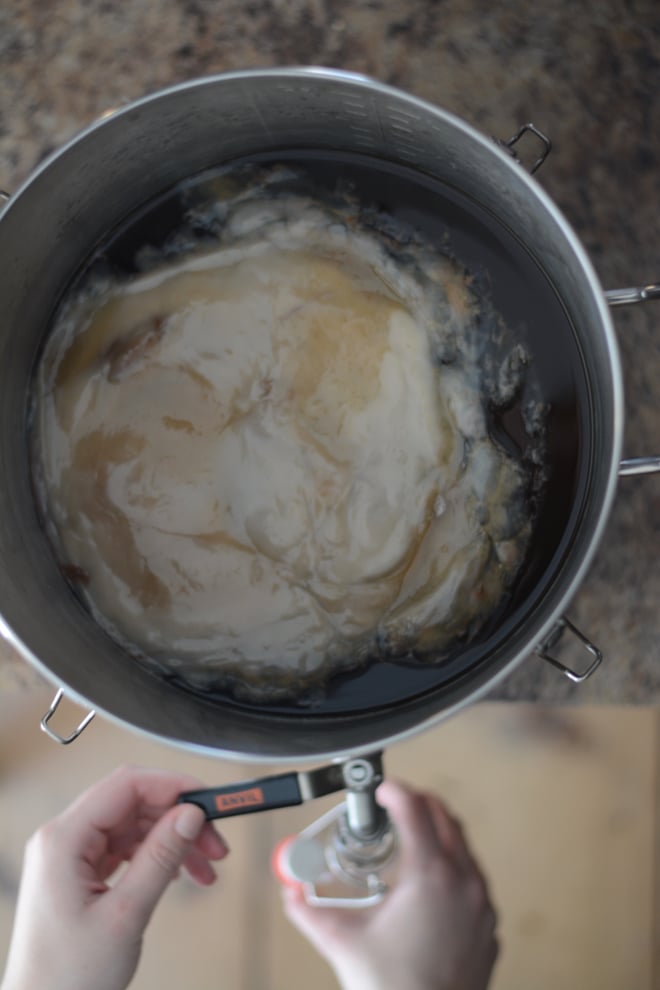
They’ll need a fermenting vessel.
Don’t let the sound of it intimidate you… you can really use any glass or stainless steel container you want for this. You can even, I guess, use a bowl, but I prefer glass jars like this 1-gallon jar and this 2.5-gallon jar. You won’t be using the lids on any of these options, because your scoby needs oxygen at all times. You’ll cover your jar with a piece of breathable fabric, held on with a large rubber band or a piece of tied string or twine.
I’ve seen lots of folks using this 1-gallon jar or this 2-gallon jar–but note that most (if not all) jars you find like this, with the pretty built-in spigot, are NOT going to have a stainless steel spigot, which means you should never bottle your kombucha out of one of those spigots, but pour your kombucha into a pitcher to bottle from. So if you can’t use the spigot, you really don’t need it.
Now this option–my favorite option of all–DOES have a stainless steel spigot. The entire container is stainless steel. I love it for my continuous kombucha brew, on my kitchen counter.
SIDE NOTE: never use a metal fermenter for kombucha. Kombucha is acidic and metal will leach into your drink–no thank you. But a high-grade stainless steel is perfect.
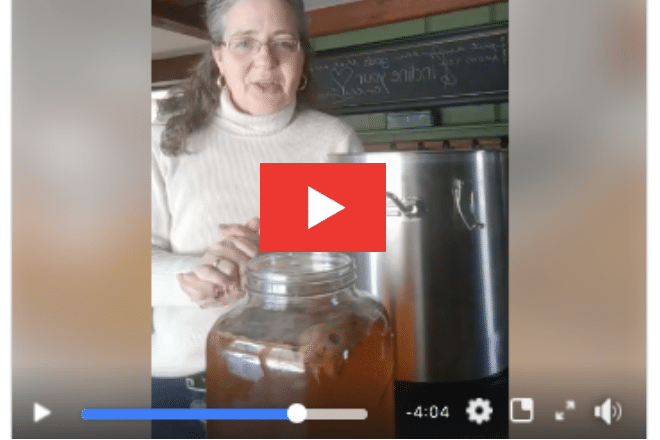
I explain more about my 4-gallon vessel in the fb live video linked below, but I don’t use the lid when I’m using it for kombucha (just cover with secured fabric). Even so, I’m excited about the lid because my other purpose for this vessel is to try my hand at maple wine making next summer, so then I’ll transfer my kombucha to a few 2-gallon containers while I try out the fermenting vessel for wine. Win-win, no?
You can give a preassembled kit.
For the fastest, simplest way to get started, and a great gift-giving option, you can purchase a starter kit like this one. Then you can add a few of the items below to make it extra special.
Gift this Master Class on Kombucha.
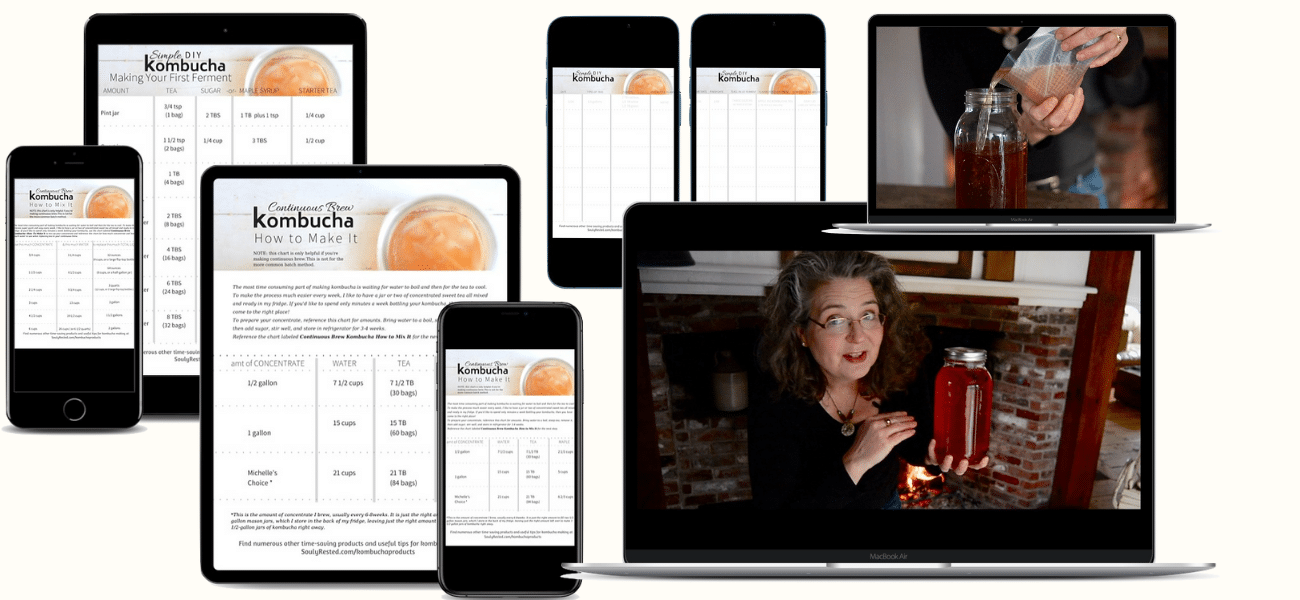
I’ve included all the details in one place that I learned after years of mistakes, confusion, success, and deliciousness. The Simple DIY Kombucha Master Class, filled with 12 modules of insights, offers every detail needed to make the best kombucha. Every time.
And just wait till you see the crazy awesome free bonuses that you’ll be giving when you gift this master class! I’m seriously jumping-up-and-down excited over here y’all. So go here for the full scoop.
And don’t forget the extras they’ll love.
You won’t find many of these items in most kombucha starter kits, but most kombucha brewers will want these.
A strainer like this one for taking out the fruit and/or small scoby chunks before drinking. Mind you this is not necessary. For added health benefit, feel free to eat and drink every last bit. I just don’t like drinking chunky kombucha. Plus, my chicken love when I feed my kombucha fruit to them. Check out my Instagram stories for insights into my kombucha, my chicken, and all kinds of crazy stuff going on around our New England homestead. Follow on instagram here.
A stainless steel funnel like this is handy, but not always necessary, if you plan on using larger-mouth second ferment bottles. But for maximum carbonation, you’ll want narrow necked bottles. Of course, with the nifty built-in strainer, this funnel could meet 2 needs in 1.
A set of ph strips like these will help a kombucha brewer have confidence that their brew is at its best. I like these strips because they measure in 1/2 a pt. increments and range from 0-6. By the way, I conserve my test strips, using only 1/2 or even less of a strip every time that I test my kombucha. They last a long time!
Thermometers—This set of 3 thermometers is nice to stick on your fermenting vessels. Knowing the temperature of your first ferment helps you have a better estimate of how long until it’s ready to move into the second ferment.
A way to keep things warm–While this is totally unnecessary, it will help your kombucha ferment a lot faster, and aid in carbonation, if the fermenting vessel is kept at a regular, warm temperature. You can wrap a “brew belt” like this around your vessels, or even a strand of twinkle lights, or set your kombucha on a regular-old heating pad like this one. While I find it worthy of mentioning that many folks swear by these products to keep their kombucha brewing well, I should also say I’ve never tried any of these methods. I let my kombucha run its course, on its own, and so far it’s done fine.
Bottle cleaning aids–While rinsing them with hot water as soon as you empty them is the best way to clean your second ferment bottles, it’s helpful to have a nice brush like this one, or cleaning beads like these right here work wonderfully to get little bits of fruit and herbs out of the jars.
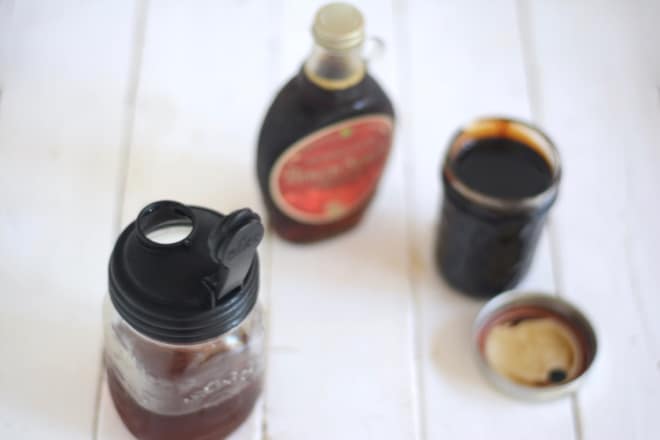
Maple syrup—this is one of my favorites. (Use code SOULYRESTED to save on your first order.) While you can grow a scoby that is fed on maple syrup (find out how to do that here), you can also use maple, frozen fruit, fresh fruit, jam, jelly, and juices, to jazz up the second ferment of any batch of kombucha. So feel free to gift any kind of fruit or syrups as part of a kombucha gift.

Would you like to know more about how I have substituted maple syrup and maple sugar for most of my refined sugar choices in our kitchen? Go here for many articles on that topic and go here for a few recipes you’ll love. Then subscribe to SoulyRested and enjoy a plethora of resources and recipes in my Subscriber Library.
Then there’s the tea & bottles.
Tea — While you can include any black, green, white, or rooibos tea and it will make a delicious kombucha, the choices do extend beyond that. But there are so many variables in tea leaves that could harm your scoby or deter your brewing. So if you want to brew some amazing kombucha, check out these special kombucha blends that my friend CeAnne, over at Farmhouse Teas, has assembled for you. This lady knows her teas, and she brews kombucha herself, so she’s an expert at this y’all. (Use code SOULYRESTED to save.)
Second Ferment Flavors– This isn’t a necessity. You can brew your kombucha and drink it without doing a second ferment, but if you want teas to flavor your second ferment, these teas are wonderful. (Use code SOULYRESTED to save.)
Bottles–These are for the second ferment, so if you want fizzy carbonated kombucha you want good bottles with a tight seal. Thin necked bottles help build the carbonation better than wide-mouthed, but I have no trouble getting wonderful fizz with my mason jars.
While I like filling 1/2-gallon mason jars with my flavored second ferment, you can certainly use quart jars too.
But the best bottles for a newbie kombucha brewer are defintely ones like these 16 oz bottles or these 33 oz bottles. The swing top lids with seals help ensure a nice carbonated drink. My friends at Great Fermentations sell a 12-pack of swing-top bottles, as well.
Add in something fun.
Scroll down for some fun add-ons to make your gift extra special… kombucha-themed tshirts, mugs, and even a journal for the recipient to record favorite recipes.
Don’t Forget–the Master Class is the icing on the cake.
Whatever specific items you decide to package up as a perfect gift for your friend who wants to start making this homemade, fermented, gut-friendly, probiotic drink, you’ll want to include access to the Simple DIY Kombucha Master Class all about everything anyone needs to know to make perfect kombucha. Every time. Sign them up right here.
Check out my 3 kombucha brews going on at once & let’s talk about why I drink this amazing stuff in this fb live.
Or let’s talk about why I LOVE making continuous brew in this youtube live.
Or on instagram, check out my Kombucha Highlight.
“Go and enjoy choice food and sweet drinks, and send some to those who have nothing prepared… for the joy of the Lord is your strength.” Nehemiah 8:10
Pin this for later!
Click on an image below to pin this post.
Other Info You’ll Love:
How to Bake with Maple Syrup (seriously. You need to know this!)
Popular Family Games that are perfect for gift giving!
All my Favorite Tools in my Farmhouse Kitchen (the things I wouldn’t want to live without)
Talk to me!
If you have any kombucha questions, leave a comment below. And please tag me on ig to show me your amazing kombucha gift that you create at @souly.rested.
Find out why SoulyRested was considered to be one of the Top 20 Must-Read Homesteading Blogs of 2018 and then one of the Top Homesteading Blogs of 2019 as well.
I’d love to connect!
To find me in some other neck of the woods, just click any (or every!) icon below:





Super detailed post! Love it!