Last Updated on June 20, 2024 by Michelle
If you want some tips for making maple syrup, you have come to the right place.
This is kind of the Ultimate Guide for a Newbie Sugarmaker right here, chocked full of answers to more than 20 questions you may not even know you have. Yet.
Hi. I’m Michelle.
Our family has been making maple syrup for a decade now. And you and I may have “met” already on the pages of Where Women Create Work, Hobby Farms, or my book, Sweet Maple.
Or maybe over on instagram, where I love sharing, and connecting with folks like you… folks who are interested in real food (like maple syrup) and getting back to the basics, even just a little bit (it doesn’t get more basic than boiling down sap into syrup, right?)
But today we’re diving into the top 20 things you need to know about sugarmaking. But first, let’s answer a few questions…
What is the most efficient way to make maple syrup?
The number 1 best way to make maple syrup efficiently is to use a special filter–a Reverse Osmosis filter. This will cut your boiling time in half, saving you a lot on the cost of fuel, not to mention all the time this will save you. Go here for the full details on Reverse Osmosis for making syrup.
What are the techniques for maple syrup?
Maple maple syrup isn’t hard, if you know the right tips and have the time and the patience. There is a lot of detailed help right here, on this site, so take a look around. You want to start by knowing what trees you can tap for syrup, then you want to know the secret to tapping your trees at the right time, and you’ll want to gather up the equipment you’ll need for sugarmaking. Find out how to save money when making maple syrup. And you might want to look into using pumps for collecting your sap.
What makes maple syrup better?
This is, of course, a matter of opinion, but, as the author of Sweet Maple, I have three thoughts about what makes maple syrup better:
- Saving money makes everything better, but maybe especially maple syrup. Building and using a Reverse Osmosis filter is a huge game changer for a backyard sugarmaker.
- Doing a continual batch boil, where you are constantly adding new sap to your boiling pot or pan is going to lead to a richer, more flavorful maple syrup with hints of caramel.
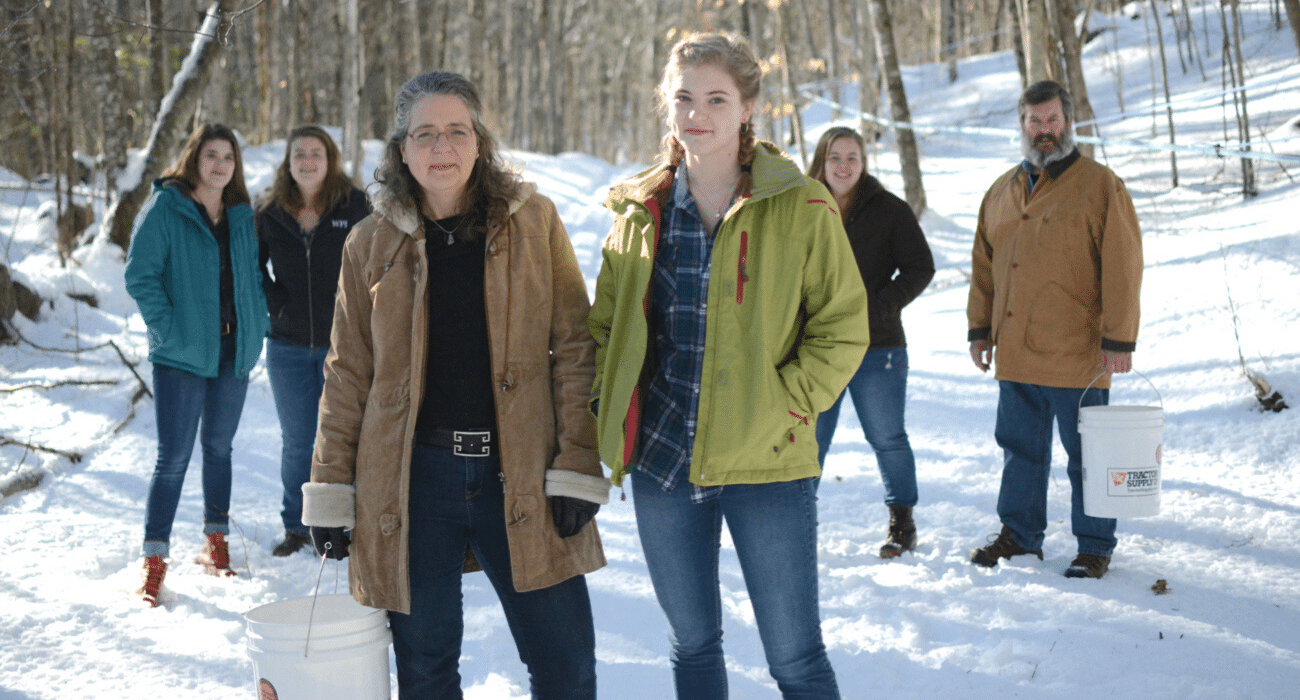
- Making it yourself. The effort you put into it as a family, and the time and energy you devote to the process genuinely makes you appreciate it so much more than if you walked into a farmers market, forked over some cash, and went home to pour it on your breakfast plate.
Top 20 Tips for Making Maple Syrup
1. ID Your Maple Trees
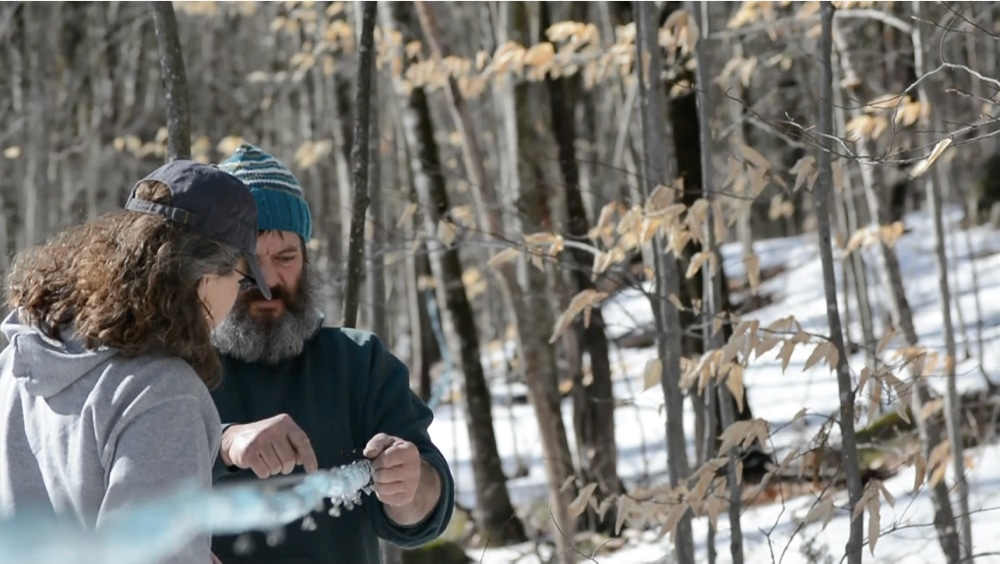
While there are certainly other trees you can tap successfully (see the full list of tappable trees here), a maple is always going to give you the best sugar content, therefore the most (and sweetest) syrup for your efforts. To know how to ID a maple tree, even in the dead of winter, watch this short little video:
2. Time it Right
I can’t give you a magic calendar of dates to tell you when to tap in each region, because the timing changes slightly every year, based on many different factors. The short answer is to watch the calendar for temperatures above 40 during the day and below freezing at night. More on that here, in this video:
3. Drill Right
Don’t drill downward. Do your best to stay level, with slight upward tilt. As I explain in Sweet Maple, “To be sure you have a perfectly circular hole, and to avoid air leaks around your taps, you’ll want to carefully drill a hole relatively straight into the tree, with a slightly upward angle to prevent sap pooling.” If sap drips back in, it will freeze every night and you’ll have to wait later the following day until you see any sap dripping into your buckets.
4. Don’t over tap
Respect the size of your tree and use the appropriate amount of taps. Overtapping a tree, or tapping one that is too small to begin with, will greatly reduce the amount of years you’ll be able to tap it, and the amount of wonderful syrup that beautiful tree will be able to provide for your family in the years to come.
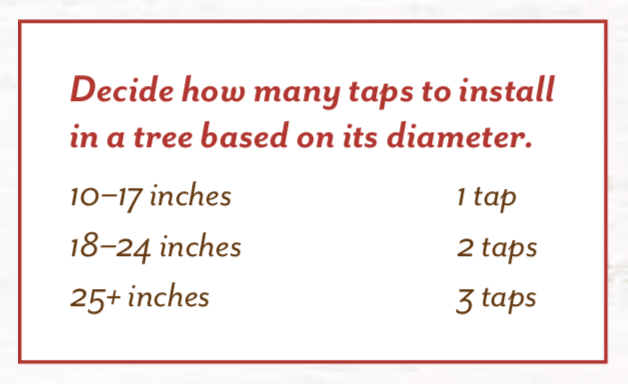
Chart from my book for backyard sugarmakers, Sweet Maple.
5. Don’t Tap too Early
Trees are amazing at quickly healing. In just 4-6 weeks, they seal up wounds that are causing their sap to leak. Holes that you tap in mid-January in New England (when there may be a little sap flowing) will leave an inch or two of sap in a bucket every day, if that and then be healed over in mid-March, when they would typically be overflowing a 5-gallon bucket every day.
In this video I share what happened to us one year when we tapped too early.
And this article is loaded with tips on how and why to avoid tapping early here.
6. Choose Good Footwear
Get a good pair of boots and a nice pair of ice grippers or ice cleats so you’re prepared for inches deep of mud, standing water, a foot of snow, or slick ice. Because you very well may experience all of the above in one sugar season. I love my BOGS, (or here are men’s BOGS) but I imagine many different brands will do.
Go here to see the two different ice grippers and cleats I use & why.
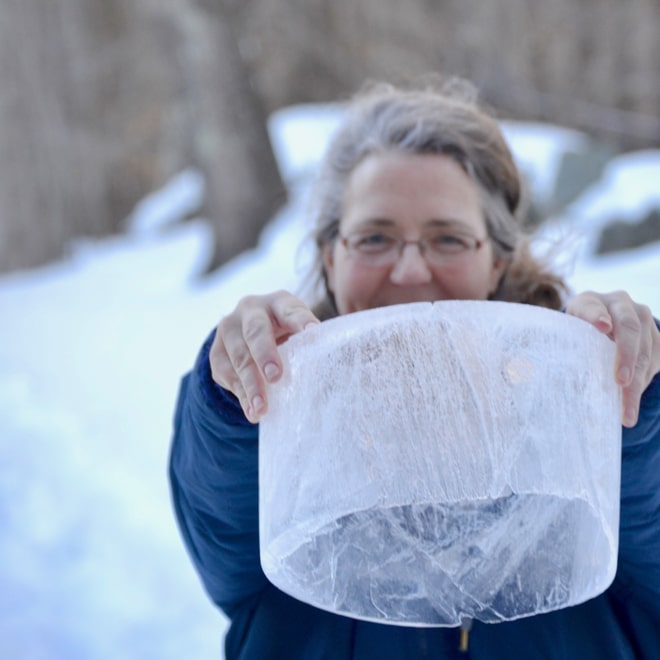
7. Toss Ice
Save yourself a lot of time and fuel. Throw away any chunks of ice you see floating in your collection buckets. And pull out and toss any rings of ice that form around the inside edge of your buckets. Go here to read more on the “why” behind this.
More of an audio person? Check out my podcast on this topic:
8. Store your Sap Well
Even on a cold New England day, sap that sits in the collection bucket all day, in the direct sun, can get warm and spoil.
Remember, this is sugar water, and bacteria thrives off of sugar, so it’s important to keep your sap cold until you’re ready to process it.
The best advice I can give you is to process your sap often, if you’re able, and collect your sap often, if you can, especially on sunny days, moving your collected buckets to shady spots. Even better, if you have snow on the ground, make snow banks to burry your sap buckets in. We’ve even buried large coolers in shady spots of snow and dumped our sap into the coolers to hold it until we’re able to boil it.
9. Toss Old Sap
Don’t boil sap that if you have any fear at all that it might be bad. If it’s at all cloudy or ropey, throw it away. I repeat, throw it away. I know it’s hard, but trust me it’s harder throwing away syrup that tastes like dirty socks!
10. Filter Well!
Don’t scrimp on filtering. Do it often… filter when you pour your sap into your turkey fryer or evaporator, filter when you pour the almost-syrup into your pan on your kitchen stove, and filter when you go to bottle your syrup.
I never recommend using anything other than Orlon filters and prefilters. Anything less and you make the job much harder for yourself and you ensure your syrup will be filled with niter. I personally like this set of filters because it’s a high-quality filter that come with prefilters, and it’s from a fantastic, small, family-owned business that I love to support.
11. Choose the Right Tools
For first-time sugarmakers I always recommend starting off very small, with just the bare minimum equipment. But like the Orlon filter I mentioned above, a few items are definitely worth investing in. This list of supplies is more complete than what you need your first year, but it’s a good starting place to pick and choose from.
You may want to bookmark the list as a resource for what tools you’ll want to add on to your sugarmaking production as the years progress.
12. Know What Trees can be Tapped
Don’t think it’s all sugar maple or nothing… While a sugar maple is the holy grail of tapping, providing the highest ratio of sugar to sap of any tappable tree, don’t think you can only tap a sugar maple. That’s very far from the truth. Go here for a comprehensive list of all the tappable trees.
13. Invest the Time; it’s Worth it
Don’t think this is a simple little hobby you can do for an hour a week. Instead, go into it knowing it will gobble up a lot of your time, but it’s relaxing watching the sap boil (plus it smells amazing!) and it’s a nice break from screen time and stress. Also, it will come and go every year before you know it. Typically the longest season won’t stretch past a 6-week period.
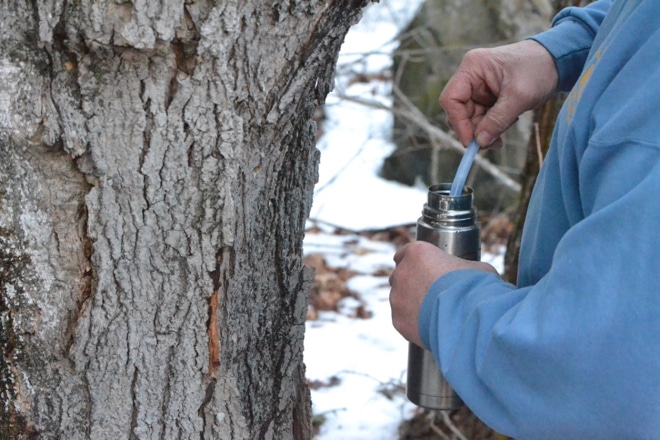
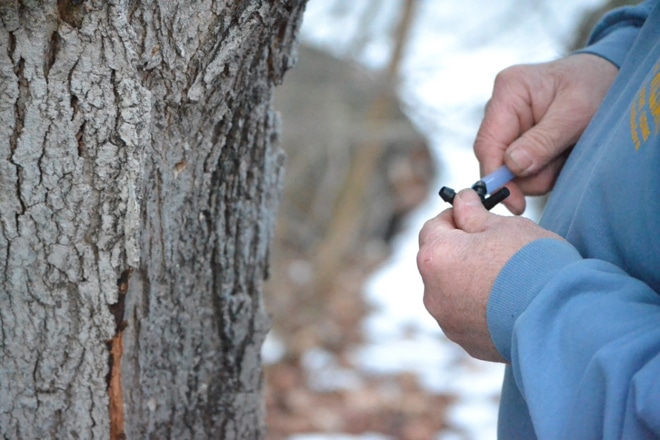
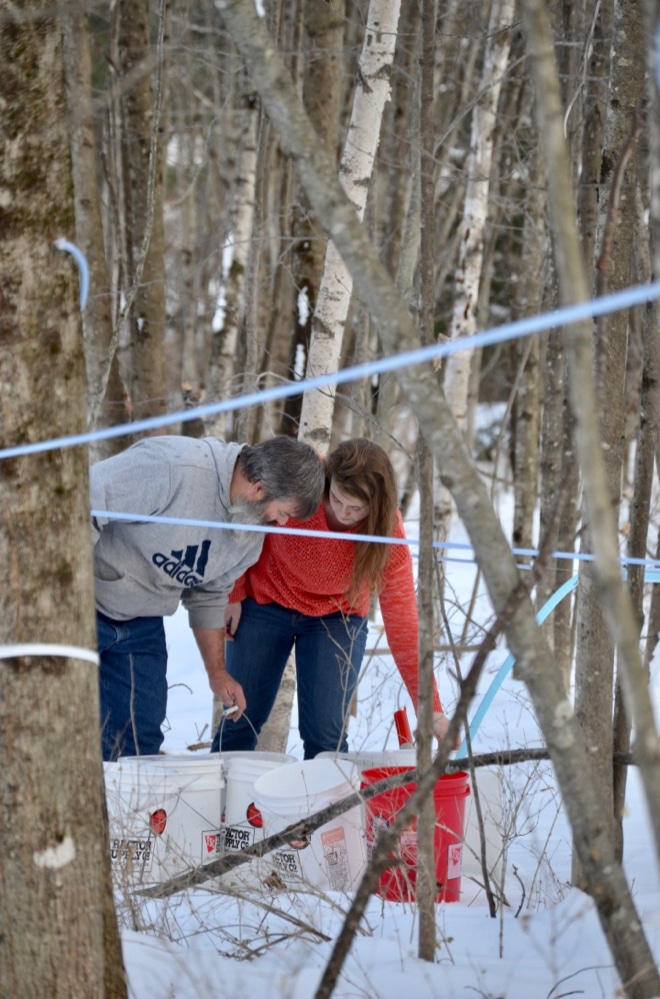
14. Install Tubing the Easy Way
If you’re dealing with tubing in any way, even just to run a few taps from a few trees into a bucket for collection, know that hot water is your best friend. Simply dip the tubing in a thermos of hot water that you carry with you in the woods, and voila, it expands and slips easily over your connectors.
If you want to upscale your operation I highly recommend investing in this tool some day.
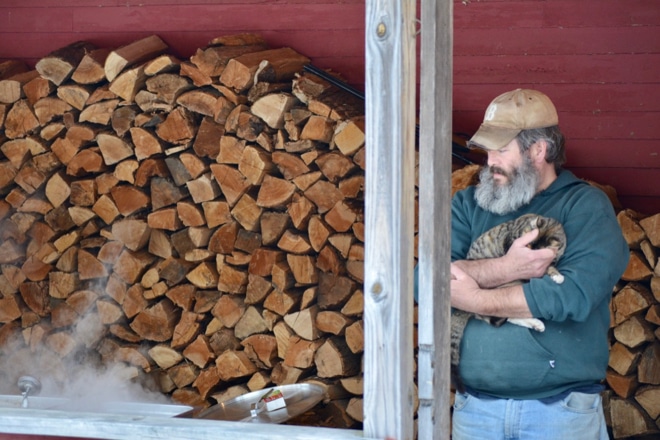
15. Keep it Simple & Keep it Outside
Know that it’s okay to start off small. Just tap a few trees, grab a turkey fryer like this to boil in, and see if you like making syrup before you dive in too deep. If you don’t believe me, check out our set up when we first started out in the video below, where I also explain why it’s important to do your boiling outside:
16. Don’t Let it Boil Over
17. Save Money! (aka Reverse Osmosis)
You’ll hear a lot about an RO, because a Reverse Osmosis set up that you build yourself will save you tons of time and money, but don’t stress over it your first year. If you love making maple syrup and want to improve your set up next year, I’d make building an RO like this one my #1 priority for next year.
This video explains how it works and why it saves you so much time and money:
18. Talk to Other Sugarmakers
Listen in on maple-themed episodes of my Simple Doesn’t Mean Easy podcast right here.
If you have sugarmakers local to you, stop in and introduce yourself to them. Most are happy to help out a newbie and answer your questions.
If you’d like to be part of an encouraging group where your questions can all be answered online, join my Making Maple Syrup group on facebook. (I’ll see you on the inside!)
And take heart with these words of wisdom from some of our group members:
“Relax and have fun with it. There is plenty of time to listen to perfectionists.” –James Brochtrup, a sugarmaker in French Village, Missouri
“Remember to enjoy the magic, and don’t forget that people were making and enjoying syrup long before fancy tools were part of the picture. By the way, you can boil down syrup to the thickness and sweetness you like. It may not meet industry standards and it may not take the red ribbon at the county fair, but it will taste fine on a stack of pancakes.” –Richard Mount, who cares for 125 taps on a farm family in Ontario, where they’ve been tapping since 1889. *
“Make it a family affair & pass it on.” –Fred Amacher
“Don’t tap just because it’s warm. The trees will seal up before the real run of sap.” –Matt Dagostino, a sugarmaker in northeast Wisconsin
“It’s a continuous learning process and I’m always setting new goals from season to season.” –Steven Johnson, who runs a small hobby operation located in Western NY.
“You don’t even HAVE to have a thermometer, although I like the reassurance.” –Mary Van Keuren, making syrup in the Mid-Hudson valley, in New York *
“I highly recommend getting a refractometer. If you plan to put forth the effort to spend all that time boiling, a refractometer is really not going to break the bank, and it makes the whole process so much better. And a good thermometer helps a beginner find the sweet spot of perfect syrup.”–Michael Tonn
* A word of caution, if you don’t use the right tools and measure that your syrup is the right temperature (with this) and the right sugar content (with this), your syrup may turn out a little light and will mold in the jar. Or turn out too dark and form huge rocks of crystals in the jars.
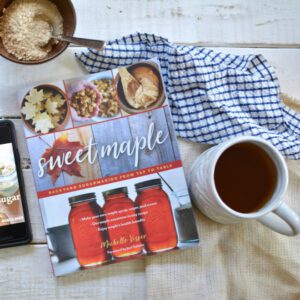
19. Grab the Book of Knowledge for Backyard Sugarmakers
While I tried to cover all the common beginners questions here–as kind of an Ultimate Guide for a Newbie Sugarmaker–let’s face it this is just scratching the surface. I can’t dive into the kind of details here that I did in the 218-page book on the subject.
So please grab a copy of Sweet Maple at your local bookstore today. Or ordering it here actually supports your local store (pretty neat huh?):
Support Small Business & Order Sweet Maple Here
You can, of course, also order Sweet Maple on Amazon.
Best option? Let me send you an autographed copy, from our sugarbush to yours!
20. Make Sure You Have Fun
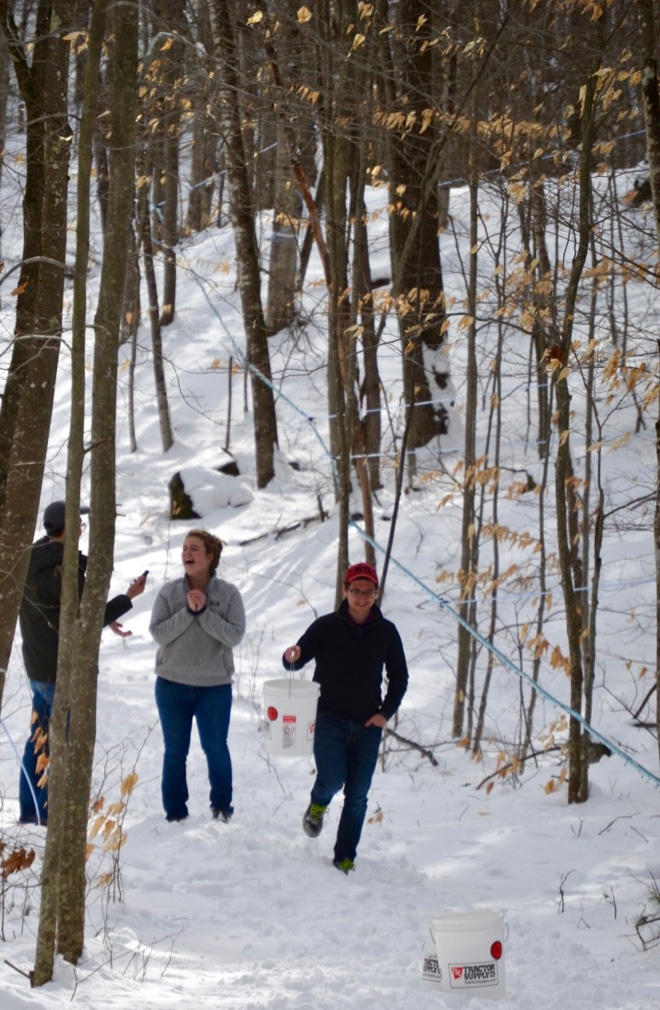
Most importantly? HAVE FUN. This article is all about how we enjoy the time with family.
What Would You Add to This List?
What about you? What have you learned about backyard sugarmaking that I could add to this list? Or what questions do you have that aren’t answered here? Leave a comment and maybe I’ll have to create a second list of tips!
p.s. Remember, order a copy of my book Sweet Maple for all the details on how to make maple syrup as well as all the best maple confections and maple-infused baked goods, bread, and even savory meals.
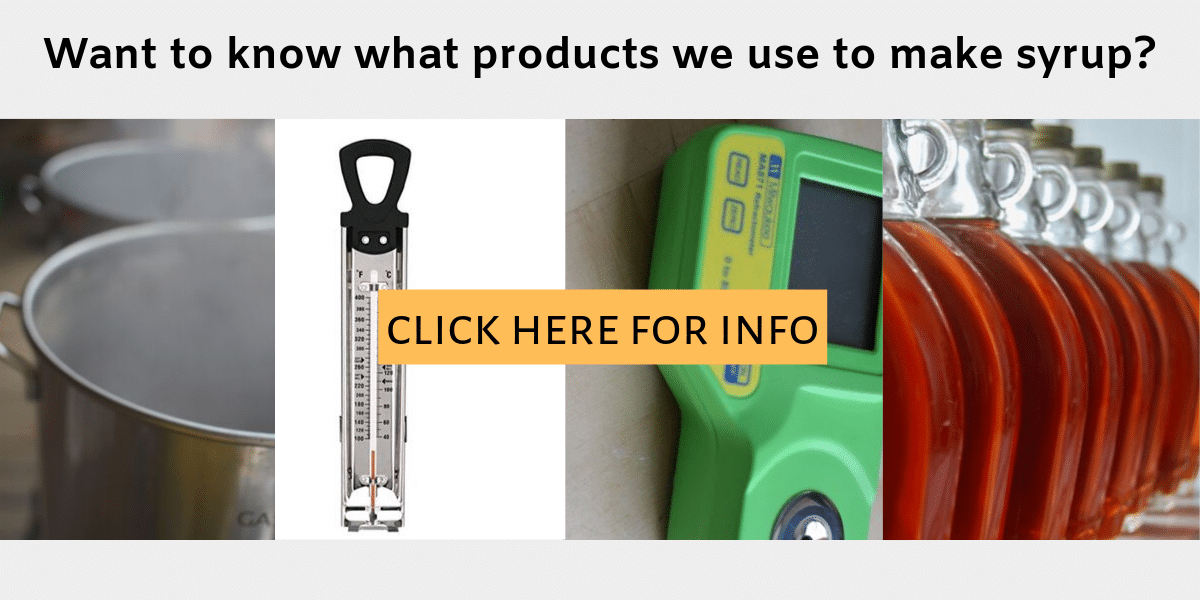
3 Things You Need

Other tips about how to make maple syrup:
How to Save Time & Money Making Maple Syrup
How to Set up a Tubing System for Making Maple Syrup
Professional Sugarmaker’s Tips on How to Make Maple Syrup
My favorite tools for making maple syrup are all right here
And all the trees of the field know that I am the Lord; I bring low the high tree, and make high the low tree, dry up the green tree, and make the dry tree flourish. Ezekiel 17:24
Pin this for later!
Click on the image below to pin this post.

Find out why SoulyRested was considered to be one of the Top 20 Must-Read Homesteading Blogs of 2018 and then one of the Top Homesteading Blogs of 2019 as well.
Glance at my Resource Page if you’d like to get a glimpse of all the supplies I use and recommend for everything from gardening, to homeschooling, to chicken care, to nature journaling, to maple syrup making.

I’d love to connect!
To find me in some other neck of the woods, just click any (or every!) icon below:


Maple syrup is the best! We don’t have any trees except juniper on our new homestead though