Last Updated on March 1, 2021 by Michelle
Even though we’ve owned a cow for three years, I’ve just now gotten to a point where I feel like a butter expert. I figured it’s time I tell y’all how to make this amazingness… and the buttermilk… and the buttermilk French toast that results from making butter… because it’s ALL crazy good.
And if you DON’T have a dairy cow, that’s totally fine. You can still make your own butter! Read on, my friend…
Three years ago today my daughter brought home her most exciting, biggest purchase ever. She brought home Scout, our family cow. In honor of that wonderful day, I think it’s high time I fill you in on the simple details you need to know to make your own glorious, wonderful butter.
It had been about 7 years in the making really, half of Kayla’s life at that time, the story that led up to Scout’s homecoming. I wrote about that 7-year-old entrepreneur with big dreams right here. But for those of you who may wonder why it’s taken me so horribly long–3 years!–to share this wonderful post with y’all about these amazing things I make with our raw milk, I guess I should explain.
Our inital set back was the fact that we didn’t know enough about breeding. (I explain more right here.) We thought Scout was bred when she wasn’t. Ten months later, we bred her again and 9.5 months later finally welcomed a sweet heifer on our farm. Whew. So then the butter started to flow, right?
Wrong.

The milk started to flow, of course, but we never had much cream. Why? Two reasons really.
First of all, momma cows are pretty smart and very talented. Somehow they are able to give us milk when we milk them yet hold back their cream for their baby. I have no idea how this works biologically, but it’s true.
Second of all, Scout is a Holstein. This means she has wonderfully tasting, low-fat milk. By their very nature, Holsteins don’t have creamy milk. While a Jersey may give you 30% cream, a Holstein may only give you 5-10% cream on any given day. In Scout’s case, it seemed even less. We’d have to save up for so long to have enough to make anything that we often went for ice cream when we had enough, and, well, our barn cats were the best fed cats for miles, I’m certain, cause we wound up giving cream to them since we didn’t have much for doing other things.
This fall, for reasons completely unknown to me, I noticed the cream line was thicker than usual. And I decided it was time to take a stab at butter making.
Read here if you’d like to know about my ridiculous 10-month mistake with our Holstein that meant NO MILK for the first few years we owned her.
This post explains the first–pretty ridiculous–mess up right after our Holstein had her first calf.
And then read this one for my full blown circle of mistakes that meant we lost an animal we loved.
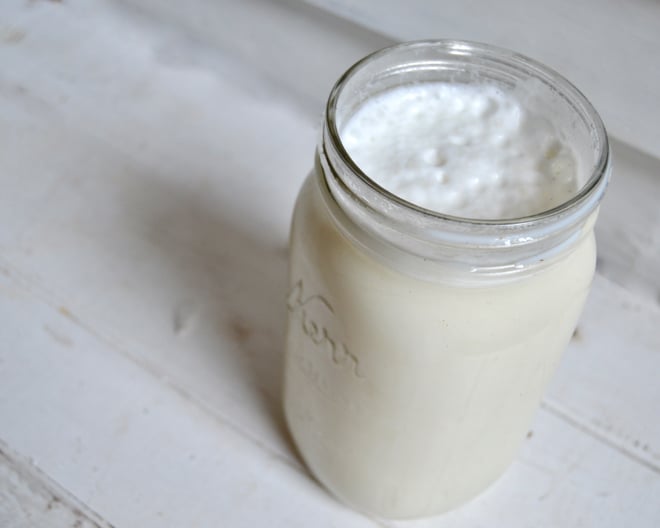
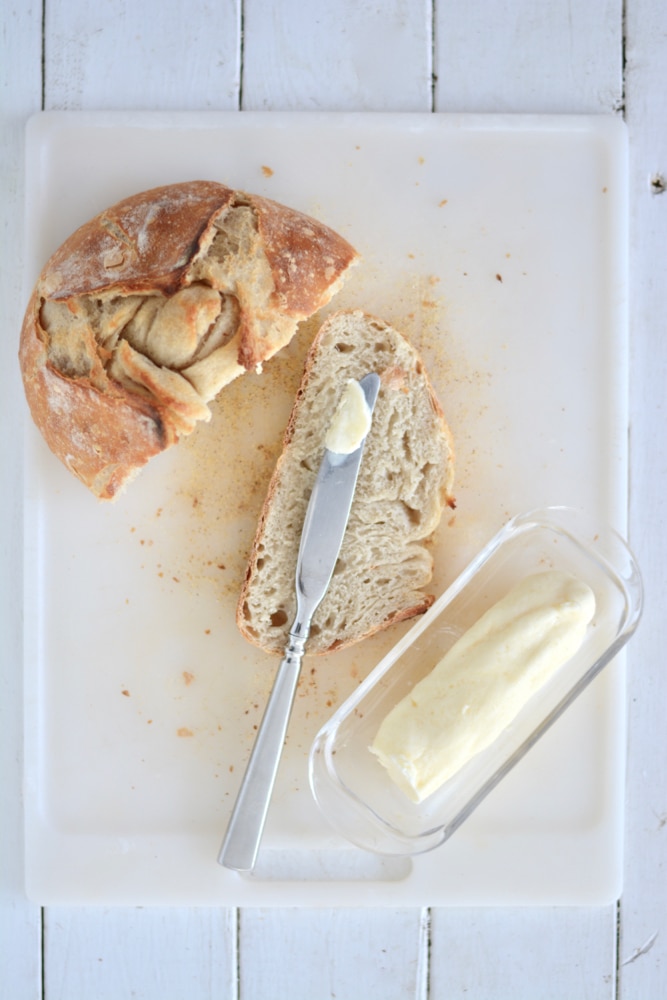
How I make butter.
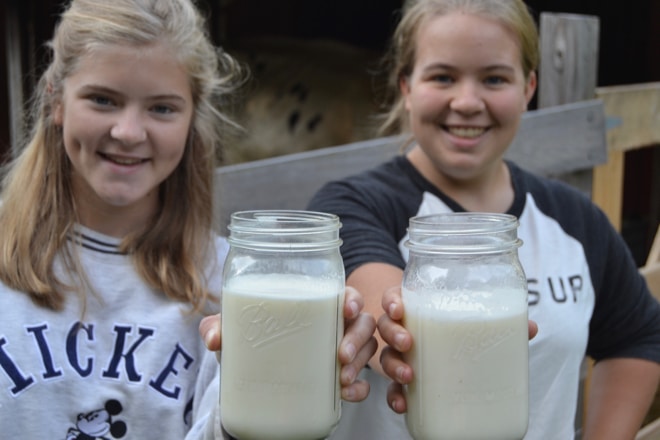
To make butter, and buttermilk, I first let the day’s fresh milk sit in the fridge for 24 hours. Then I skim off the cream. While it’s super easy and really doesn’t need much explanation, I show you how I skim the cream in this fb live. I’m always showing little snippets of our day–the good, the bad, and the delicious–on both facebook and instagram, so please take a second and follow there.
After I’ve saved up 6 cups of cream (I just store it in a jar in the fridge), I’m ready to make butter. That’s almost the maximum amount my food processor can handle at once. And I learned the hard way that I definitely need to respect the boundaries of that maximum fill line. (But Bixby liked cleaning up from my mistake that dripped down to the floor.) And 6 cups of cream makes exactly one cup of butter.
I should interject a little fact here… you do NOT need to have a family cow to make your own butter! You can do this exact same process with heavy cream or whipping cream that you purchase at the store (look for 30% fat or higher).
If we’re having something for dessert that night that would be extra yummy with fresh whipped cream I fill my food processor right to the maximum fill line and scoop out a few cups of cream before the butter starts to separate, but I’m getting ahead of myself and this post is getting too long, so more about that another week.
I let the cream sit out for many hours on the counter, so it’s room temperature. At this stage I could add just a little bit of a culture like this one and leave it sit out for a few days to make cultured butter. I just haven’t evolved to that stage yet. I’ll let you know when I do.
When it’s filled with cream, I turn the food processor on high and let it do it’s thing. This is my food processor; one of my best investments ever.
You can use a jar, an old-style churn, or even a mixer.
You don’t have to have a food processor. You can shake it in a jar. For all night. (Yes, I am exaggerating. Slightly.)
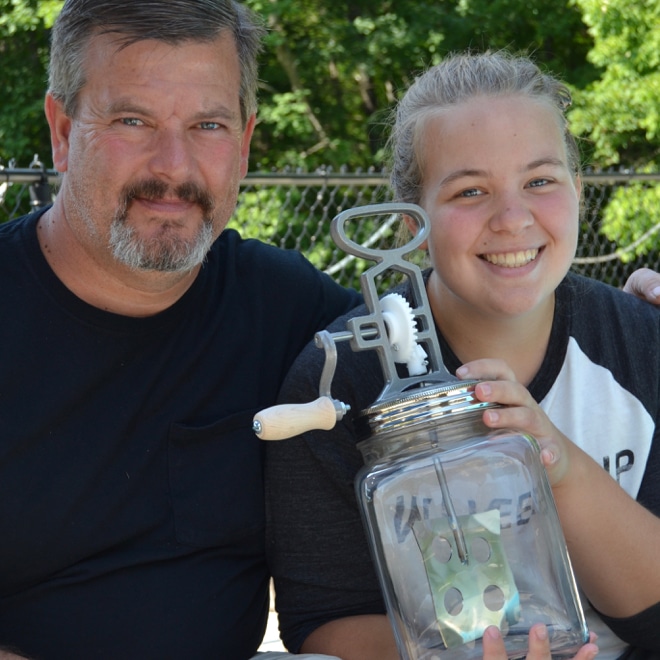
Or you can get an old-fashioned butter churn like this one from Lehman’s. And really improve your arm muscle physique.
My well-meaning, awesome husband got just such a arm-toning delight for my daughter right after Selah was born. Read more about that exciting birthday here. It has sat in the barn attic ever since the first and only time we used it. We gave up before we actually had butter.
You can also use a mixer to make butter from cream. This is mine and I love it, but you’ll have to cover the whole mixer with large towels and still do a good bit of cleanup afterward. But all of those options are definitely do-able.
But a food processor sure makes for the least amount of work.
I’m really thankful to have my food processor for doing this job. Plus, it works hard making homemade peanut butter many times a week around here as well.
After maybe 8-10 minutes of listening to the food processor whirl its heart out, you’ll finally notice a change in sound and volume. This little clip shows the mixer at the beginning, before the cream had built up and maximized the bowl. But when the mixture completely maximizes your food processor bowl and looks fluffy instead of sloshy, you’ve made a huge amount of amazing whipped cream.
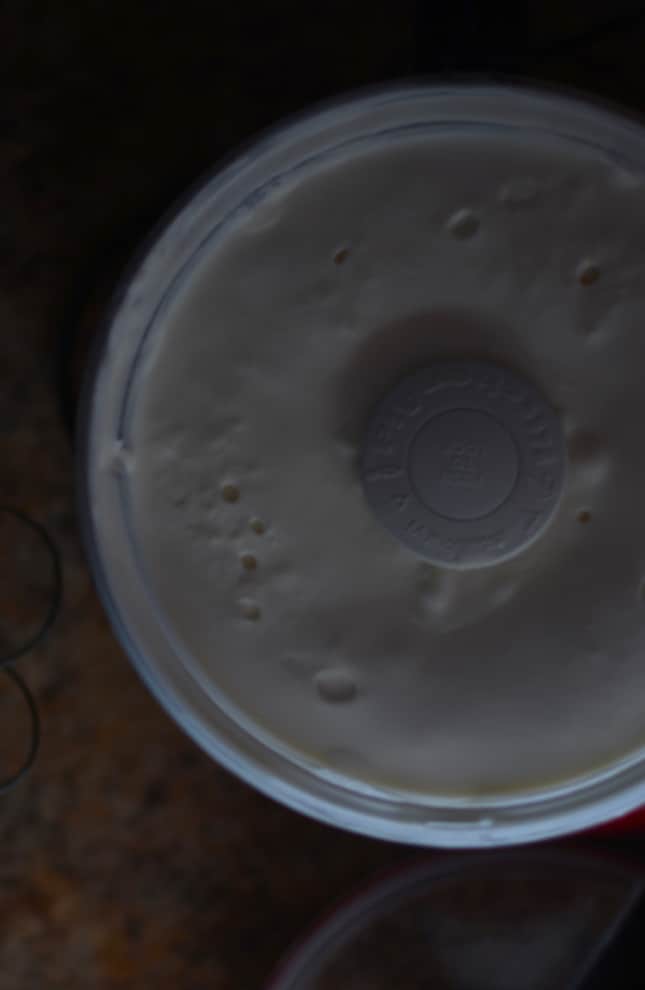
Keep mixing and in another 3-5 minutes you’ll noticed a different sound and volume again. You can see the magic in this little clip. It’s suddenly really sloshy and obviously less volume than the cream. At this point, the buttermilk has completely separated. And you have made glorious butter. Well, almost. You do still have a few more simple steps.
I feel like I should ease one worry here that you may be having if you’ve never tried making real butter before. If you’re like me you may be wondering if you will somehow deter the process if you turn off the food processor and look at the progress. Have no fear. You can stop and start it as many times as you want to check in on the magic. You won’t hurt it.
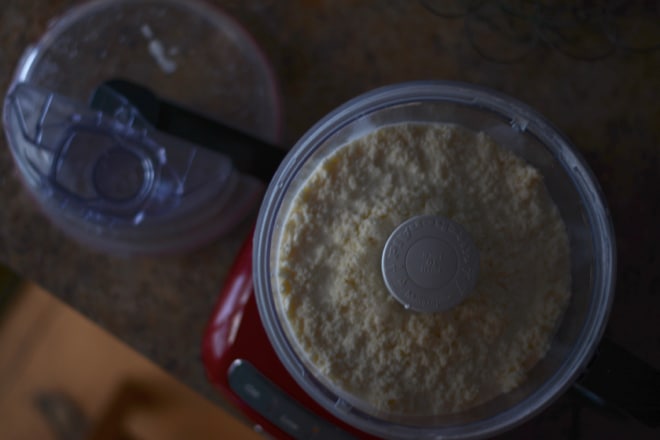
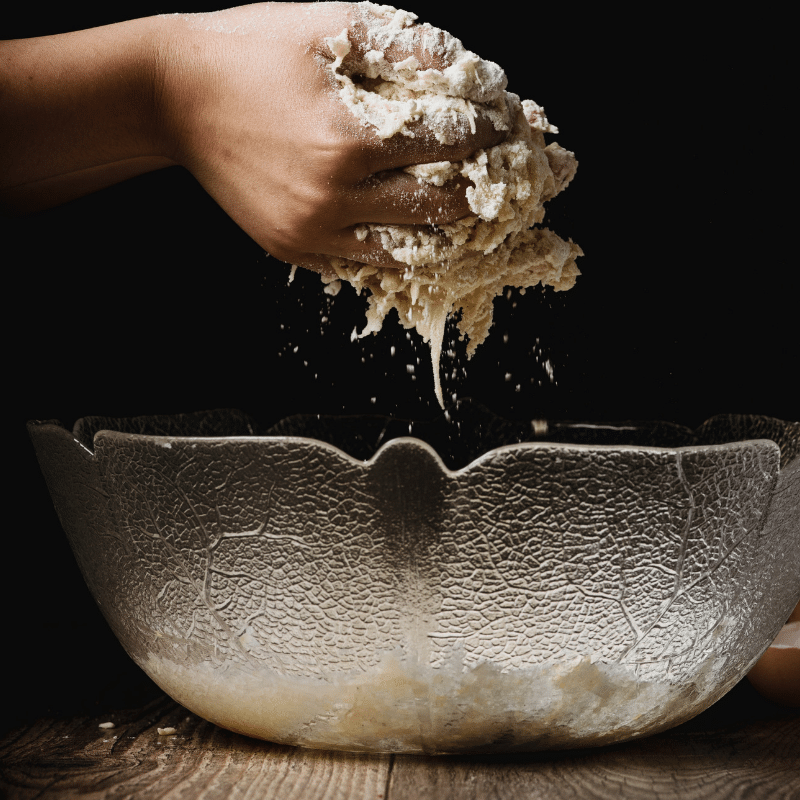
Photo by Gaelle Marcel on Unsplash
Once your butter has separated, strain it out and wash it. (But make sure you keep your buttermilk for the wonderful recipe below.)
Yes, I know it sounds weird to say “wash your butter.” But it’s true. This means you get to play with your food.
Under cold running water, mush and goosh your butter. Fold it over and over again in your hands. Knead it and let it squish between your fingers. Can you tell this is my favorite part?
I’ll turn the water off and literally squeeze out every drop of water I can then do the whole thing again. At least 2 more times. If you do this in a bowl of water you will notice the water was very cloudy the first time and almost perfectly clear by the end, because you’ve effectively washed out the buttermilk.
Then it’s time to add salt, if you want salted butter that is. My family definitely wants salt in our butter. We add 3/4 tsp. for this amount of butter, which measures at almost 9 ounces (8.85 to be exact. I love my kitchen scale.), so a little over a cup, or about the amount of two sticks of store-bought butter.
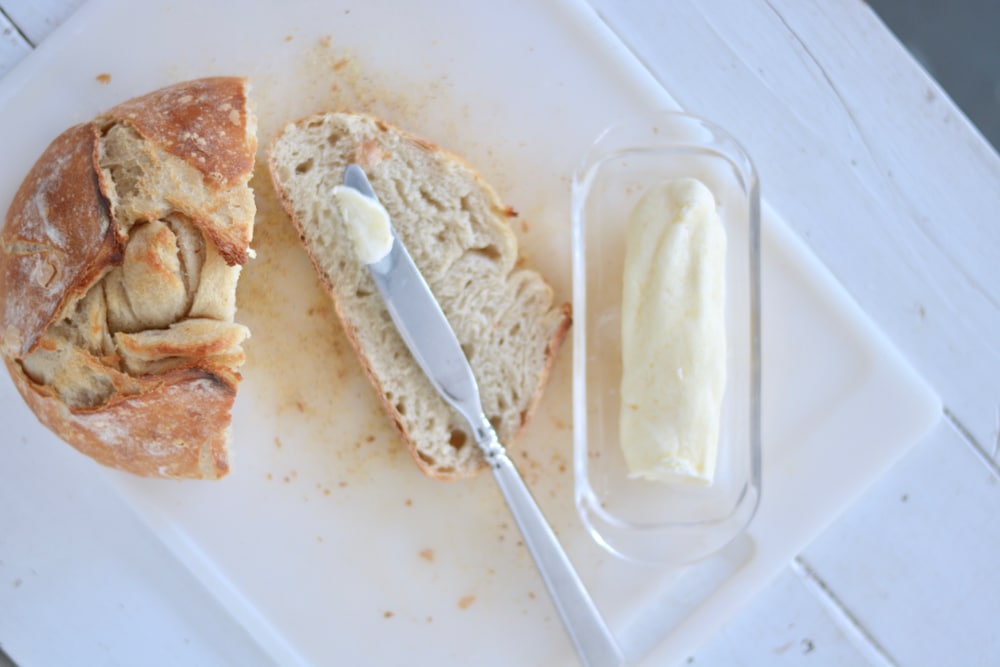
Once the salt is nicely mixed in, I form the butter into two sticks, simply because we like storing it in our butter dish on the counter. They aren’t perfect or pretty, but they’re gorgeous to me. I’ll wrap my two sticks in saran warp, label with the date, and stick them in the fridge, or the freezer if I have a few fresh sticks already in the fridge.
Of course you can form your butter into all kinds of fun shapes with many different butter molds, like this adorable hen-shaped, hand-carved mold (affiliate link) or this one, which Lehman’s offers in a medium size as well. Or this pretty mold shapes a full pound of butter into one pretty bar.
More in future posts about one thing I love to do with fresh cream and how we use our buttermilk.
He causes the grass to grow for the cattle, And vegetation for the labor of man, So that he may bring forth food from the earth. Psalm 104:14
Pin this for later!
Click on the image below to pin this post.
Glance at my Resource Page if you’d like to get a glimpse of all the supplies I use and recommend for everything from gardening, to homeschooling, to chicken care, to nature journaling, to maple syrup making.
Many readers often ask what camera I use to take the images you find here on SoulyRested. I love my Nikon; you can read more about my camera and even purchase your own here.
And hop over here to find out why SoulyRested was considered to be one of the Top 20 Must-Read Homesteading Blogs of 2018.
I’d love to connect!
To find me in some other neck of the woods, just click any (or every!) icon below:
And please follow along!
Please take a second to follow along here on SoulyRested to catch up on a few of my memorable mishaps, discover fascinating things about my centuries-old farmhouse, glean a little parenting/homeschooling insight from this momma who’s been failing at the effort for almost 2 decades, or enjoy the inside scoop on the secrets other legit homesteaders might not tell you.
I hope my focus always encourages you, because simple joys require hard work. Let’s face it, we all need all the encouragement we can get! As soon as you subscribe (in the box at the end of this post), you’ll have immediate access to my Resource Library, which includes my FREE EBOOKs, and amazing recipes for things like whoopie pie cookies, maple sap switchel, and my grandmom’s perfect pie crust.
If you already ARE a subscriber, just hop over to the Resource Library here and enter your personal password. (If you don’t remember your password, no fear, we always include a personalized reminder in every Thursday email, “Hard Work, Simple Joys.”)
And have you tried my a-MAAHZ-ing Lilac Maple Sugar Cookie recipe that’s in my Resource Library? You won’t find this deliciousness anywhere else. And I think you’ll be shocked that you can create something so easily wonderfully uniquely “YUM” in your kitchen.

