Last Updated on June 20, 2024 by Michelle
“So what do I need if I want to make syrup?”
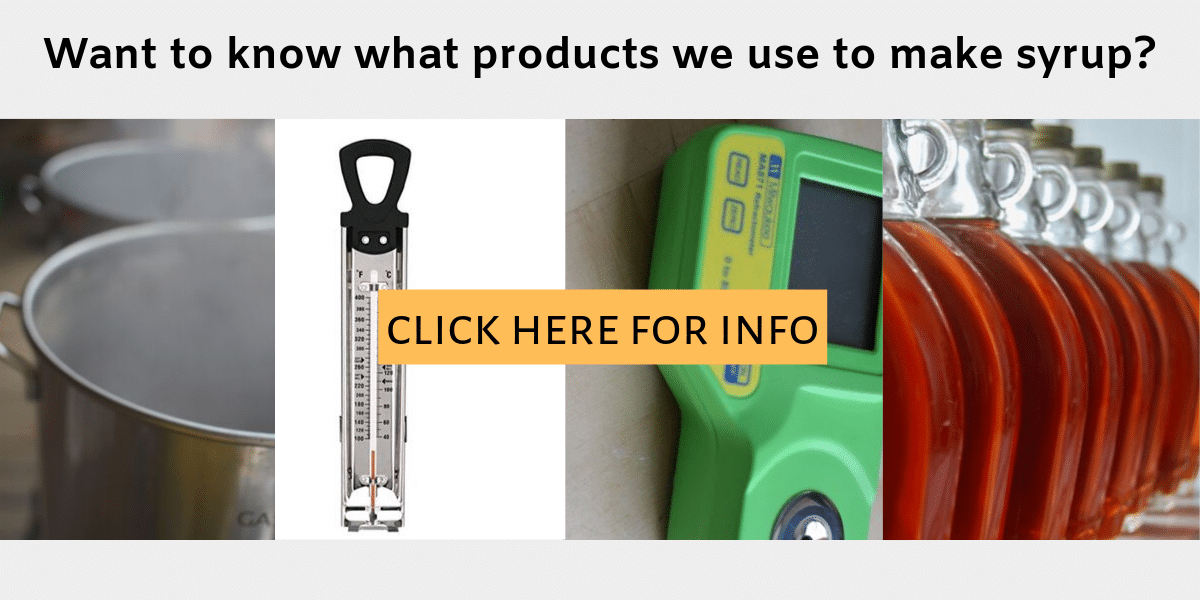
Folks often ask me what tools and equipment they need if they’re starting to explore how to make syrup in the backyard. While all you really need is a tap, a bucket to hold the sap, and a pot to boil the syrup, there are some slightly more specialized tools that I highly recommend if you want to make some truly delicious syrup. I’ll drop a link to all of that below. But first, I wanna share insights from the big-time professionals who are all highlighted in my new book, Sweet Maple. (That’s an affiliate link to order the book, or hop over to right here to take a peek inside and read reviews.)
And whatever you do, don’t miss the complete list of $75-worth of reasons you need to purchase a copy of Sweet Maple right away.
It you’re looking for my course about Making Maple Sugar, make sure you read up on the $53 worth of special bonuses that come that as well. (See that list here.)
/p>
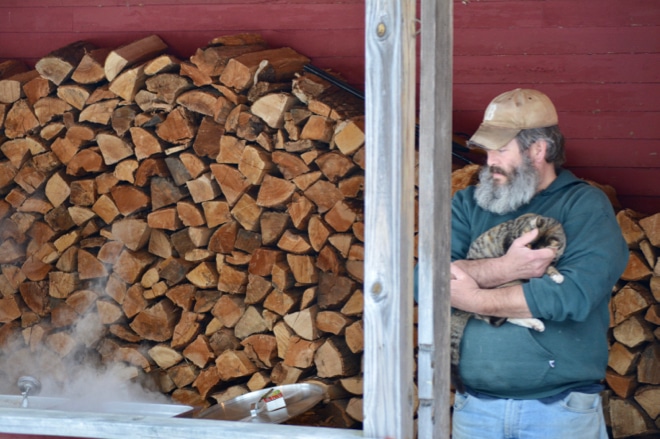
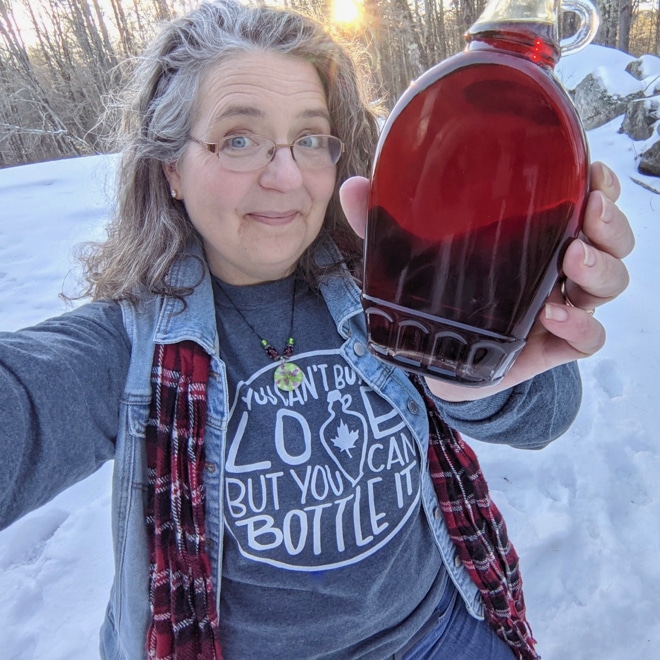
Before we dive into these great tips, I wanted to ask if you’d please consider helping me support sugarmaking education worldwide with every purchase of the SoulyRested Swag. You’ll find the latest designs right here (like the one I’m wearing here) .
Professional Sugarmakers’ Tips on How to Make Syrup
If you’re considering trying your hand at backyard sugarmaking, if you’re wondering how to make syrup with the right equipment, I have a treat for you today. Pour a cup of tea or coffee (sweetened with maple sugar, of course), and join in on a few conversations with professionals. These folks know their syrup. These folks have more than a century-worth of combined experience at tapping, boiling, and bottling delicious, all-natural syrup. And their knowledge stretches across our nation, from the remotest corners–from New England to southern Alaska–and across generations.
So today I’m sharing with you, from their collective wisdom, right out of the pages of Sweet Maple. Sit down with me for a minute with a cup of tea (and maple sugar, of course), and page through the book with me.
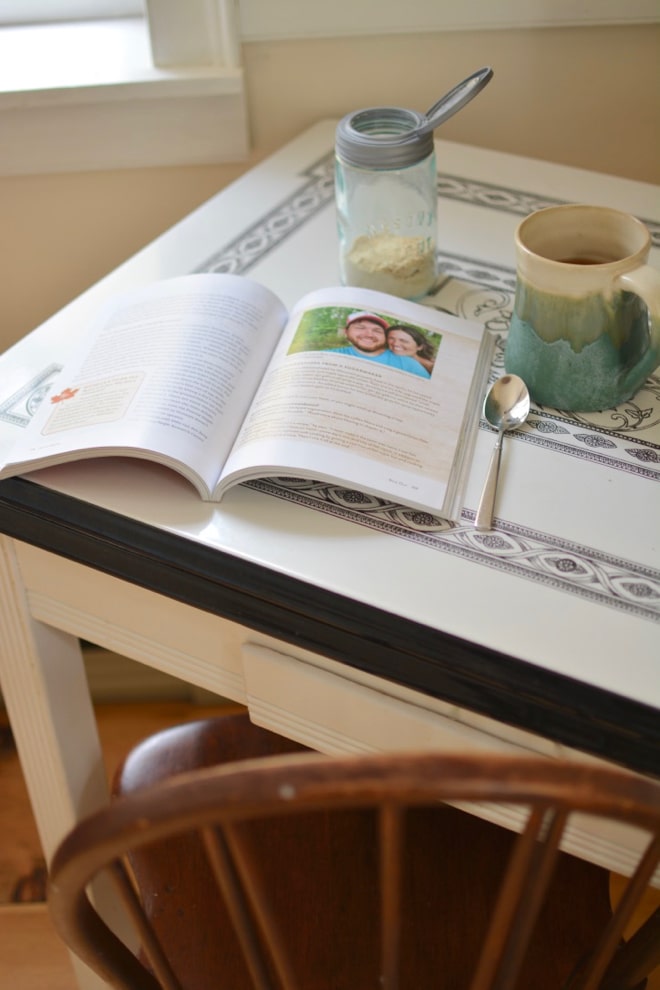
He filters it down to what’s really important.
When Ryan Browne’s dad purchased his Wisconsin property back in the 1970s, he harvested vegetable crops in the summer and maple sap in the winter.
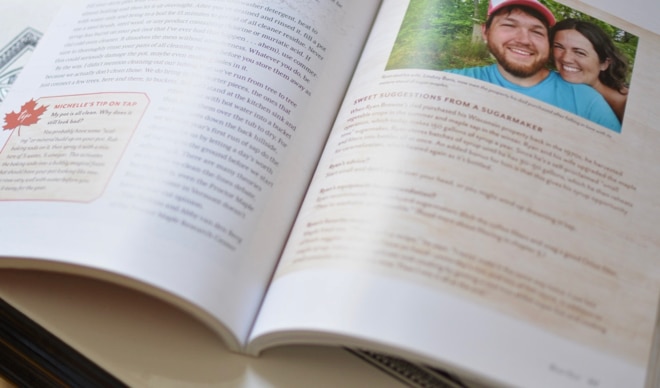
Ryan and his wife upgraded the maple operation, which today makes 150 gallons of syrup a year. Since he’s a self-proclaimed “small time” sugarmaker, Ryan stores batches of syrup until he has 30–50 gallons, which he then reheats and filters into bottles all at once. An added bonus for him is that this gives his syrup opportunity for caramelization, when heated again as it’s bottled.
Ryan’s equipment recommendation?
Ryan recommends that backyard sugarmakers (the ones who are just now learning how to make syrup and trying to scrimp by filtering with a coffee filter) ditch the coffee filters and snag a good Orlon filter. (aff link) “They’re washable and reusable.”
Michelle’s notes about that…
I highly recommend this Beginner Filtering Kit. It’s the best price I’ve found anywhere and it comes with two prefilters, which, in my opinion is the only way to use an Orlon filter.
Watch this brief youtube video where I describe exactly how we use our Orlon filter and prefilters.
Then, if you’d like to know more about “high-tech” filtering that you can make yourself and cut your costs in half, read about our reverse osmosis filter set up–and how to make your own.
His roots are planted in old-school sugaring.
Lou Plante remembers riding around to all the maples in his childhood neighborhood and emptying the sap buckets into the drums on the back of his dad’s truck.

They didn’t sell a lot of syrup then, unlike today, which sees the family shipping out 500 gallons a year. In their new sugarhouse, nestled in the woods of New Hampshire, the Plante family is devoted to making their syrup as delicious as they can, the way it’s been made for centuries—over a wood fire and without modern RO technology. When you taste the Plante Family’s wood-fired syrup, you taste the character.
If you stumbled over “RO technology” I fill you in on what an RO filter is right here, where I share complete directions for making a simple DIY version that has cut our costs of making maple syrup in half and paid for itself the first year we used it. And I show you our RO filter in this video:
Lou’s equipment recommendation?
“Start with a turkey fryer, and order a grading kit for fun, then dive in and enjoy.”
Michelle’s notes about that…
I’d add to that to make sure your giant pot (or turkey fryer) is stainless steel. We have two of these 32-quart stainless steel pots that we boil over our outdoor propane heaters. We also have a double propane burner that we boil two rectangular pans on top of (just like this this pan). Granted, we have more than 100 taps and make more than 14 gallons of syrup every year, so we need more pots and pans for boiling than most backyard sugarmakers will need, especially when they’re just starting out.
She gathered sap as soon as she could walk.
Bette Lambert has no memory of a winter without maple.
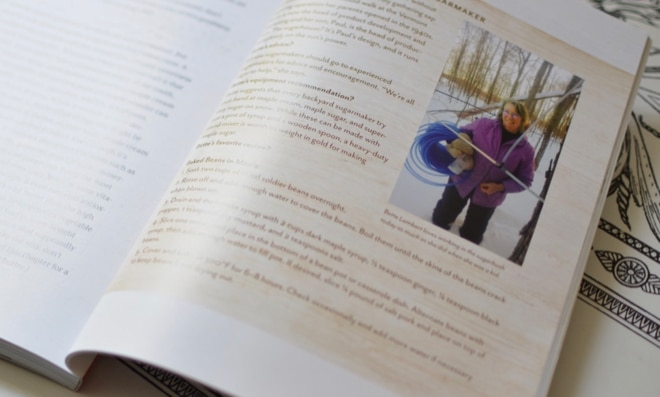
She does remember excitedly gathering sap buckets as soon as she could walk at the Vermont sugaring operation her parents opened in the 1940s. Bette is now the head of product development and marketing and her son, Paul, is the head of production. The sugarhouse? It’s Paul’s design, and it runs completely on the sun’s power.
Bette’s equipment recommendation?
Bette suggests that every backyard sugarmaker try their hand at maple cream, maple sugar, and super-easy sugar on snow. While these can be made with just a pint of syrup and a wooden spoon, a heavy-duty stand mixer is worth its weight in gold for making maple sugar.
Michelle’s notes about that…
This pro-grade mixer is one of my favorite things in my whole kitchen. It makes making maple sugar and maple candies a breeze. And of course I use it for every thing else that requires mixing, using it almost daily.
Go here for a complete list of everything I use and recommend for making maple sugar.
Sugarmaking is part of his personal tagline in life.
Pete Roth doesn’t remember a day not spent near a sugarbush.
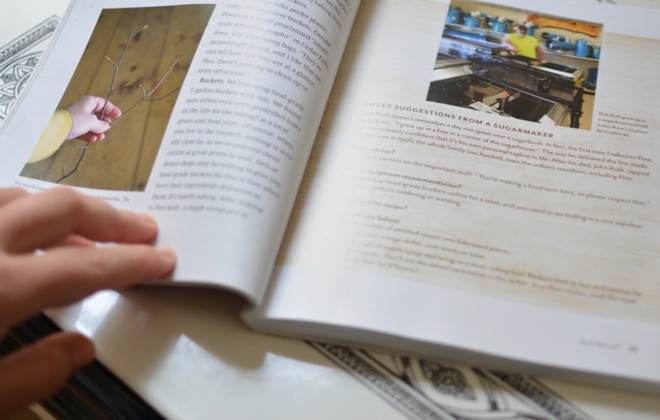
The first time I talked to Pete, he told me, “I grew up in a box in a corner of the sugarhouse.” The way he delivered the line made me immediately confident that it’s his own personal tagline in life. After his dad, John Roth, tapped his first tree in 1956, the whole family was hooked, even the unborn members, including Pete.
Pete’s equipment recommendation?
“You can buy food-grade buckets online for a steal, and you need to be boiling in a nice stainless steel pan, with no soldering or welding.” This boiling pan is exactly like Pete’s talking about.
Michelle’s notes about that…
While you definitely can buy your collecting buckets on Amazon (these food-grade buckets with lids are perfect), I highly recommend stopping in at your local bakery and asking if they ever give away their buckets that their ingredients get delivered in. You know these are food-grade (pretty important), and you know they are never used to store pickles or jalapeno peppers (extra important, in my book, cause I’m pretty sure I wouldn’t like pepper-infused syrup).
They were newlyweds who started something delicious.
Michael and Dulce East started a world-renowned birch syrup company when they were newlyweds and decided to tap a few birch trees.
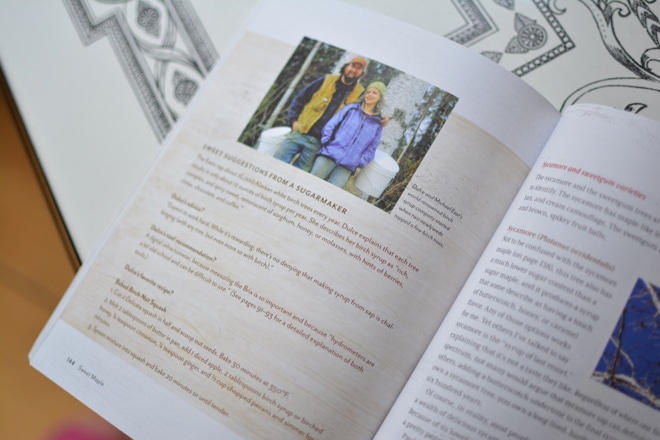
Today the Easts tap about 16,000 Alaskan white birch trees every year. Dulce explains that each tree results in only about 12 ounces of birch syrup per year. She describes her birch syrup as “rich, complex, and spicy-sweet, reminiscent of sorghum, honey, or molasses, with hints of berries, citrus, chocolate, and coffee.”
Dulce’s equipment recommendation?
A digital refractometer, because measuring the Brix is so important and because “hydrometers are a bit old-school and can be difficult to use.” (See pages 91–93 in Sweet Maple for a detailed explanation of both tools and page 90 for an explanation of “Brix.”)
Michelle’s notes about that…
There are actually three great choices when it comes to measuring the sugar content of your syrup. I go into more details about those options in the book as well, but I’ll list all three here for your to compare for yourself:
- Refractometer… There are many options for a refractometer but I wouldn’t personally purchase any one except this digital refractometer. We’ve used it for years and it accurately measures the sugar content of our sap as well as our syrup.
- Hydrometer… A hydrometer is the most cost effective way to start. You’ll need a cup like this one too. Or this is a great hydrometer and cup set that will save you money. Sidenote: there are hydrometers that measure sugar content of SAP too. You’re looking for the one for SYRUP.
- Murphy’s Cup… The Murphy Cup is an ingenious option as well. The dial tells you exactly what your hydrometer should read, so you can make syrup perfection.
For more information comparing these three was to measure your sugar content, see this article as well.
We didn’t have a clue what we were doing.
When Bill and I and our family started out on this maple-making adventure, I wish there had been a how-to manual telling us every detail we needed to know before we even knew what questions to ask. There wasn’t. And we made a ton of mistakes. And we wasted so much time, effort, and money on some pretty nasty stuff we didn’t want to call “syrup.”
Fast-forward five years and I’ve done something I’m super excited about! I’ve written that very book that we needed back then. It’s launching into the world tomorrow. (Oh, and here’s our complete list of every product we recommend when someone asks us how to make syrup.)
And I drove him crazy.
I kinda drove Bill crazy the many years that I was writing the book… I explain more about what I did and how I drove him batty in the podcast I recorded today with Melissa K Norris, over on The Pioneering Today Podcast.
Of course if you enjoy podcasts, you will want to check out my own, Simple Doesn’t Mean Easy. In this episode I discuss the Science Behind the Syrup, adding in thoughts from numerous experts over the last few years:
And you may like this one, where I break down the steps of making maple syrup:
But I did another crazy thing… I asked Bill to help me get a picture to commemorate the fact that my book launch is tomorrow. Turns out my high school sweetheart still likes to ACT like he’s in high school. But guess what? My book is launching tomorrow!!
More about making maple syrup.
This article will help you cut your cost of making maple syrup IN HALF. Seriously.
You’ll love this conversion chart that makes it super easy to BAKE with maple syrup.
I know that there is nothing better for people than to be happy and to do good while they live. That each of them may eat and drink, and find satisfaction in all their toil—this is the gift of God. Ecclesiastes 3: 12-13
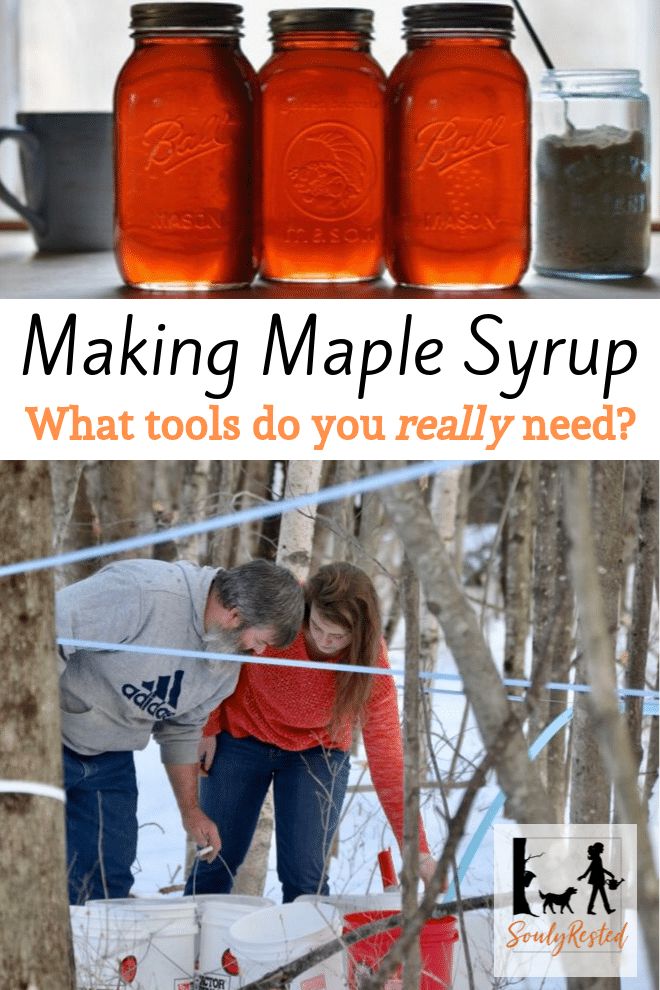
Pin this for later!
Click on the image below to pin this post.
Join in my facebook live today for the full (INSIDE!) scoop about my book… the details you won’t hear anywhere else…
Find out why SoulyRested was considered to be one of the Top 20 Must-Read Homesteading Blogs of 2018 and then one of the Top Homesteading Blogs of 2019 as well.
Glance at my Resource Page if you’d like to get a glimpse of supplies I use for DIY kombucha, maple syrup making, gardening, homeschooling, homesteading topics, nature journaling, and more.
Many readers often ask what camera I use to take the images you find here on SoulyRested. I love my Nikon; you can read more about my camera and even purchase your own here. (affiliate link)
I’d love to connect!
To find me in some other neck of the woods, just click any (or every!) icon below:
And please follow along!
Please take a second to follow along here on SoulyRested to catch up on a few of my memorable mishaps, discover fascinating things about my centuries-old farmhouse, glean a little parenting/homeschooling insight from this momma who’s been failing at the effort for almost 2 decades, or enjoy the inside scoop on the secrets other legit homesteaders might not tell you.
And have you tried my a-MAAHZ-ing Maple Sugar Cookie recipe that’s in my Resource Library? Oh my golly they are mmmm mmmmm good.




Hi Michelle,
I enjoy your site..
I have bought the your published list of items to put together your RO device. I can’t seem to figure how to use the 3/8” tubing which seems to be too large for all the fittings. By chance did I order the wrong size tubing? The 1/4”” also does not fit into the Shark fittings. I double checked the the product numbers. Any advice would be helpful.
My best, Alan
Hi Alan, I haven’t been able to figure out what happened… Bill wonders if Lowes changed item #s; apparently that’s happened to him before… A previous comment explains these details. I’m hoping this helps?
“I think actually one of the part numbers you listed isn’t correct – the 3/8 polyethylene tubing (25′ of it) item #879277, model #98634 is too large for that pump. It does have an ID of 3/8, but it should have an OD of 3/8.
The other item you listed, 1/4 polyethylene tubing (25′ of it) item #814305, model #98584, Is correct, but technically it has an OD of 3/8 and the ID is 1/4.
I ended up purchasing an even SMALLER tubing with and OD of 1/4 and an ID of .170 in and this is the correct tubing for the smaller of the two tubing sizes and the fittings you have listed.
EZ-FLO 0.170-in ID x 150-ft Polyethylene Tubing Item #879275Model #98632”