Last Updated on June 20, 2024 by Michelle
If you want to save money making maple syrup… If DIY maple syrup is on your bucket list… then this article is for you; because you need to know about reverse osmosis.
If you find the subject of DIY maple syrup intriguing but aren’t up for long hours of daily sap gathering and late-night boiling, keep reading.
DISCLOSURE: This post contains affiliate links.
If don’t have a desire to make your own maple syrup, then you might want to just read my collection of DIY maple syrup posts for fun and order some amazing all-natural wood-fired maple syrup from my friends at Bear Mountain Maple, a wonderful family-run sugar shack here in New England. They do all the work and you enjoy all the sweet rewards.
But if you’re intrigued and would like to know more about one family’s adventure learning all about DIY maple syrup, you’re in the right place. This site is loaded with just that. When you’re ready for more, snag a copy of Sweet Maple or hop over build your own reverse osmosis system for maple syrup.
It feels good to save money making maple syrup
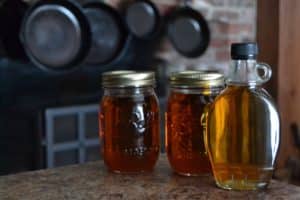
The sight I woke up to on the kitchen counter from last night’s efforts made me happy. It was meager and far-from-optimal, but to me it’s golden.
How to spend less money making maple syrup
Since our maple syrup operation manager (aka, Bill, my husband, the syrup fanatic) has spent much less money on propane in his DIY maple syrup efforts this year, compared to last year, even though he’s tapped twice as many maples, I splurged on one box of some fancy jars for him to use, along with our ball jars.
Why my splurge? Not so much to make my awesome husband feel professional (although that is a bonus), but mainly to try to conserve our liquid gold. You see, now that he’s gotten his operation running a little smoother and more productively, he’s giving away his efforts to friends and family. And the new jars are half the volume of a pint canning jar. The professional looking jars, because they’re so “authentic” allow him to look even more “generous,” while giving away less of his blood-sweet-and-bucketful-of-sap-hauling tears.
Okay, he’s never once cried while hauling the overflowing buckets. I guess that was me crying, those times that he spilt the sweet-promising sap.
If you’d like some fancy, professional-looking jars for your DIY maple syrup operation, here’s a link to a case of these pretty glass bottles. Or, if you’d like slightly larger ones, these are nice 12 oz. syrup jars. Honestly, I like having both sizes on hand, so the special friends and family can take home a larger jar. 😉
But the real focus of my post is on an important fact I skimmed over a few paragraphs back.
Did you catch it?
We spent much less money on propane in our DIY maple syrup operation this year than last. And in this post I’m gonna not only tell you how but also give you direct links to all you need to know if you would like to do the same. You can even scroll to the end of this post if you’d like handy links to the products you would need if you have a hankering to build what my husband built to save hundreds of dollars.
Take a Second to Save These Posts for Later
I know I come across helpful pointers online all the time that I plan on coming back to, only to realize later that I didn’t save the information, or I saved it but don’t remember where I saved it. So I wanted to save you the 20-minute heartache of floundering around for this muli-part DIY syrup series when you need it. You can PIN each post right here, then keep reading…
PIN Part 1, (or read it here) about identifying and marking your trees in the fall and gathering some of your preliminary supplies
PIN Part 2,(or read that one here) about when, where, and how to drill your taps. This post also covers how to know if you live where you can tap successfully and 7 questions you need to know the answers to before you tap your trees.
PIN Part 3,(or read it here) about a reverse osmosis filter–what it is, how to build one yourself, and how it can save you hundreds a year in your backyard syrup making process.
PIN Part 4, (or read it here)–a step-by-step guide to boiling your sap.
PIN Part 5, the guide you’re reading now, to know the perfect time to stop tapping your trees.
PIN Part 6, a spring-time guide for identifying sugar maples. (Or read it here.)
What If You’re All New to This?
If you’re just starting out on this adventure of DIY maple syrup, just pin this post (you can pin it with this link) to visit next year or the year after.
Take it slow and easy. Don’t worry about investing much money into your operation until you’ve tried it out and made sure this is really something you want to invest your time and efforts into. In fact, I’d recommend just trying to make a few jars this year, by tapping just a couple maple trees. (See this previous post about how we choose and mark the trees we want to tap.)
Get a feel for the fickleness of the process and the huge time commitment it is that can’t really be planned for on your calendar, but has to be at the mercy of the weather forecast. (We’ve gone for 2-3 weeks with temps that are too cold for sap to run, to multiple days in a row–unexpectedly, overnight–of dozens of gallons of sap a day, every day, when daytime temps suddenly rise above 40 degrees.)
How to boil down maple syrup at home
When the temperatures are perfect for causing tension in the trees (below freezing at night and over 40 degrees in the day), the sap flows with passion. We have a few dozen trees tapped this year. On our best day so far this season, our taps presented us with 30 gallons of sap in one day.
Once the 30 gallons is boiled down, it equals 3 pint-sized jars of maple syrup. Yep, a 5-gallon bucket of sap equals 1 cup of syrup. Most families would need 10 gallons of sap for just one pancake breakfast!
Needless to say, that means you have to spend a lot of time boiling down the sap to take out the water and create a delicious, sweet, natural, liquid sugar.
Is it easy to make maple syrup?
Sadly, a few weeks ago I made the worst DIY maple syrup blunder of all. I walked away from a boiling pot when it needed my close attention.
You see, for the first many hours of boil, you can just periodically check in on your pan of sap, adding more when appropriate. But when you’re close to having just the right amount of sugar and very little water, well, then you can’t turn your back on it. (Not only does the volume tell you it’s close to time, but the warmer color–instead of the clear liquid you started with–and the amazing smell give it away too.)
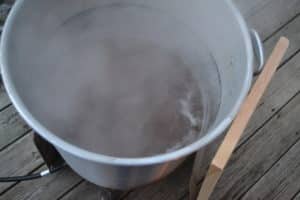
This pot is perfection, and the sap is ready to be brought in to the kitchen for the final, careful boil. (More about that in my next post.)–>
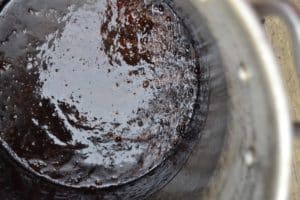
This pot is bad. Very bad. The result of me carelessly being sidetracked with animal chores and leaving the pot unattended.–>
Of course, the good side to the required constant boiling and monitoring is that the giant, delicious smelling pot provides a nice place to congregate and talk and, well, of course, often taste the sweet sap to know when it’s ready.
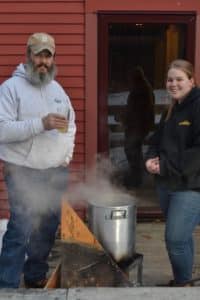
So with all this crazy boiling time and monitoring that is required, not only is DIY maple syrup not for the faint at heart or busy of schedule, but it’s also not for the poor of pocketbook. Our first winter experimenting with DIY maple syrup we spent hundreds on propane. And I think in the end we made about 8 pint jars of good syrup, after lots of mess ups.
Is it hard to make maple syrup? There’s definitely a learning curve, but you can save a lot of heartache–and money!–if you dive in with all the knowledge you can. That’s why I created this free resource for you–>
Read this post if you’d like to know one wonderful thing we made with syrup that we had cooked too long, so it was dark and crystalized. Thankfully, it was a very tasty way to save all our bad jars.
Needless to say, this year we needed to find a way to save money and use less propane.
The solution cost us a few hundred this year, but has almost paid for itself already.
How Can You Save Money on DIY Maple Syrup?
Our maple syrup operation manager (aka hubby) built a reverse osmosis (RO) filter system that we run our sap through before boiling. The amazing beauty of this system is that it reduces the sap we need to boil to about 25-30% of what we gather from the trees. That means our boiling time is cut by 75%. That means our propane expense is cut by 75%. That means the maple syrup operation bookkeeper (aka me) is very happy.
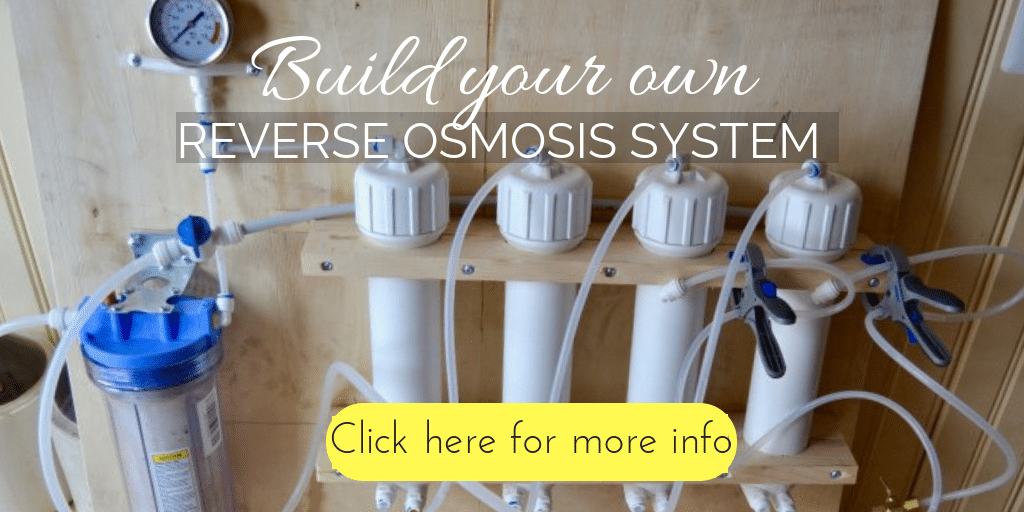
Find out how to build a reverse osmosis system for maple syrup. You’ll be glad you did.
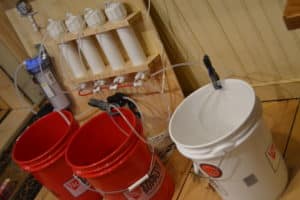
The first bucket is the pure sap, the final bucket (white in this picture) is the filtered sap that we will be boiling into syrup. The middle bucket holds the byproduct of reverse osmosis, the added bonus this operation’s bookkeeper LOVES: the permeate.
Permeate is pure water. Water that has come right out of the ground, through a maple tree. It’s a wonderful tasting, refreshing water that said bookkeeper enjoys drinking when said manager is running the filter system in the evenings.
Bonus: people dish out over $5 a bottle for this stuff! Seriously, a brother/sister duo in Quebec have figured out a way to make a business based on this syrup-making byproduct.
You’ll love this recent post of one more way we filter our sap that DOESN’T COST A PENNY!
And if you’d like to try you hand at a super-easy, really delicious, maple-infused, homemade electrolyte-filled drink right now (think Maple Gatorade), sign up for my weekly-ish newsletter about my homestead life–and monthly-ish insights into the sugarbush or my obsession with all things maple–right here. You’ll be “in” instantly. Then snag the gatorade drink (“maple switchel”), and free ebooks, and lots of other goodies in my resource library.
So far in this series, I’ve filled you in on how we choose our trees that we will tap and what supplies we gather in the fall, as well as how we tap our trees and the 7 questions you need to ask before tapping trees. My next post in this series will fill you in on the boiling and bottling process. You don’t wanna miss that one! Please take a second to follow along here on SoulyRested. You’ll receive a weekly-ish email from me–my e-newsletter, with links to any and all awesomely “sweet” new posts.
What Do You Need to Build Your Own RO System?
I am super excited to report that Bill (my favorite sugarmaker EVAH, aka my handsome hubby) has helped me put together a complete list of exactly what you need to know to make this glorious money-saving reverse osmosis system for yourself.
So don’t waste another minute. Learn how to build a reverse osmosis system for maple syrup.
If you enjoyed this post, you’ll love being a part of the facebook group I run, Maple Syrup Making. It’s full of helpful maple enthusiasts like yourself from around the world.
While I am enamored with the wonderous idea of sweet syrup coming from simple trees in the woods of my backyard, that’s got nothing on the trees I will someday see in eternity! Listen to THIS:
Through the middle of the street of the city; also, on either side of the river, the tree of life with its twelve kinds of fruit, yielding its fruit each month. The leaves of the tree were for the healing of the nations. Revelation 22:2
v v v v v v v v v v v
Pin this for later!
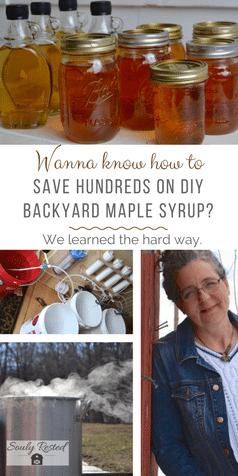
Just click this image to save this article for later.–>
Find out why SoulyRested was considered to be one of the One of the Top Homesteading Blogs.
Glance at my Resource Page if you’d like to get a glimpse of all the supplies I use and recommend for everything from gardening, to homeschooling, to chicken care, to nature journaling, to maple syrup making.
Don’t forget this FREE resource!
Learn all the inside details on making your own maple syrup right here.
I’d love to connect!
To find me in some other neck of the woods, just click any (or every!) icon below:



Hey folks … if you have a freezer and some of your hand/made maple syrup, you can freeze the resulting syrup for YEARS without it going bad. I have kept syrup from the Lorain County Metro park (Ohio) sugaring program and sm down to One pint of the stuff. Without testing for sugar content you can freeze your home-made syrup for years!!! The stuff won’t freeze but the watery stuff will and sit there … however, don’t throw it out! You can reheat it to it’s former consistency and pour it on pancakes, waffles, bread (mixed with butter) for a heavenly treat. Just wanted to let you know that the syrup won’t go bad and must be reheated before use. So do try it!