Last Updated on September 26, 2025 by Michelle
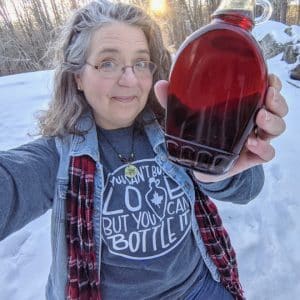
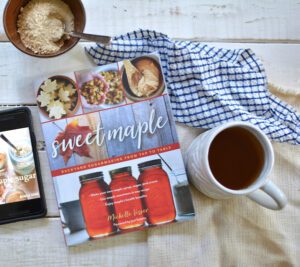
I really love maple syrup. I loved learning how to make maple syrup (heck, I’m always learning!). I love eating maple syrup year-round. I even love drinking maple sap. In fact, I wrote a whole book about maple syrup–that’s how much I love to make maple syrup.
There’s nothing better than driving around on a chilly March morning in New England and rolling the windows down (just for a second, because it’s freaking COLD in New England in March). But if you’re driving by a sugar shack and you see the smoke billowing out of the chimney, it’s amazing to take in that smell of maple-infused air–the smell of maple season, baby.
I heartily believe that anyone can make syrup–even if you don’t have maple trees where you live. Did you know that every single state in the U.S. has at least one tappable kind of tree? Read this post for 32 trees that can be tapped for making syrup.
But I know the process of sugaring can be intimidating. I’ve been there.
So let’s break down the process of making maple syrup into a super-simple guide for you. Right here.
If you want the full guide–if you want to join me in my sugarbush and kitchen and walk through all the details together–join Maple Syrup University. The doors are open year-round and you can save big–on top of the already discounted price–with code SOULYRESTED.
Making your own maple syrup is easy-peasy, I promise.
How to make maple syrup, step-by-step
Maple syrup all starts with sap. Sap runs when it freezes at night and warms up during the day. In my area, that usually happens from about mid-to-late February through early April, but that will vary in every region. In order to turn maple sap into syrup, it will need to be boiled down, like, a lot; 40 gallons of sap = 1 gallon of syrup.
Let’s get syruping!
- Start by identifying your maple trees. While fall is a good time to find your maples, looking for their bright fall leaves, I think sugar maples are easiest to identify in the spring. They have a distinctive bright green foliage that emerges earlier than many other trees, and bonus, without the leaves you can also identify them easily by their branch formation. More about that here: Identify sugar maple trees in the spring.
- Start tapping at the right time. Once you tap a tree, you generally only have 6 weeks of flowing sap (before the tree starts to heal itself and won’t flow anymore), so you really want to nail the timing. If you tap too soon, you’ll miss the end-of-season flow, and if you tap too late you’ll miss the height of syruping. Learn about tapping your trees at the right time here.
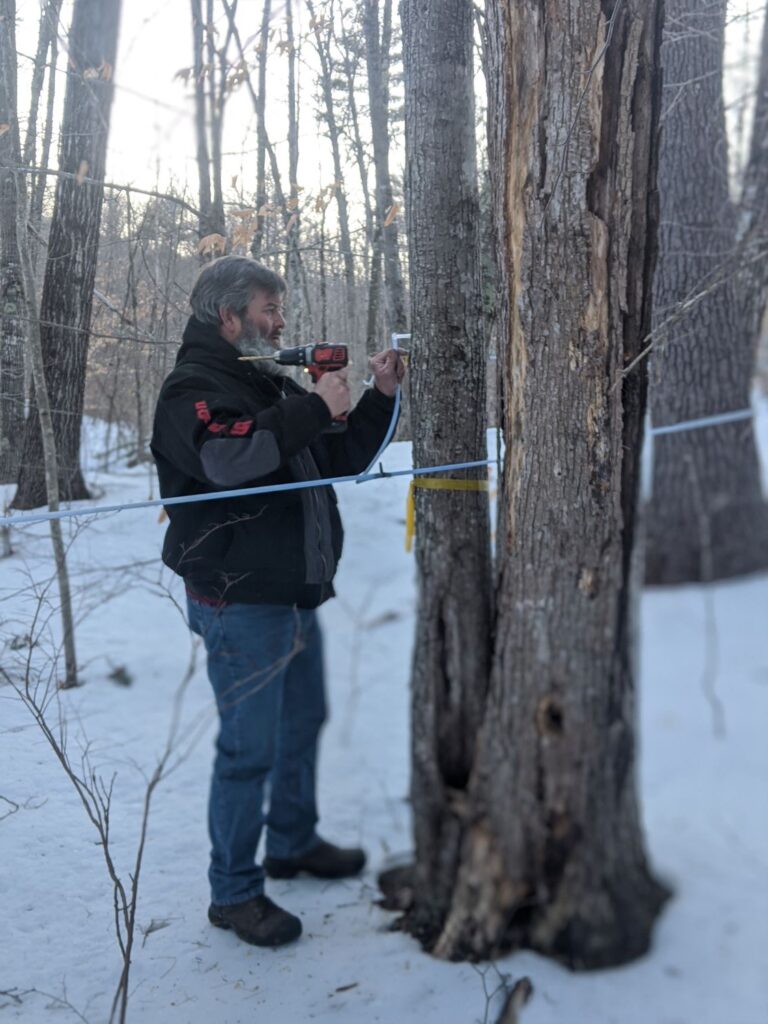
- Start tapping trees and collecting sap. While there are tons of ways to do this, the simplest way is with traditional taps, lines, and buckets. See my full list of my favorite sugarmaking supplies if you need to stock up on some. Bags can also be used to collect sap, but we prefer buckets because they keep squirrels and other pests out, they hold more sap, and they’re just overall sturdier and easier to use. (More details on how to physically tap your trees are below.) More about deterring squirrels in this article: 6 Ways to Outsmart Squirrels on a Maple Syrup Farm.
- Collect and filter sap. This step is where an RO filter is amazing because it removes water from the sap but leaves all the sugar–the good stuff–behind, leaving you with about half the amount of sap to boil, saving you so much time and money. Here’s my guide for how to build your own reverse osmosis system. If you don’t want to build an RO machine, go ahead and simply filter your sap through a filter made just for maple sap.
- Boil your sap outside. It’s important to not start your sap boiling inside, or you’ll have a humid, sticky mess of a kitchen. For an easy, inexpensive beginner set up, I highly recommend a simple propane burner and turkey fryer pans. I link to mine here.
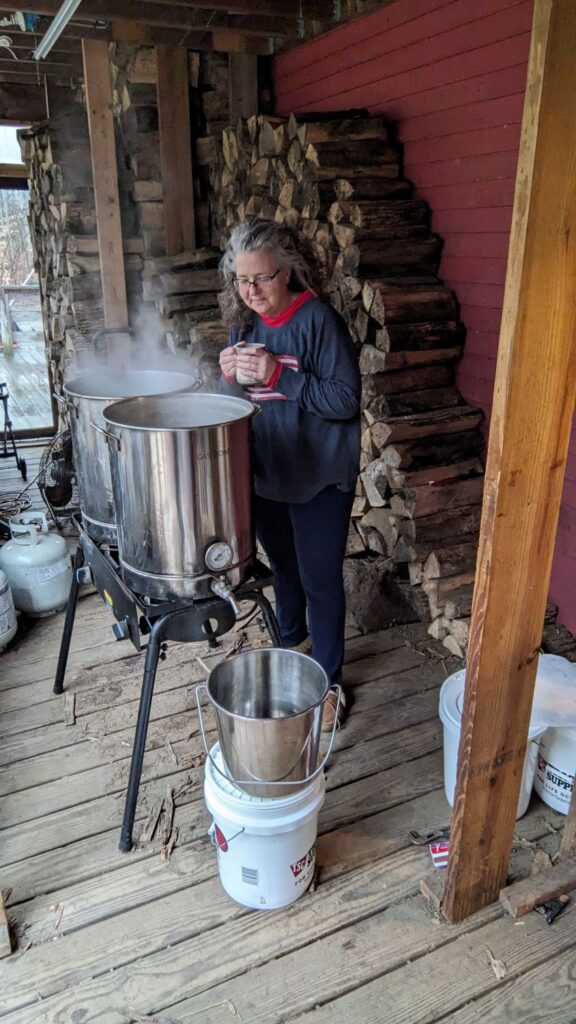
- Bring your sap inside to finish boiling. Try to not bring it in too soon, but you’ll want to closely monitor the syrup as it gets close to being able to bottle as it can boil over with only a second’s notice. (p.s. if your syrup does start to boil over, quickly drop a dollop of butter into your pan–it will make the syrup go down and stop boiling over.) You’ll know you’re close enough to bring the syrup in when a candy thermometer starts getting close to 170-ish to 180-ish degrees. Or, I highly recommend reading the sugar content (“brix”) and bringing in your syrup when it’s around 60 brix. This article explains a lot more about measuring brix and what tools you need to make syrup.
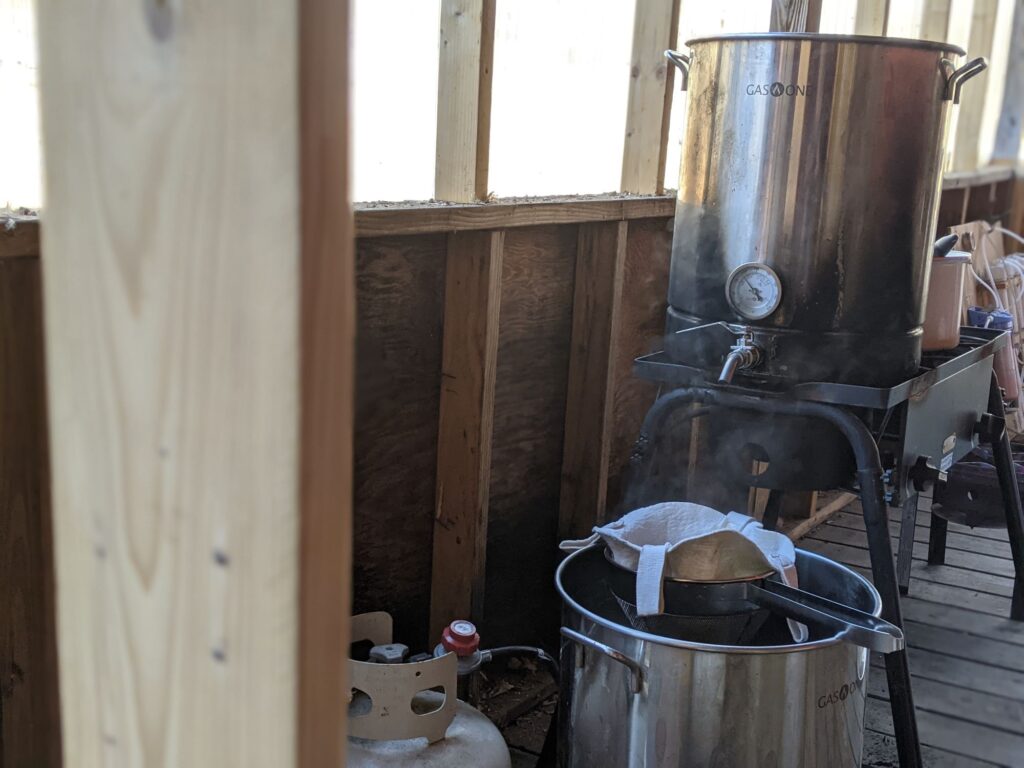
- Filter your hot sap/almost syrup again at this point, when you’re transferring the syrup from the outside turkey fryer pot to the inside stock pot. And whatever you do, don’t try to DIY it with an old t-shirt or coffee filters. Trust me on this one. This filter and pre-filter set are a great option.
- Bottle it (and filter again). Boil your sap inside until it reaches 219 degrees. We also use a refractometer at this stage to measure the sugar content of the syrup before bottling–ideally syrup will be 66% sugar content. When it’s reading perfectly, work quickly to filter the syrup again (prefilters are your best friend here, trust me!), then bottle it in clean, sterilized jars fitted with new (unused) canning lids and tightly fitted bands. Make sure to work quickly here so the syrup is still hot when it’s poured into jars. If it’s not, simply reheat it on the stove before bottling. If you reheat your syrup for bottling, just be sure to keep the temperature under 190, or you’ll need to filter it again.
- Let the syrup cool, make sure the lids seal, and store your liquid gold away (at room temperature–it’s totally shelf stable without any canning) for future use.
- Pull your taps when the season ends. This is easily identified when either the sap stops flowing or flows very slowly, your sap turns cloudy quickly during the day, and/or when it stops freezing at night and buds show up on the trees. Details about knowing when to stop tapping trees here.
- Pat yourself on the back, because you just made real maple syrup from scratch! Now enjoy the fruits of your labor.
How to install taps into maple trees to make maple syrup
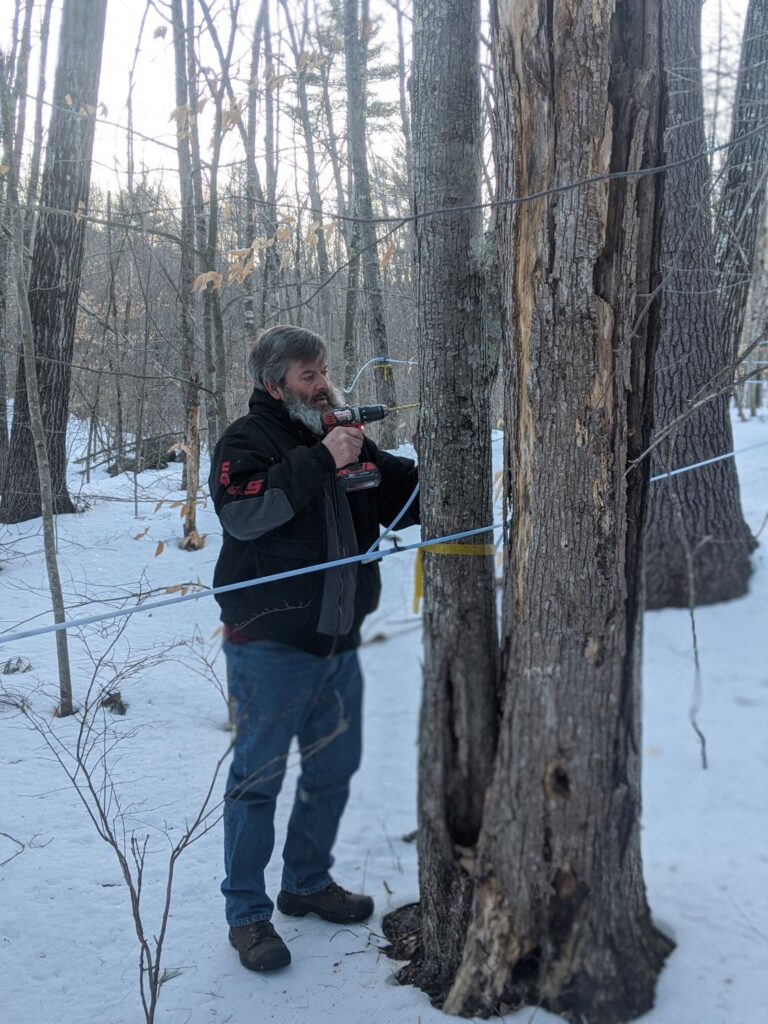
If this is the first time the tree has been tapped, choose a location about 36 inches off the ground. If the tree has been tapped before, find the tap hole. Then move about 4 inches over and a few inches up, and drill this year’s hole. Remove any loose bark or other debris, then, in one smooth motion, drill about 1.5 inches into the tree. Now install your tap. It’s best to use an actual hammer, and tap lightly, not ram it in by banging it with the end of your drill which can cause the hole to crack and sap to leak over time… not saying I know this from personal experience or anything *cough*. Now attach your tubing to your tap.
If you’re having trouble fitting your tubing onto your taps, try carrying a thermos of warm water with you, sticking the end of the tubing into it as needed to soften it just enough to make it slide onto the tap easier.
A general rule is that trees 10-17″ in diameter get one tap, 18-24″ get 2, and 25″+ can handle 3 taps.
Why is filtering maple sap important when I make maple syrup?
Filtering maple sap at all the stages of making maple syrup is really important for a few reasons.
- To remove natural debris–not only is getting a bit of leaf or pine needle in your syrup unpleasant, it actually impacts the flavor of your syrup in a major way. And it’s not a good way.
- If you’re using an evaporator to boil your syrup, it’s really important to keep the sap you’re pouring into it as clean as humanly possible so you don’t clog anything up.
- Filtering sap to remove debris and microorganisms in the sap help the syrup keep on the shelf for longer and not mold, as well as protect the integrity of the grade of syrup.
- Most importantly, filtering removes niter from the syrup (also called “sugar sand”). If you’ve ever made a batch of “crunchy” syrup, you know what I’m talking about. Unfiltered syrup will contain niter, which floats around in the bottom of your jar and adds an unpleasant taste and texture. It’s best to filter your syrup well to avoid the niter issue. In fact, I often take a taste of the syrup that clings to my cone filter after I get through bottling just to remind myself how important filtering is–the leftover syrup/niter mixture in the filter is bitter, gritty, and off-putting.
When is homemade maple syrup ready to bottle?
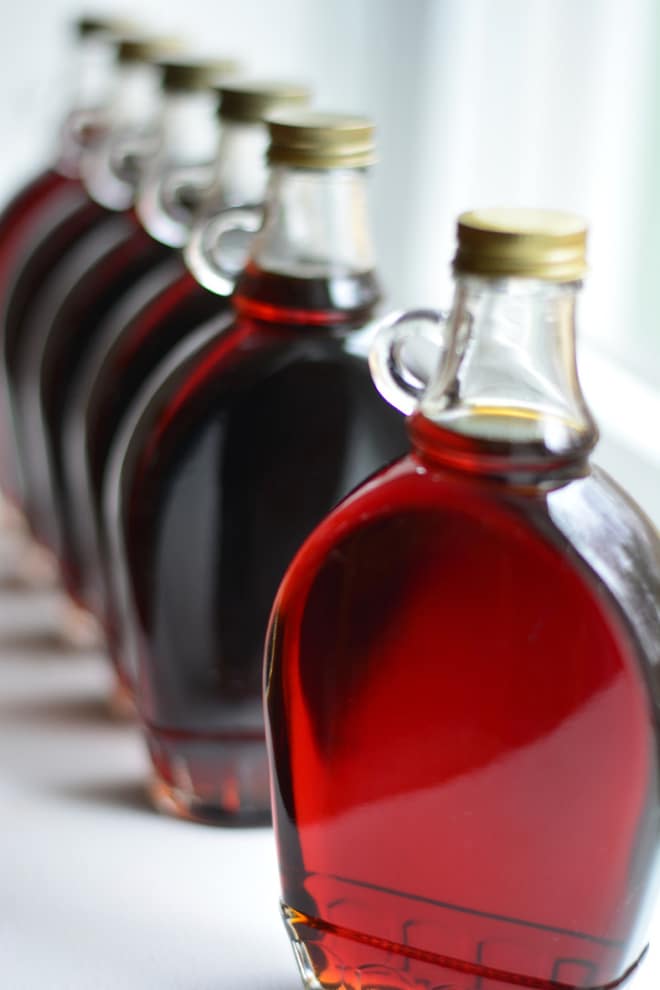
Maple syrup is ready to bottle when a candy thermometer reads 219 degrees, and a refractometer reads 66 brix.
Do I need to can homemade maple syrup?
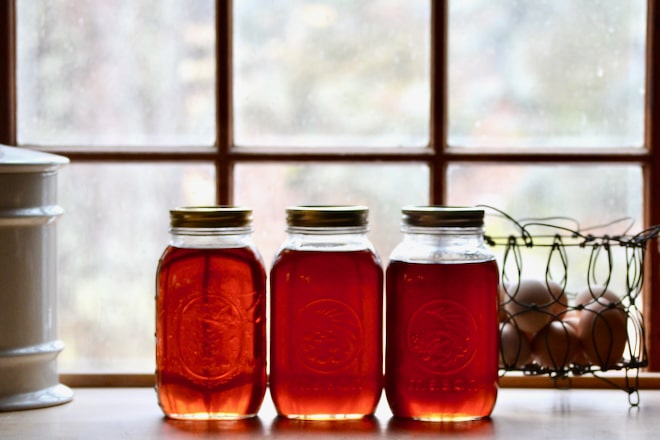
Nope! As long as your syrup is 180-190 degrees when it’s bottled and your lids seal, water bath canning your homemade syrup is not only not needed, but it can actually harm your syrup. When you place the jars of syrup into hot water, you cause niter to reform in your syrup, which will give all your hard work a bitter flavor and gritty texture. Nobody wants that.
The fact is, even if your maple syrup wasn’t canned or sealed, it’s technically safe to store at room temperature, to a certain extent. The extremely high sugar content makes it pretty hard for bad bacteria to grow in your syrup. I do store opened jars of syrup in the fridge just to be safe, but some folks choose to leave it at room temperature. If your opened jar of maple syrup did develop some mold on top, you can simply skim the mold off, heat the syrup up to 180-190 degrees, and use as usual.
Also, the container you use matters. According to this article, glass canning jars have been found to store maple syrup “almost indefinitely,” while cheap plastic containers allow oxygen into the syrup and may only maintain the quality of the syrup for 3-6 months. Big difference.
Most importantly, using a refractometer and closely monitoring the brix of your syrup will help keep your syrup free of bacteria. (More about how to measure the Brix, or sugar content, here.) Hot pack canning syrup under 66 brix isn’t as safe, since the water content will be higher and the syrup will not only be likely to ferment, but the higher water content will also be more likely to allow molds and bacteria to grow. However, keep in mind that anything over 68 brix will be likely to form sugar crystals.
From start to finish, careful monitoring and intentional cleanliness plays a huge role in keeping your syrup safe and free from bacteria, regardless of your storage methods.
How to substitute maple syrup for sugar in any recipe
Now that we’ve covered all the basics of how to make your own maple syrup, now for the fun part–how to use it!
When replacing cane sugar with maple syrup in recipes, here are my favorite tips to give people.
- Replace 1 cup cane sugar with 2/3 – 3/4 cup maple syrup.
- Remove about 3 tablespoons of liquid from your recipe.
- Finally, reduce your oven temperature by 25 degrees.
You’re now on your way to making and enjoying the best sweetener nature has to offer. Go here for more about baking with maple syrup & a handy conversion chart.
Want to go more in-depth on how to make maple syrup?
I really wanted to make this post simple, beginner friendly and helpful for getting started making your own maple syrup from scratch. But if you’re ready to level up your maple skills, I’d love to have you join me in Maple Syrup University, where we talk about all things maple syrup in-depth. Use code SOULYRESTED and you can save a sweet penny too. 😉
Want more help making maple syrup?
Talk to me about your syrup making!
If you have any questions, leave a comment below. And please tag me on ig to show me your maple syrup @souly.rested.
More on how to make maple syrup:
- 32 tappable trees that can be tapped for making syrup
- Build your own reverse osmosis system for maple syrup
- How to identify a maple tree and make syrup
- How to know the perfect time to stop tapping your maple trees
- Substitute maple syrup for sugar
- How to make maple cream aka maple butter
“Listen to me, and eat what is good, and you will delight in the richest of fare.” Isaiah 55:2
Pin this for later!
Click on the image below to pin this post.


We don’t have maple trees near us but it was fun to see the process!
This is amazing ! I had no idea…
It’s a pretty amazing process (with delicious results!)
Thanks for the great detailed explanation of how to make our own syrup. We have many maples on our property, you make it seem not so intimidating now!
Sweet!! You may want to dive into Maple Syrup Univ too (let me know if you’d like a discount code) and you may enjoy a copy of my print book on the topic. 🙂 Happy tapping!!
this article is very useful, thank you for making a good article