Last Updated on April 8, 2025 by Michelle
When I first started making my own flour almost a decade ago, people called me crazy. Make flour at home? That sounded wild just a few short years ago.
Then 2020 hit.
Nobody made fun of my flour-making. I was content at home, with my wheat berries, grain mill, and plenty of flour for baked goods and bread. But you? You shouldn’t wait for the next pandemic, crisis, or otherwise word-adjusting-event-that-leaves-grocery-stores-bare to learn to make your own flour. There are SO many benefits to making your own flour that it just makes sense to start making flour at home. Now.
For instance, did you know fresh milled flour contains 40 out of the 44 essential minerals our bodies need to survive and thrive? That’s 91% of the minerals your body needs in total. Comparatively, store flour contains only artificial, lab-made vitamins that your body has a hard time processing.
Anyways. Let’s learn how to make flour at home from start to finish.
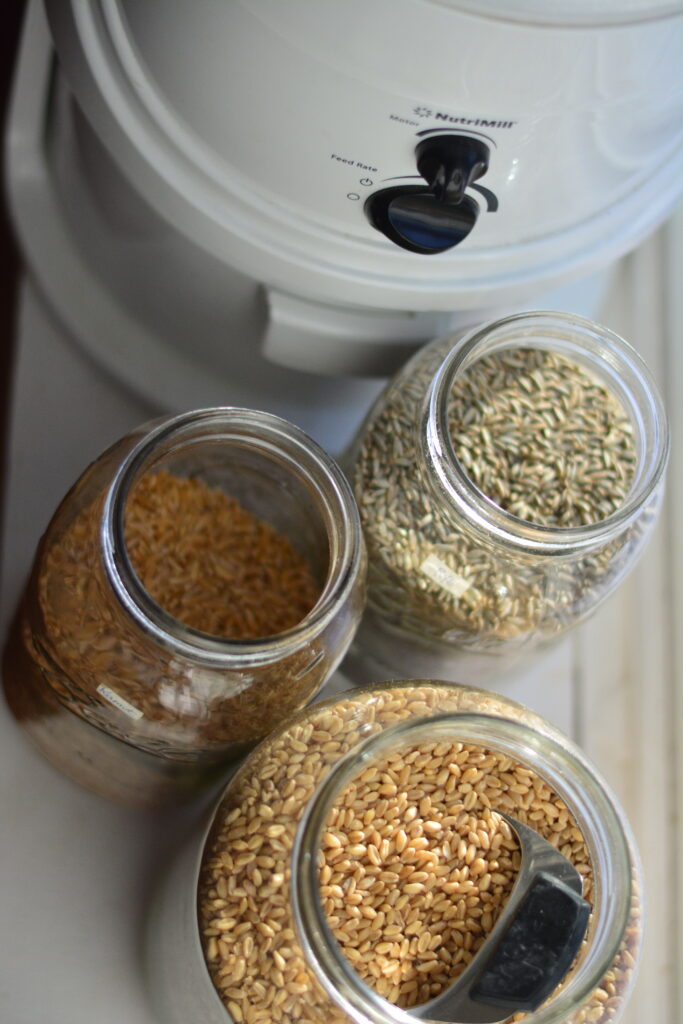
How to make flour at home
On paper, making flour is so simple it can be outlined in just a few simple steps. I’ll prove it to you:
- Source wheat berries (or alternative grains).
- Decide how you’re going to grind those wheat berries into flour. Grain mills are great because they’re actually designed to mill fine flour. Other contenders are a blender, food processer, or even coffee grinder. Please do keep in mind that these products can easily overheat or burnout, since grinding wheat is a big job to ask of a “normal” kitchen appliance!
- Grind your wheat.
- Decide if your flour is fine enough, and if it’s not, consider sifting it to remove larger particles. You can always re-mill or re-grind the larger particles to reduce waste and keep your flour as healthy as possible (the bran you sift out contains lots of fiber!). Some grain mills can easily re-mill flour (most stone mills) and some mills can’t re-mill (most impact mills). So make sure to check your mill’s instructions.
- Find a trusted whole wheat recipe to experiment using your homemade flour in. Or, just use your “regular” favorite recipes, making sure to add your flour slowly, as whole wheat flour absorbs more water than all-purpose flour does.
And just like that you made flour at home. Obviously it can be more complicated than just 5 simple steps make it sound, but overall making flour at home is super easy and rewarding.
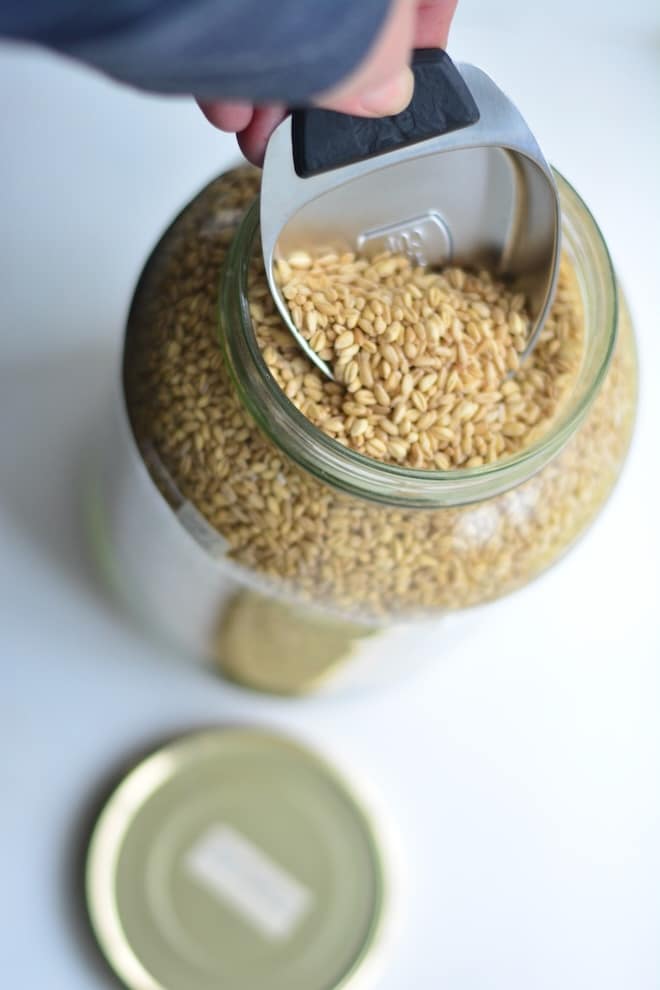
How to make flour at home: what wheat berries should I use?
There are millions of kinds of wheat and alternative grains. If you’re unsure which kinds of wheat berries to use for your baking projects, see this post all about wheat berries and their differences. If you’re looking to use gluten-free grains or other alternative grains, see this post all about alternative grains and their uses.
Here’s a quick rundown of the most commonly used wheat berries;
Hard white/hard red wheat: flour made from hard wheat is best for use in bread, rolls, soft pretzels, bread sticks, and anything that requires yeast and gluten to rise. These wheats are higher in protein and contain a higher gluten potential than soft wheat.
Soft white/soft red wheat: soft wheat flour is best used in pastries, baked goods, and other more delicate items. Soft wheat should never be used to make bread as it doesn’t have a high enough gluten potential to make bread.
Ancient grains like Einkorn, Kamut, Rye, Barley, and others: flour made from ancient grain can easily be used in most baked goods with little to no adjustments. In fact, barley flour is my favorite to make cookies and brownies with. Technically Rye isn’t wheat and should be treated slightly different, and will be a bit grittier. Bread can be made with Einkorn and Kamut pretty easily, but you may want to add vital wheat gluten to help the bread rise well, and these ancient grains are lower in gluten and will create a less fluffy bread than modern wheat would.
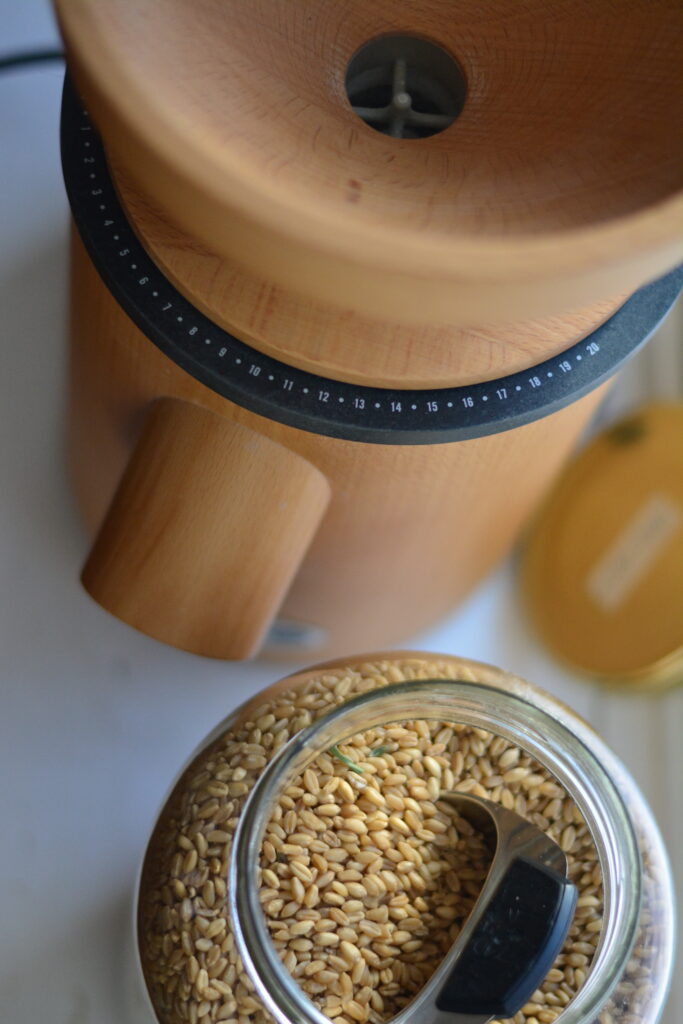
Is making your own flour worth it?
It’s hard to answer this question quickly. But in short, making your own flour is absolutely worth it. There are ebbs and flows, successes and failures like with any new venture, but at the end of the day making my own flour has been one of the most rewarding real food tangents I’ve gone down. I go into greater depth about the pros/cons of making your own flour in this post, but here are my 5 favorite reasons to mill your own flour:
- Fresh ground flour allows you to eat LOCAL flour (who would have thought your flour & bread could be locally grown?)
- Making your own flour allows you to eat variety (eating different kinds of wheat berries and alternative grains offers such unique, fun, and healthy variety to your diet)
- Homemade flour just. Tastes. Better. (I have a hard time enjoying the taste of anything made with all-purpose flour now.)
- Making your own flour can ACTUALLY save money (I save a few hundred dollars every year on flour)
- Making your own flour helps you have a measure of food security (who doesn’t like the feeling of being prepared with loads of un-milled flour in their basement?)
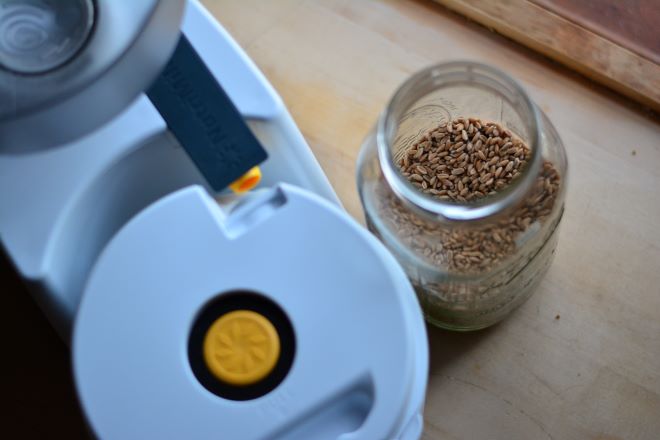
Should I sift home milled flour?
In general, my advice is to sift homemade flour as little as possible because the stuff you sift out (the bran & germ) are truly the good stuff. They contain so many nutrients, tons of fiber, and lots of good fats. But there are a few times & places where sifting homemade flour just makes sense:
- Sift homemade flour if your mill isn’t that great or you ‘re using a blender or appliance other than a grain mill to make your flour. If your flour is very course, you’ll have a very hard time making tasty things with it.
- Sift homemade flour if you’re going to add the bran & germ back in after. I personally still skip this step because it dirties an extra dish (the sieve) and just adds an extra step in general, but I’ve heard great things about the benefits of sifting homemade flour just to aerate it, then add the bran and germ back in.
- Sift homemade flour if you’re making something really delicate. For instance, if you’re making a really dainty puff pastry or something and you just can’t get the texture right with flour you made, try sifting it. You’re still getting more nutrients than you would from store flour, and your end result will most likely be better.
- Sift homemade flour if you’re just starting out with wholegrain flour and you just can’t seem to make recipes work. I’ve been there! When you’re just starting out, there can be a huge learning curve to using homemade flour. If sifting your homemade flour helps you get an idea for the process and feel of it, and ALSO gives you a better end result, PLEASE sift your flour! Then, as you get the hang of it, slowly add a larger percentage of the bran back into your doughs and batters as you get more comfortable. This will give you more time to learn the ins and outs of using wholegrain flour without quite the same level of a learning curve.
- Sift homemade flour if your partner or kids don’t like (or aren’t used to) the taste of whole wheat products. We’ve all been there, and it’s a shame more folks don’t talk about this struggle. Once you get used to the rich, earthy flavor of using exclusively wholegrain flour, I’m confident you’ll enjoy the flavor and wonder how you ever ate tasteless store bought breads. However, there is definitely an overlap of your tastebuds enjoying the wholegrain flavor, and your brain knowing it’s so much better for you. If you’re having a hard time convincing your family to enjoy the flavor of fresh milled flour, go ahead and sift your flour for a while and get them used to the general flavor profile without quite the same level of heartiness the bran and germ offer.
How long does homemade flour keep?
Ideally, homemade flour should be used as soon as possible to get the most nutrients possible. In fact, according to this article, homemade flour can loose as much as 90% of its nutrients in just three days after being milled. So making your flour right before you use it is ideal.
But homemade flour can be stored. It can be kept at room temperature for a couple days, in the fridge for 1-2 weeks, or in the freezer for a month+. Just keep in mind that the sooner you use the flour, the more nutrients you’ll get from it. However, the flour won’t actually go bad very quickly, it’s just not quite as nutritious.
In the market for a grain mill?
I recommend FOUR different grain mills. Here’s the gist:
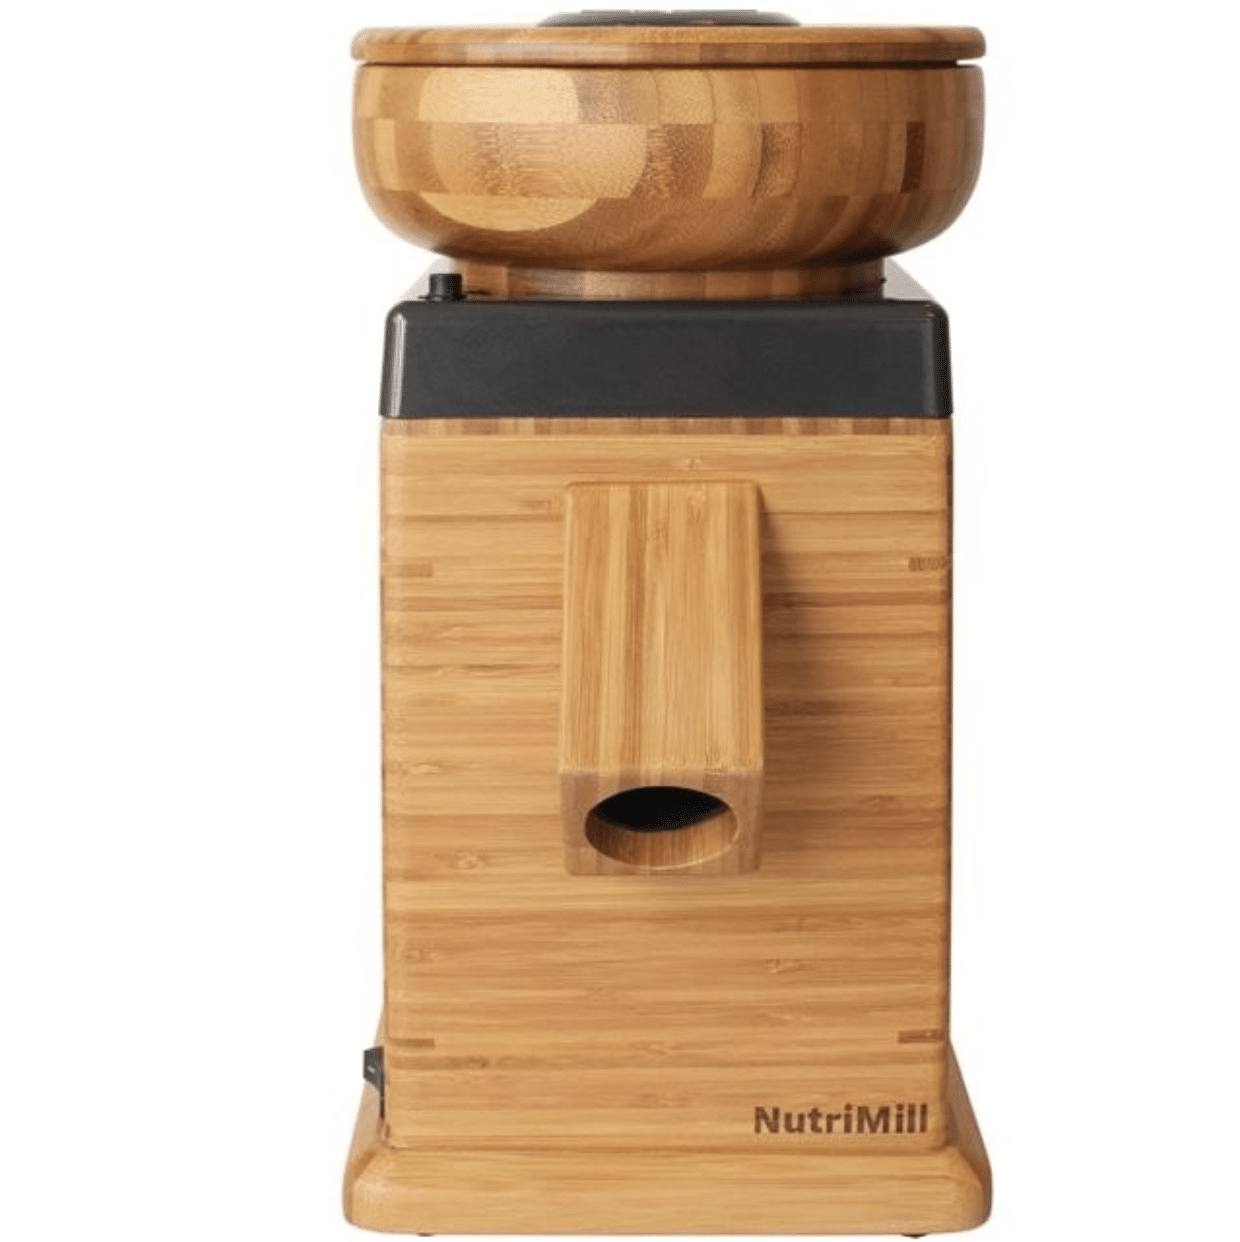
- The Classic Nutrimill does a great job, at a low price point, milling large amounts of flour at once. (code “soulyrested”)
- The Harvest Mill wins for most beautiful to sit on your counter. (code “soulyrested”)
- The Impact Mill is a great mill for beginners. Similar to the Classic mill but with a smaller output of flour. The lowest price point home mill on the market. (code “soulyrested” to save more)
- And the Mockmill is a beautiful workhorse that wins for best engineered, best at milling alternative grains, and the best at producing great flour, every time. But it also sits at the highest price point. My everyday, go-to grain mill.




i’m just venturing into milling my own flour (purchased from azure as well). my mom gave me her old mill and it still works great. someone just told me that i need to freeze my wheat berries for a couple days (to kill off any insect eggs), then wash the berries, let them dry completely and store them in an airtight container til i mill them. is this what you do? or have a better reccommendation for me? that seems very labor intensive. and also, what containers do you like for storing your wheat berries? thanks so much for all this great info!
I would NEVER freeze my wheat berries. It lets moisture in. Period. You never want moisture in your berries. There’s also no need to clean them (especially if you trust your source). There may be small bits of chaff or vetch seeds in your berries occationally (vetch is a common cover crop) but the chaff is easy to see and pick out before milling and the vetch seeds wont hurt a thing. I store my wheat berries in buckets with sealed lids and glass jars. I share all of that here: https://soulyrested.com/mills-wheat-berries/