Last Updated on June 20, 2024 by Michelle
New life is exploding on the homestead this week, which reminds me I wanted to share with you all a huge mistake I made last spring when incubating chicks (hoping no one else makes the same mistake). But even if you’re not incubating any eggs this spring, scroll down for the most adorable baby goat pictures ever.
If you’re following on facebook or have checked out my youtube channel recently, you’ve probably seen more baby bovine cuteness than you can stomach this week, since we’re baby goat sitting for friends. And then there’s our adorable story, with a very happy ending, about our missing-turned-boody hen, Eagle.
Scroll to the end, if you wanna see Eagle and hear her story. Then go here to read all about this broody hen and how I convinced her to adopt more chicks. (And why I wanted to.)
Go here if you’d like to see the products I recommend for raising your own chicken.
But on top of broody chicks, broody ducks, and new baby bunnies, we’re incubating chicks and ducklings, and they’re due to hatch this week. That got me thinking about last year’s incubation and my huge mistake. Hopefully sharing it here will help others avoid the same blunder and save some baby chicks in the process.
So here I am yet again, pouring salt in wounds, and rehashing my silly mistakes, because I really do hope that sharing about my mistakes can help you avoid similar problems.
If you wanna incubate your eggs, you’ll need your eggs to be fertile, so you must have a rooster on your farm as well. If so, you may want to hop over to this post to avoid another huge, deadly mistake that I made with my rooster and my chicks when they were a few months old.
Should I let eggs sit before incubating?
I knew that the earlier the eggs were incubated, the better. While it’s fine to keep them a few days, until you have enough, eggs shouldn’t sit for too long before incubating.
So I kept them for only a few days or less, until I had collected enough fresh eggs to fill the incubator.
My Huge Mistake When Incubating Eggs
Last year about this time things were going well. It was our second year of incubating chicks, and we felt like we knew kinda knew what we were doing. Our first year the only problem we faced was one adorable spraddle-legged chick. Thanks to the Chicken Chick’s awesome site, this post helped us offer our tiny cutie some late-night rehab, via taped-up legs and standing assistance, and she is thriving today.
Fast forward to last year. The first baby made herself known, loud and clear, as soon as she was born. We watched her through the glass for many hours. Then we swiftly took her out, and placed her under the brooding light when she was ready. But her incubator-mates didn’t do much. For a long while. Most eggs showed signs of the chicks working their way out, but no one got further than an exposed foot or a tiny bit of a beak.
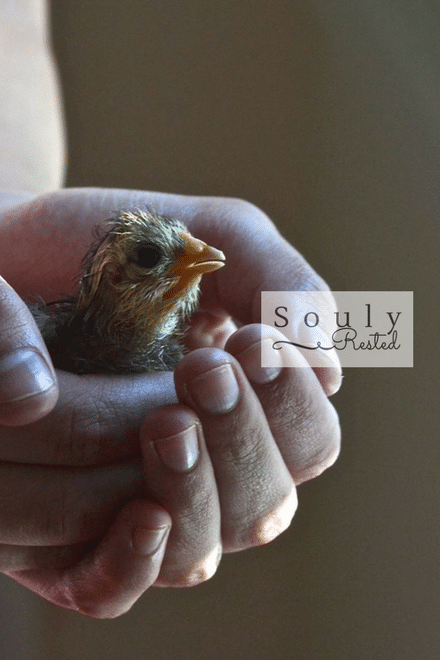
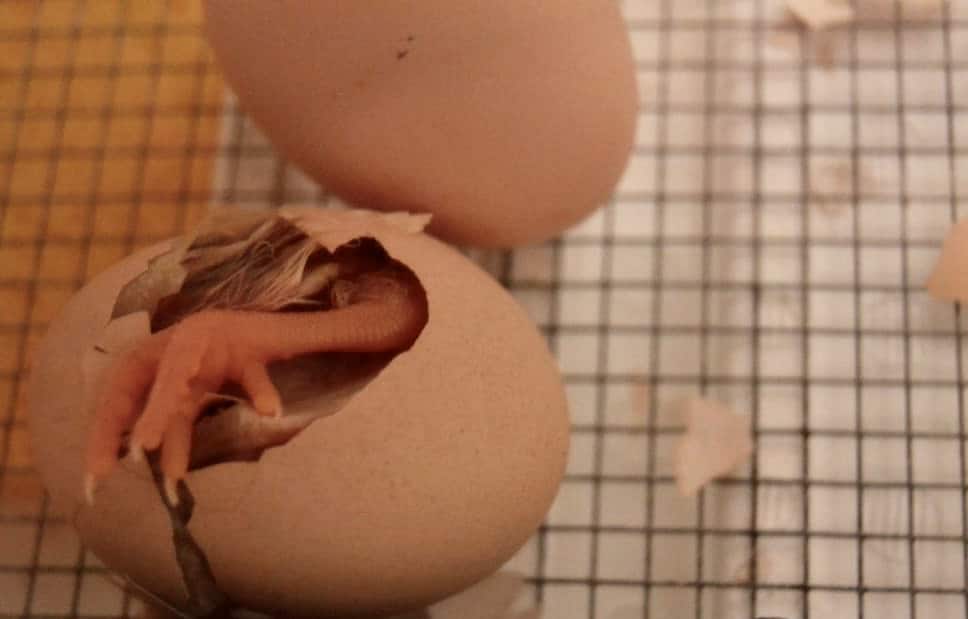
I don’t know if one egg in the lot was contaminated and got cracked while the first little guy was hopping around in there, or if the first baby’s shells, which we left sitting in the incubator, harbored bacteria. (After all, bacteria thrive in a warm, humid environment.) But either way, we realized too late that the incubator was a breeding ground for a bacteria that was deadly to the little chicks. All the rest of the sweet feathered siblings died in their shells.
What I’m Doing Differently This Year
So this year as soon as a chick is ready to come out of the incubator, I’m gonna be sure to remove all the pieces of her egg with her. Removing the broken egg shells will not only lessen the likelihood of deadly germs, but also remove the potentially sharp-edged pieces. That way the little balls of cuteness won’t possibly cut themselves on jagged shells when they’re squirming around, trying to learn how to use their legs.
If you’re like me, you’re wondering how to remove the potentially harmful shells without disturbing the perfect heat and humidity that’s inside the incubator. After all, every time you lift the lid, the temperature and humidity levels drop. The best answer is a really simple one: do it quickly. Work together with one or two family members; one holds the incubator lid while another removes the chick and yet another removes the pieces of shell. The incubator should recover to optimal temperature and humidity very quickly if you keep the lid off for a minimal few seconds.
If you’re still worried that that just may not be “technical enough,” as I was, you can try this advice I found from Anna, on this post at The Walden Effect: “I heat up some water until it’s steaming and top off the wells when I take off the incubator lid since the hot water will keep the temperature in the incubator high and will also increase the humidity drastically. ”
Go here if you’d like to see the products I recommend for raising your own chicken.
Three Tips for a Healthy Incubator
Here are three simple tips to make sure you don’t let bacteria harm your chicks:
- Place only unsoiled eggs in the incubator to begin with. Dirty eggs are more likely to harbor germs. Okay, that’s a no-brainer. But the next one may surprise you…
- Use only unwashed eggs. Yep, you read that right. You want unsoiled eggs that are also unwashed. You see, an egg is coated with an amazing, protective coating, called “bloom,” right before the hen lays the egg. This bloom actually keeps harmful bacteria out of the egg. (See #8 of my 10 Fowl Facts for more information.) So as well-intentioned as the act might be, washing the eggs would be counterproductive.
- Remove old shells from the incubator as you remove each new chick, so bacteria doesn’t have a breeding ground for growth.
Now for Those Adorable Baby Goat Pictures
If you’d like even more details about incubating chicks (and ducklings), I recommend this post by my friend and fellow homesteader, Kathi. (And I LOVE what Kathi does to candle her eggs that won’t cost you a penny. Why didn’t I think of that?)
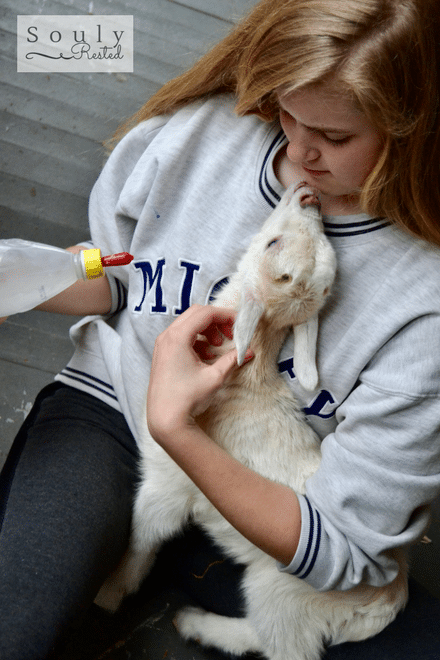
Meanwhile, I promised right up front this week that I would share some stinkin’ cute baby goat pictures.
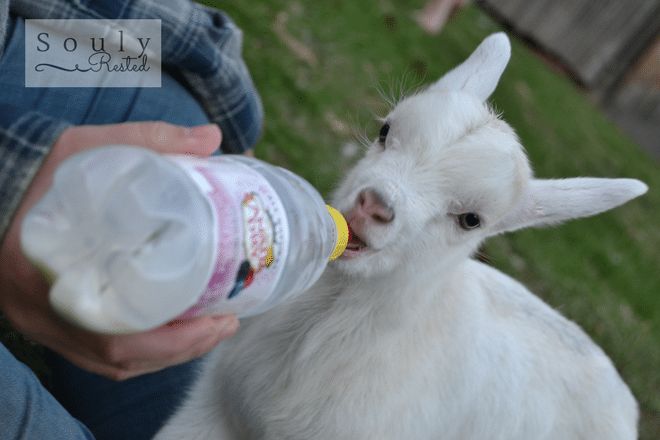
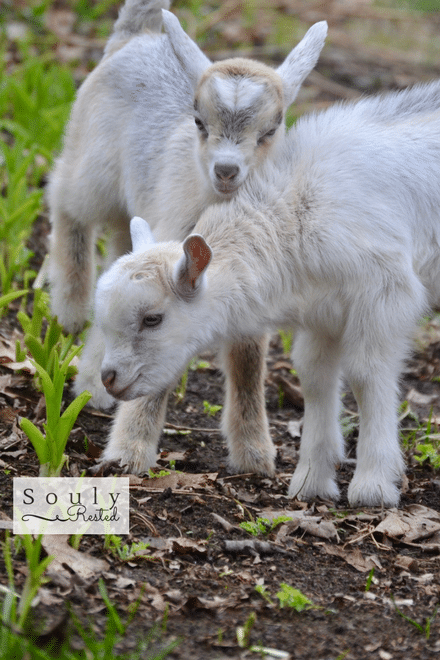
With our beautiful Scout, our Holstein heifer who’s due to calve this summer, getting bigger every day, we’ll have plenty of fresh milk daily on the homestead by this summer. So goats will probably never be a permanent addition to our homestead menagerie. But we are tickled to get to be the home-away-from-home for two sweet, 1-week-old baby goats this week while friends are away.

And That Video I Promised, About a Hen Named Eagle
Truly, spring on a homestead is always full of surprises. Thankfully Eagle’s surprise was a good one:
Disclosure: This post contains affiliate links.
If you’re a homeschool family and want to incubate eggs as a school science project, try finding a local 4H group or farm where you can borrow the eggs and incubators for a one-time fee. You get to care for the incubator, watch the chicks hatch, and keep the sweet babies for a few days before the farmer collects everything back from you.
If you’re a homesteader, and want to purchase your own incubator and supplies, go here for my full list of chicken-related products I recommend, including a top-of-the-line incubator, if you’re looking for one that will serve you well for decades.
And, of course, if you wanna incubate your eggs, you’ll need your eggs to be fertile, so you must have a rooster on your farm as well. If so, you may want to hop over to this post to avoid another huge, deadly mistake that I made with my rooster and my chicks when they were a few months old.
Pin this for later!
Click on the image below to pin this post.
Find out why SoulyRested was considered to be one of the One of the Top Homesteading Blogs.
Glance at my Resource Page if you’d like to get a glimpse of all the supplies I use and recommend for everything from gardening, to homeschooling, to chicken care, to nature journaling, to maple syrup making.
Download my 8-page Pantry Checklist and have instant access to the best ingredients and exclusive discounts.
I’d love to connect!
To find me in some other neck of the woods, just click any (or every!) icon below:



Aw, that must have been tough to watch a whole batch of chicks not make it like that. They’re so cute! Thanks for sharing with us at Love to Learn. Pinned.
Thanks for linking up and sharing your experiences with us at #overthemoon link party. I’ve pinned and shared.
I agree with jeanette. Leave the eggs alone as much as possible. Also the first chick chirping is a motivator for the others to pip and hatch. Chicks are fine to stay with the hatching eggs for up to 48hours. Unless your hens are in different pens, all the eggs are likely to contain the same bacteria. We hatch a huge variety of eggs each year (500 or more) and have a 96%success rate.
Wow, Kristen, what a great hatch rate you have!
Hi! After incubating eggs for the last six years, we too feel that leaving the hatchlings inside the incubator until they have all hatched has been helpful. We have left hatchlings in for close to 24 hours to allow all the rest to hatch before opening.
I agree on the earlier comments about humidity being disrupted during hatch. I think a sudden drop in humidity was the reason your pipped eggs never progressed any further, not bacteria. Just an old farm girl’s opinion here. I agree..never lift the lid on the incubator if other eggs are still hatching. A chick is not going to die from a bacterial infection that quickly. A sudden drop in humidity happened when the lid was lifted and prevented them from being able to break through the tough membrane.