Last Updated on June 20, 2024 by Michelle
She loves photography. And she has a natural bent for it, framing her subject in unique ways and using engrossing angles. I am truly in awe when I scroll through her photo folders on the computer. So I was excited to hear she was “all in” when I asked if she’d like to complete a mini photo challenge with me a few weeks ago.
DISCLOSURE: This post contains affiliate links. ♥
I thought it might be a little boring for her, since she already seems to incorporate the standard techniques into her photography, but I was shocked that these concepts were new to her. She had done many of them naturally, but didn’t know she was doing them. I’m expecting her photography to blossom, now that she knows what she’s doing right.
I picked a few techniques we’d start with. Once we each had a few shots we liked with the first technique, we discussed a new one. Sometimes this was just a day later; other times we took a week or longer.
This round was so successful, we loved our next two rounds of new challenges as well, if you want more inspiration after this post, you may want to read about more Photography Tips to Try with Your Child and 5 Simple Photography Tips for Amazing Fall Photos.
{{Rule of Thirds}}
This is my favorite photography technique. Once you hear it, you start to see it everywhere. The simple fact is, our eyes are drawn to the top, bottom, right, or left third of an image. Think of the Mona Lisa. Her eyes fall right along the top third of the painting. Mary Cassat’s Little Girl in a Blue Armchair highlights the bored lass by placing her along the right third of the painting. (Looks like she’d love a fun photo challenge to work on with mom!)
And have you ever noticed in documentaries when someone is being interviewed they are always off to one side of the screen?
A lot of photo editing programs have a 9-panel grid that you can place over your pictures when you’re cropping them, so it’s easy to see the picture divided into thirds and make sure your main subject falls along a thirds line. Ideally, you want to place the main focus where the lines cross. (Cassat placed her imp’s sweet expression at the top right intersection of the grid.)
My 12-year-old photographer loved hearing this explanation. She knew she liked placing her subjects off center, she just never knew why before.
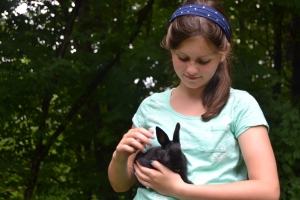
So when her friend came to the farm to pick out a bunny, my photographer got this shot that captures the sweetness of the moment. I call it “SomeBUNNY’S in Love.”
She snapped this beautiful shot from our boat, showing just a sliver of moon, when we cuddled under blankets and watched the sunset.
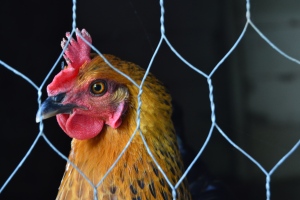
But this is my all-time favorite from her rule of thirds challenge. It happens to be of her current favorite subject: our Black Star hens.
And a few that I took using the rule of thirds:
Wanna learn about special effects when you change your shutter speed? You’ll wanna check out this photography challenge too.
{{Fill the Frame}}
This technique is as simple as it sounds, it just doesn’t come naturally to most people, because it usually requires cutting some of the subject’s edges off, but it can be very dramatic. I like how she photographed the lily right after the rain, and the drops of water are still glistening on it:
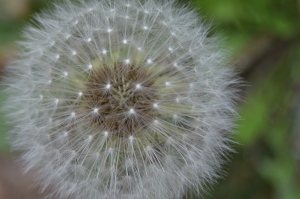
Dandelions were my grandmother’s favorite flower (true story), so I love it that this image my young photographer captured makes me look at the winged achenes (seeds) anew:
While my daughter tends to gravitate towards plants and hens for her subjects, I’m a sucker for intriguing insects. I long to someday capture an image that shows the honey-comb nature of their amazing compound eyes, but I’ll settle for the detailed setae (bristled hairs) on this guy’s forelegs:
After we were happy with our rule of thirds pictures and those that filled the frame, we turned our lenses to a lighting technique.
Would you like to know how to use negative space and a layered look for amazing photos? This post tells you all about those techniques and more.
Or maybe you’d like to know how to tell a story with a photo? Read this post.
Many readers often ask what camera I use to take the images you find here on SoulyRested. I love my Nikon; you can read more about my camera here and purchase your own here.
You should consider helping your child start a blog if they love learning photography and want to show off their amazing new pictures. Seriously. I explain all you need to know and why you might wanna consider it, in this post.
{{Backlighting}}
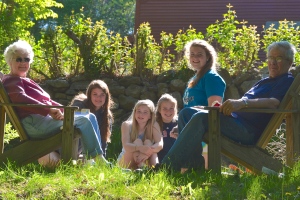
We love the lake almost as much as our farm that it borders, so we usher in many evenings by finishing chores early then watching the sun tuck itself in beyond the glistening waters. A sunset is a perfect opportunity to frame a subject in backlighting:
When my in laws and daughters were sitting around chitchatting in front of the barn, I had to run inside for my camera:
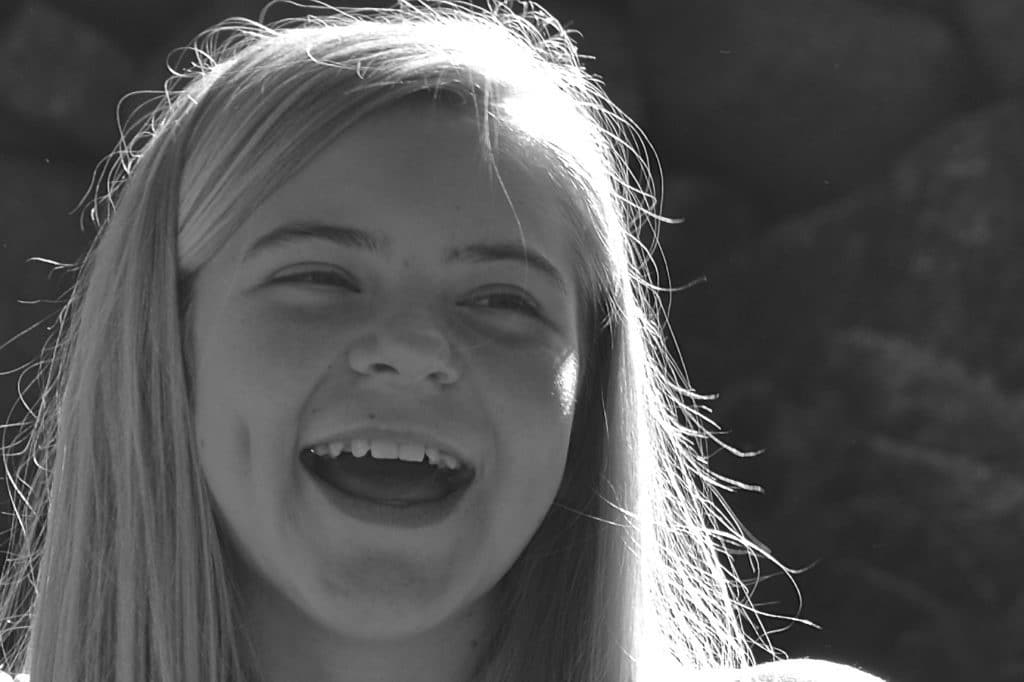
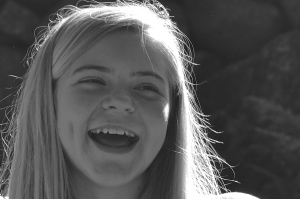
On that same occasion, I zoomed in on my photographer then changed the settings to black and white:
Cupping your hand around your lens will help shield out some of the light and might make it easier for you to focus. If you don’t like the look in your viewfinder, move around to change the way the light falls on your subject. Moving one way will increase the hazy appearance; moving another way will make the image more crisp. You can even just crouch down in the same spot to achieve different results.
So far, our challenge has been a little more, well, challenging than I expected. But I’ve had fun trying these techniques with her, comparing our photography, and learning together. And, hey, if it wasn’t a little challenging, we wouldn’t be learning, now would we?
We have a few more framing techniques we’ll be learning and another lighting tactic we’ll tackle, then I’ll share again.
“Well done work has its own reward.” Proverbs 12:14
++++++++++++++++++++++++++
Many readers often ask what camera I use to take the images you find here on SoulyRested. I love my Nikon; you can read more about my camera here and purchase your own here.
++++++++++++++++++++++++++
Pin this for later!
Just hover over this image for the Pinterest logo.–>
Glance at my Resource Page if you’d like to get a glimpse of all the supplies I use and recommend for everything from photography to gardening, to homeschool, to nature journaling, to maple syrup making.
I’d love to connect!
To find me in some other neck of the woods, just click any (or every!) icon below:
And please follow along!
Please take a second to follow along here on SoulyRested to catch up on a few of my memorable mishaps, discover fascinating things about my centuries-old farmhouse, glean a little parenting/homeschooling insight from this momma who’s been failing at the effort for almost 2 decades, or enjoy the inside scoop on the secrets other legit homesteaders might not tell you.
I hope my focus always encourages you, because simple joys require hard work. Let’s face it, we all need all the encouragement we can get! As soon as you subscribe (in the box at the end of this post), you’ll have immediate access to my Resource Library, which includes many useful printables–including ones about crafts and how to clean a braided wool rug–my FREE BOOKs, and amazing recipes for things like whoopie pie cookies, maple sap switchel, and my grandmom’s perfect pie crust. And soon there will be composting resources you don’t wanna miss!
If you already ARE a subscriber, just hop over to the Resource Library here and enter your personal password.











Great challenge! The best images come from knowing the basic rules, but most of all, knowing when to break them.
Your photos are stunning! I’m loving your posts and look forward to hanging out here some more!