Last Updated on December 30, 2024 by Michelle
I had a handful of folks asking me if it was worth it to try to grow seedlings to sell for profit when i shared I was doing that very thing on instagram.
So I thought I’d document what I did, what I earned, and if it was worth it.
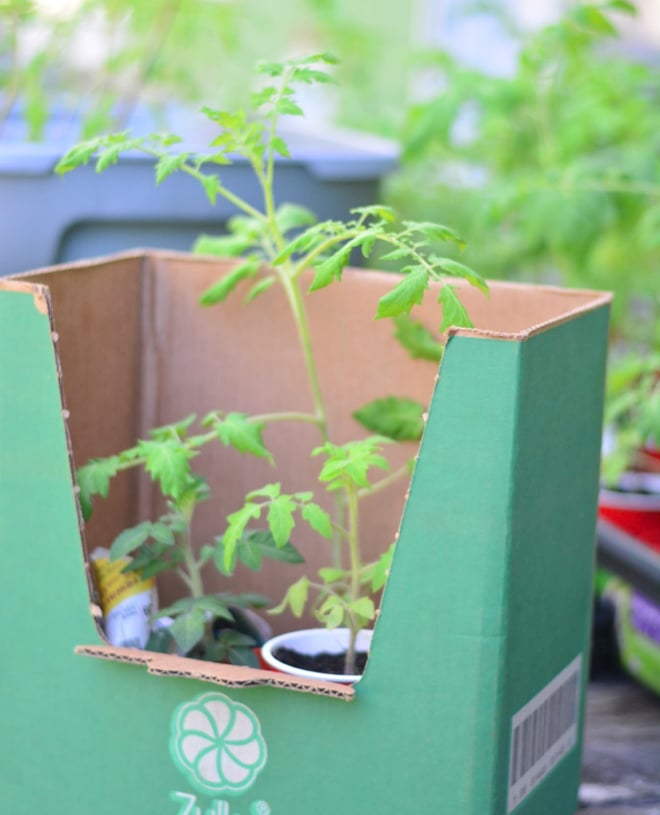
Deciding What to Grow From Seed
Tomatoes were wildly popular with my customer base, here in New England. While I will probably expand to more offerings next year, I will weigh heavy on the side of unique, heirloom, organic tomatoes.
But of course you could poll your audience and see what folks seem to be most interested in growing in their gardens next year and what they’d like to buy.
Creating Interest Before You Even Plant
It’s a great idea to start a “wait list” to create demand and so when the perfect week rolls around in the spring–when your plants are at their prime and planting season is upon you–you already have an eager list of customers.
If you do keep a wait list, I highly recommend sending them updates every few weeks once you plant your seeds to get them excited and to make sure they haven’t forgotten about you and wind up going to a nursery to buy their wish list.
When it’s Time to Plant
I’m still new to this idea of growing seedlings to sell for profit, so I am careful to only plant varieties that I myself truly want. If I wind up with an excess I can most likely put them to good use. But I have some other tips too:
- Plant what you want for yourself (nothing goes to waste).
- Plant what you know. It helps to sell the plants if you know what you’re talking about. So many potential customers said things like “I want a tomato that’s really big and great for sandwiches.” Or “I want a cherry tomato that’s average size… not too small, not too big.” I had to know the details about my seedlings if I wanted to recommend the right plant for them. And because i was confident with what they’d like, they often bought extra.
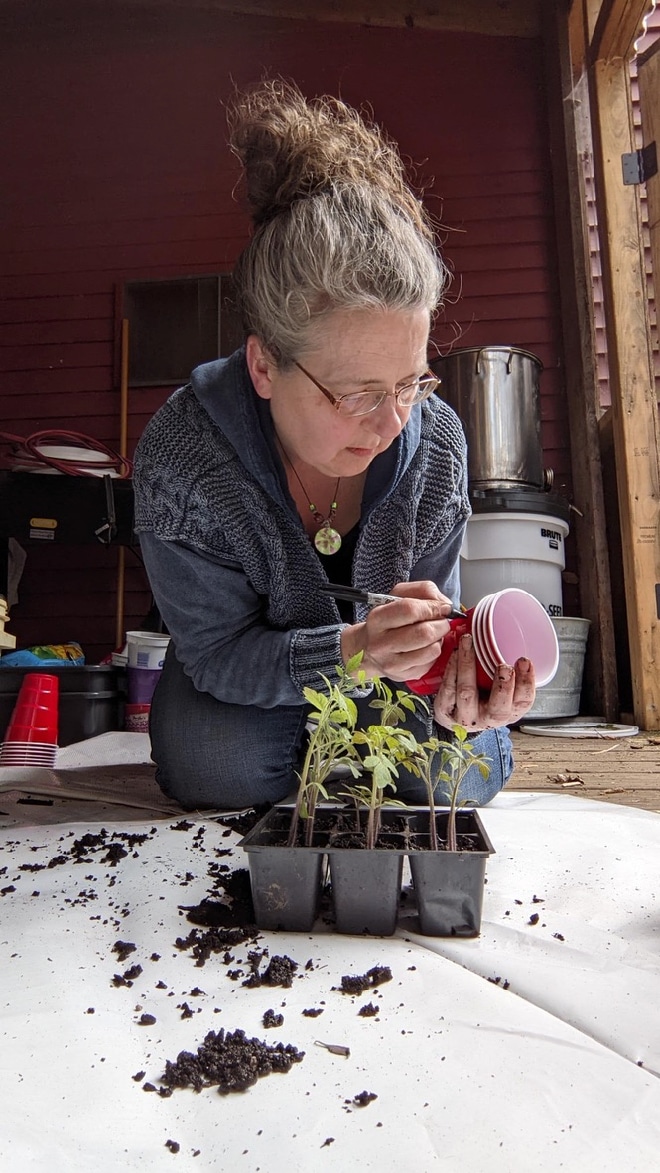
- Label everything. Even if you color code everything and think you’ll remember what is what, trust me. You won’t. So label well. I’d also recommend avoiding your own shorthand, realizing the customer will want the full name of the plant on each container.
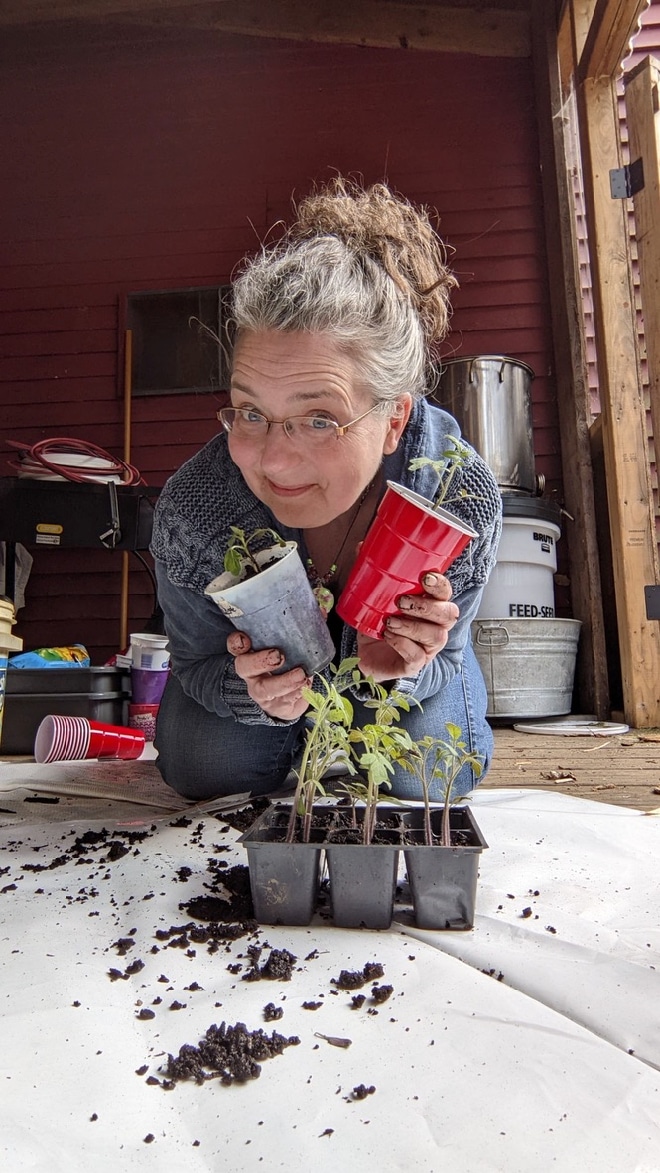
- Plant in containers you don’t want back. This might seem silly, but I was scrambling for enough containers when my seedlings took off and needed to be up-potted and I regretted that I planted some, which I later sold, in containers that cost me a few dollars to buy. That cuts a good bit into your profit.
- Use good quality soil. These plants are with you for 10 weeks, you want them to look great when it’s time to sell them, plus you want to be able to assure your customers that these are organic, high-quality plants.
What You’ll Need to Get Started
I can’t recommend a good grow light system enough. Hearty plants lead to satisfied customers. Everyone who picked up plants surveyed their box or bag and were very excited to dish out the cash to me. I’m pretty sure they will be repeat customers. But without a grow light set up my plants would have inevitably been leggy and skinny. Aside from your overall growing location, you will need:
- Great seeds. I can’t stress this enough. Great germination is key or you won’t have time to grow the full amount you had hoped to sell.
- Compost
- Potting soil
- Disposable cups with drainage holes drilled in the bottom
- Some larger disposable options as well, for the plants that need up-potting (and will bring you more money too). I use large plastic tubs, think xl sour cream, xl margarine tubs, bubble gum tubs. You can even ask on local facebook groups for these containers in the winter ahead and stockpile them.
- Sharpie for labeling as you plant
- Many strong box trays or seedling trays for transporting your cups of seeds/seedlings/plants around the growing areas and outside when it’s time to start hardening them off. Over the next 10 weeks, you will be moving these around a LOT. It’s worth the investment in some sturdy trays.
What You Need to Send Plants Home with Customers
- Start stocking up on the perfect sized cardboard boxes if you can a few weeks before it’s time to sell the plants. Aldi’s and BJs is a perfect spot, and I keep any packaging boxes that are delivered to our home too.
- Packaging tape is a great way to secure the cups of plants to the inside wall of boxes they’re being transported home in.
- Brown bags are handy for transport as well. If you cut off the top and use them as a (flimsy) tray of sorts
- Plastic shopping bags are nice to use to line the bottom of paper bags or boxes for transport, incase the plants are leaking water or dirt.
- Old newspaper is great to shove in around the cups of the plants to keep them in place in their packaging box or bag.
- Cash for change. When they pick up their plants they may not have exact change.
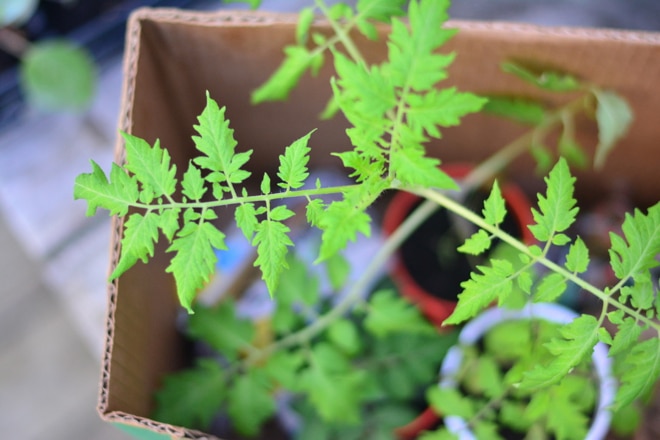

This Sunrise Bumblebee tomato plant was very tall and a little fragile, so I secured the cup (the orange one) to the back of a tall box with packaging tape and nestled the customer’s other two (smaller) plants in a brown lunch bag (with the top cut off) to keep them in place in front of the bumblebee. Then I filled the rest of the box with a few inches of crumpled up newspaper. Customers genuinely appreciate the little extra effort you take to help them get their plants home safely.
Things to Think About When You do Your Inventory
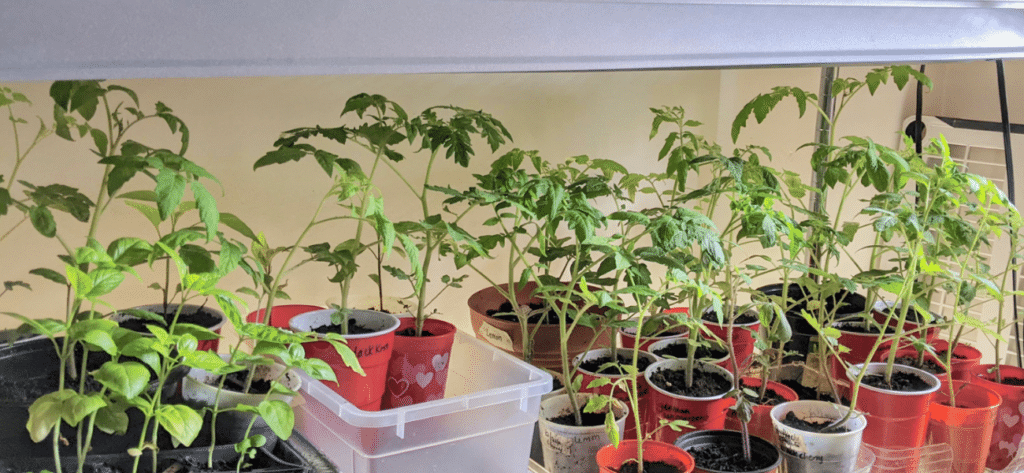
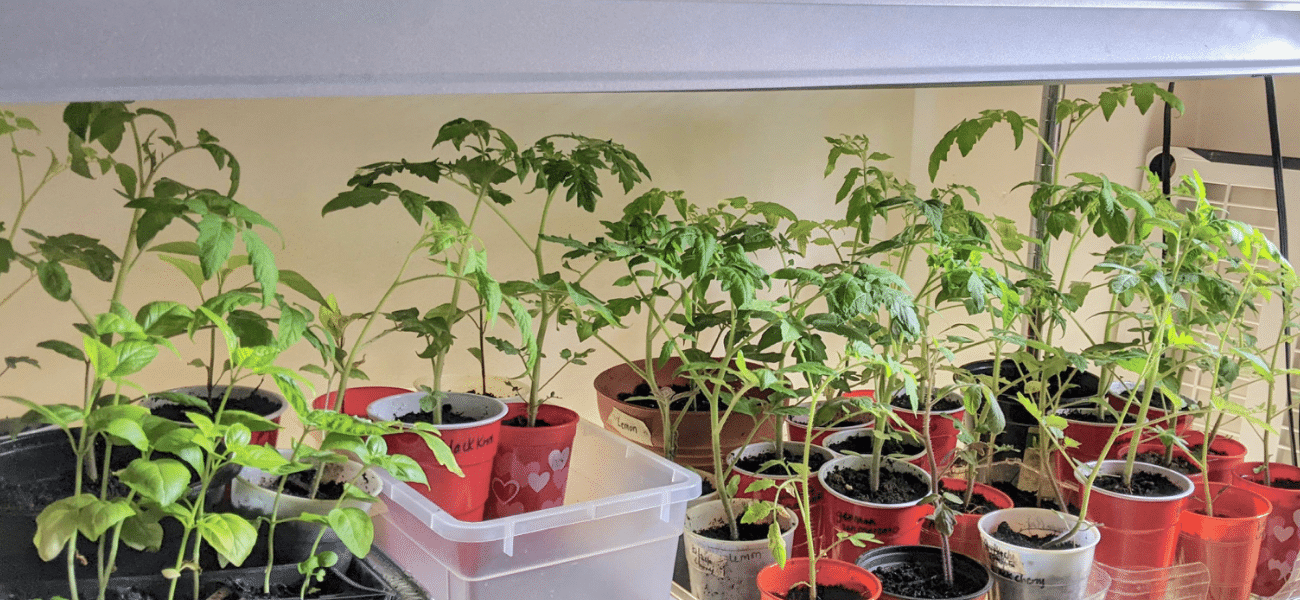
I can only give you my own example, from this year (my first at doing this). In fact, I didn’t mean to get into the seeding business at all. I just got really over-eager when I was planting my seeds this year and was shocked with I counted my total about a month after I had planted. I had 219 plants, but only room in my garden for about 125.
So I itemized my inventory and decided three things before listing plants for sale:
- What plants I wanted for my own garden. (The only plants I had extra of were tomatoes. I only had enough peppers, basil, oregano, chicory, broccoli, and Brussels sprouts for myself. I guess I was just feeling extra happy when I was planting tomato seeds.)
- What plants I might want extras of. (Something always dies once they go in the garden, so were there some plants I wanted to keep extras of?)
- What plants I wanted to set aside to gift to my daughter or friends who may not have the means to buy plants (I helped Logan turn over her first-ever garden last week–happy day!)
How to Decide What to Charge
The best advice I can give you is to go to a high-quality nursery and see what they’re charging. If your plants look nice and healthy, most potential customers are willing to pay you slightly more than they’d spend at a nursery if you’re offering varieties of plants that are hard to find and that they know are organically grown.
It’s a difficult game to play to decide ideal planting time, but of course the bigger your plants the more you can charge. If they get too big you have the problem of having to stake them (I just use twigs I gather in the yard and twine) and up-pot them.
I decided to charge a range based on plant maturity. It’s all arbitrary, but it worked for me. I asked customers what they wanted, picked through my inventory for the ideal plants for them, pulling out the largest/most beautiful first, and quoted them a total based on plant maturity ($5 for very small, $7 for average, $9 for large). My plan was to down-size their plants if anyone bulked a little at the total, but honestly no one did. I always made sure they knew I was pulling out the most mature, healthiest plants for them and reiterated that they were heirloom (if they were) and organic.
Also, a few of my customers didn’t come through until my final “advertising” (which was just posting to a few relevant local fb groups, no real “ads” going on). At that point I had tended the plants an extra 2 weeks beyond my first sales. Factoring in my extra time spent with caring for and hardening off these plants, and the fact that they were considerably taller now, I upped my range to $7 (all small or medium size) or $14 (the largest ones).
What Your Profit Might Look Like
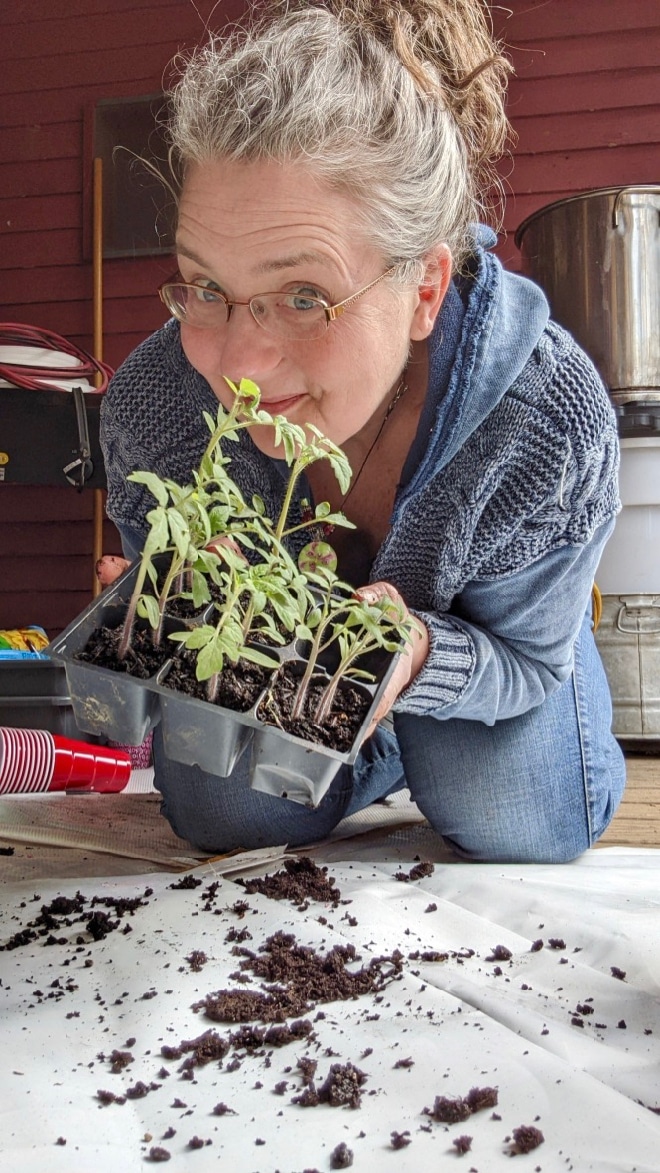
So, in the end, after setting aside extra plants for myself and Logan, I only had 59 plants to sell.
Yeah, not a whirlwind entrepreneurial adventure here. But still worth documenting so I can expand wisely next year, given what I learned this year. Here are my numbers:
- 59 plants
- 10 paying customers
- $401 in sales
I thought it was interesting that in the end I made almost $7 per plant, which of course was the average price. (Math is funny that way, huh?)
So after all is said and done I figure my own large garden was free this year… I imagine $401 more than covers the seeds and any other expenses I will have (staking, fertilizer, pots/containers, and straw for mulching) and in a weird way it was kinda fun… 5th grade Michelle, who loved to play “store,” came out in full force last Saturday when I had customers messaging and popping in through out the day.
EDIT to add: I had more expenses than I expected after doing a Soil Test, and finding out how badly my soil needed amending. I shared here about my soil problems in my garden.
If I want to upscale my plant-selling operation, I could pretty easily make a few thousand dollars next year. Of course I would need to invest in more growing shelves and lights, so the first year that would eat into that profit.
It was so fun, and honestly rewarding to be helping others grow their own food this year, I might give it a whirl in a future year.
Other Articles You’ll Enjoy:
8 Garden Tips & Tricks Inspired by the Pros
A Complete Guide to Growing Sprouts (which also sell very well)
14 Ways a Homesteader Can Make Money
Garden Tools I wouldn’t garden without
Talk to me!
If you have any questions, leave a comment below. And please tag me (with the hashtag #simpleDIYkombucha) on ig to show me your plants and garden @souly.rested.

I tried this years ago when I moved to my then boyfriend now hubbies 80 acres. I thought I was gonna grow me some food, plants…all the things. Well, turns out the soil is red adobe clay and river rock. Needless to say my efforts were in vein. Now I’m doing container gardening and minimally at that. I might need to rethink this after reading this article though. Thanks for the renewed instigation.
Thank you so much for sharing all of your thoughts, information, and details. I truly appreciate it and am so excited to start selling some of my extra seedlings this year. THANK YOU!
I’m so glad!!