You’ve entered our grain mill giftaway!
Watch your email. Winner will be announced on December 10th.
I’m so glad you’re here!
Even if you already have a mill and you’re a pro at using it, there are a lot of nuances of fresh flour that make it very different to bake with than commercial flour. Which is good. It should be different.
But it took me almost 7 years to truly “master” fresh flour, and I didn’t want it to be so difficult for others. So I spent over a year creating Fresh Flour University.
And the doors have finally opened to the world’s most in-depth resource on baking with fresh flour…
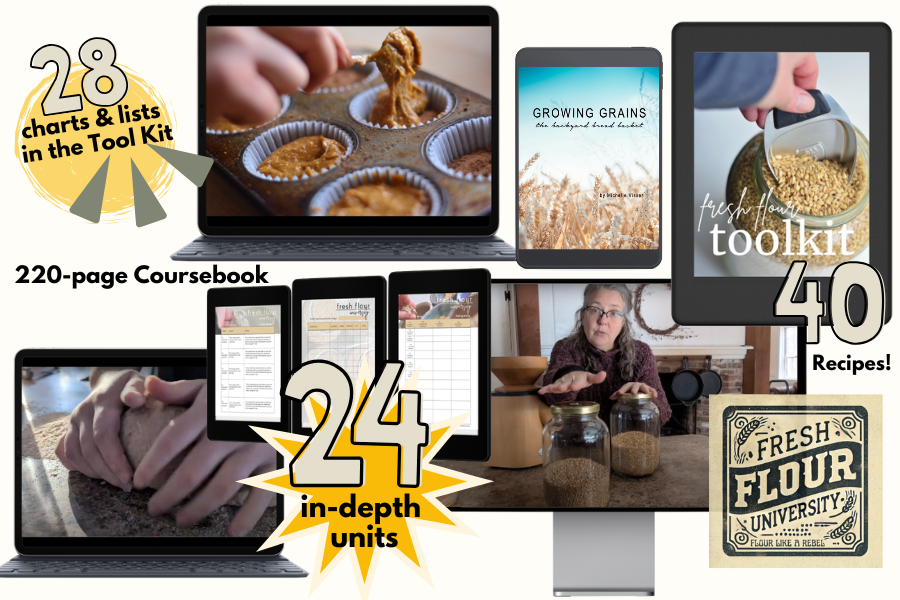
Fresh Flour University
How to use a grain mill
By now it’s no secret that I’m a huge advocate for milling your own flour. I know how to use a grain mill to make flour, and ever since I learned this skill I’ve been shouting about it from the rooftops.
But once people hear about fresh flour, or even once they own their own grain mill, one of the most common questions I get asked is “how do I use this thing, anyways?” And I get it. Staring at a brand-new, confusing, beast-of-an-appliance can be intimidating.
But I’m here today to completely remove that overwhelm. Hopefully this information will equip and empower you to not only learn how to use your grain mill with confidence, but to ditch dead store flour, once and for all. Together, you and I, we’re part of the Fresh Flour Movement.
We’re flouring like rebels. We’re not only ditching dead, refined flour, but replacing it with the best substitution out there: fresh milled flour.


Why do I need a grain mill?
Just in case you’re seeing this and not fully on the fresh flour trend yet, let’s back up for a second.
Flour used to be a superfood. Back in the day, flour was grown, milled, and baked locally. In fact, REAL flour, when it’s kept unrefined and unsifted, can only last for short periods of time before going rancid. This is actually good news, because the sooner flour is used after being milled, the more nutrients are maintained.
But commercial flour mills came along and realized that if they took flour (real, wholegrain flour that’s literally just stone-ground, 100% whole wheat flour, containing all the parts of the wheat berry), and heated, sifted, and processed that flour, they’d end up with a shelf-stable version of the flour they started out with.
Turns out that processing something to oblivion can do wonders to profit margins.
But, unfortunately, nothing for our bodies.
Wholegrain flour, in it’s pure, unrefined form contains all three parts of the wheat berry (the kernel of wheat plants that’s ground into flour): the bran, the germ, and the endosperm. Modern flour only contains the endosperm, which is the starchy part that doesn’t contain oils, minerals, and antioxidants the way the bran and germ do.
The solution? Mill your own flour. In order to mill flour, you’re gonna need a grain mill.
How to use an impact grain mill
There’s a difference in how you can use impact grain mills vs. stone grain mills. If you’d like a full break down of the differences (and how you can choose which one is best for you), read this post all about impact vs. stone mills.
Using an impact-style grain mill is very simple. Let’s walk through the steps of using an impact mill to turn wheat berries into flour:
- Put your mill together, making sure the canister is attached fully, any/all filters and cups are securely in place, and the canister lid is fully closed.
- Adjust the texture of your flour by changing the dial on your mill. Do this before milling your flour, if possible.
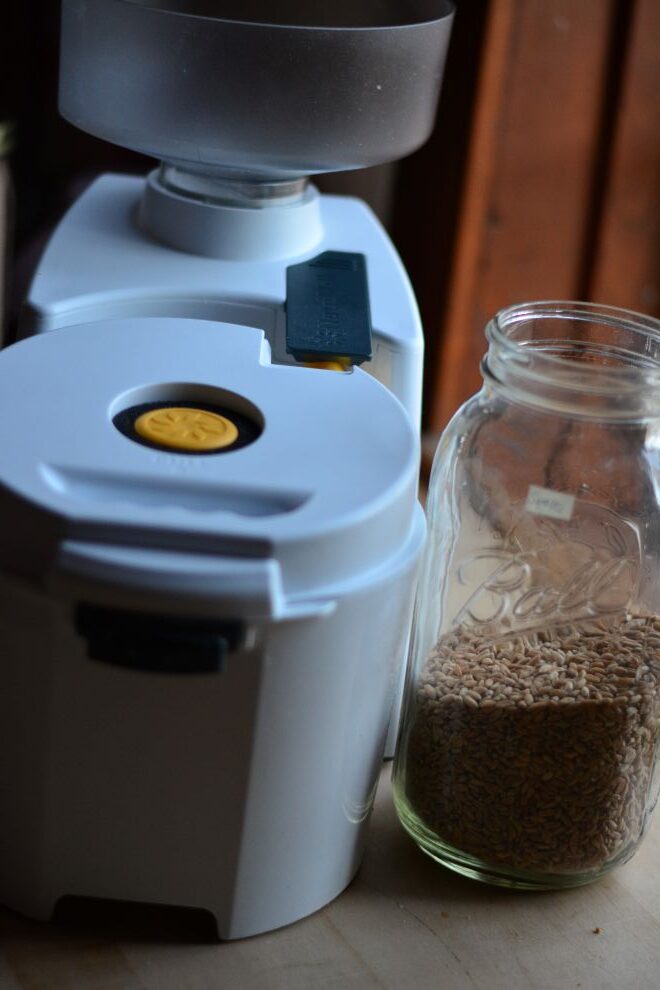
- Pour your wheat berries (or grains of choice) into the hopper of your mill. Don’t turn the mill on without having grains in the hopper, as this can damage your mill if done routinely.
- Allow the mill to run until all the grains are fully milled and there are no grains left in the hopper. Do not turn off the mill mid-milling, and don’t turn the mill off until you can hear all of the grains are done milling, even if all the grains are gone from the hopper. In other words, you don’t want any grains left in the milling mechanism of the mill, or partially-milled grains can easily go rancid, especially if you don’t use your mill routinely.
- Remove the flour canister only once your mill is done milling, and the motor has stopped running.
- Remove the flour from the canister, clean the filter and filter cup if advised by your mill manufacturer, and use your flour as needed.
I’d be remiss if I didn’t mention a few important notes about using an impact mill, though.
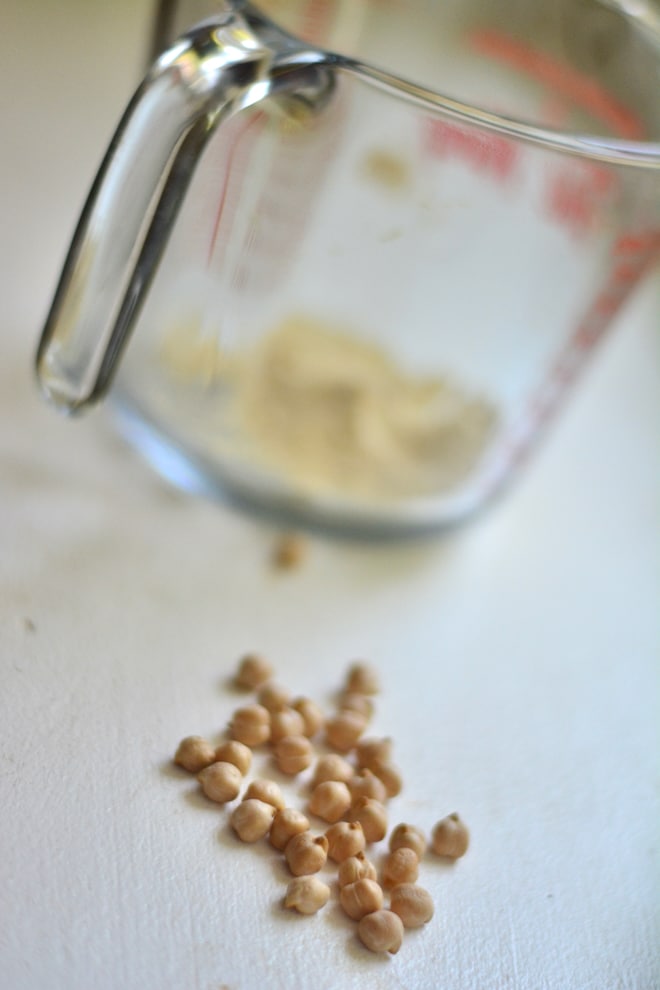
While most impact mills can mill almost anything, from wheat berries to dried chickpeas, some things like larger beans or chickpeas can be tough to actually–physically–feed through the hopper into the grinding mechanism. If I’m milling chickpeas through my impact grain mill, I blitz them in my blender for just a few seconds to get them a bit smaller and easier to mill, before milling them into flour.
Impact mills, due to their nature of using steel impact heads to, essentially, beat wheat berries into flour, tend to make a finer flour in the end, but have a harder time making course flours or meals. So while impact mills are amazing for making fine flour, don’t be surprised if it’s tough to make coarsely ground cornmeal or cracked wheat in an impact-style mill.
How to use a stone grain mill
Unlike impact mills, stone mills are an on-demand grain mill, meaning they don’t use a closed-canister style, but rather an open-hopper style. You’ll see the flour come out of the spout as soon as you dump wheat berries into the hopper. You’ll need to use your own bowl to mill your flour in to.
Using a stone grain mill is really easy;
- Turn your mill on. Never dump wheat berries into a stone mill without turning it on first.
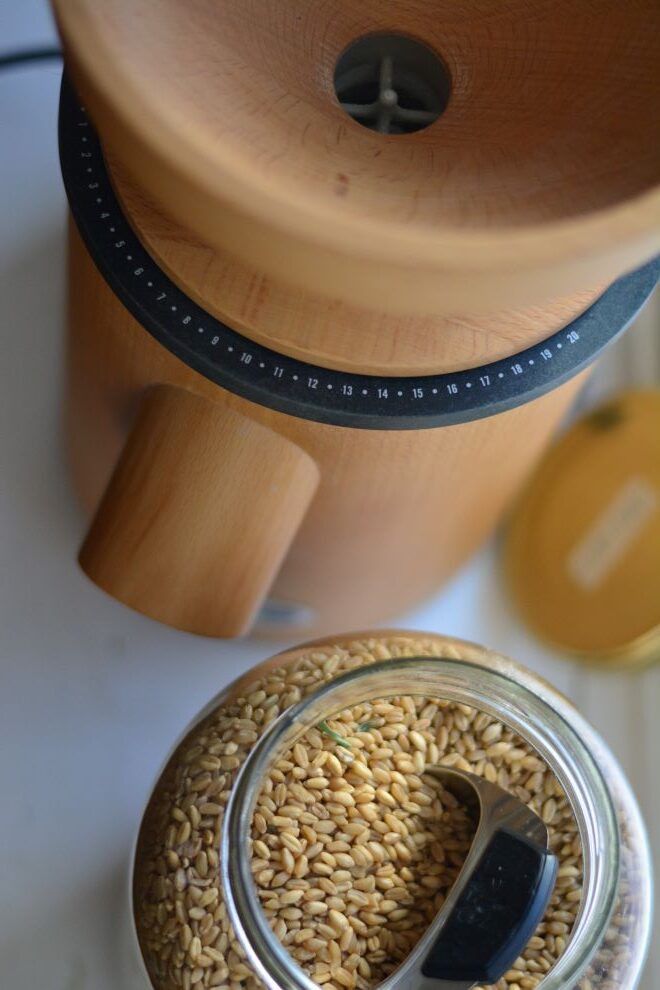
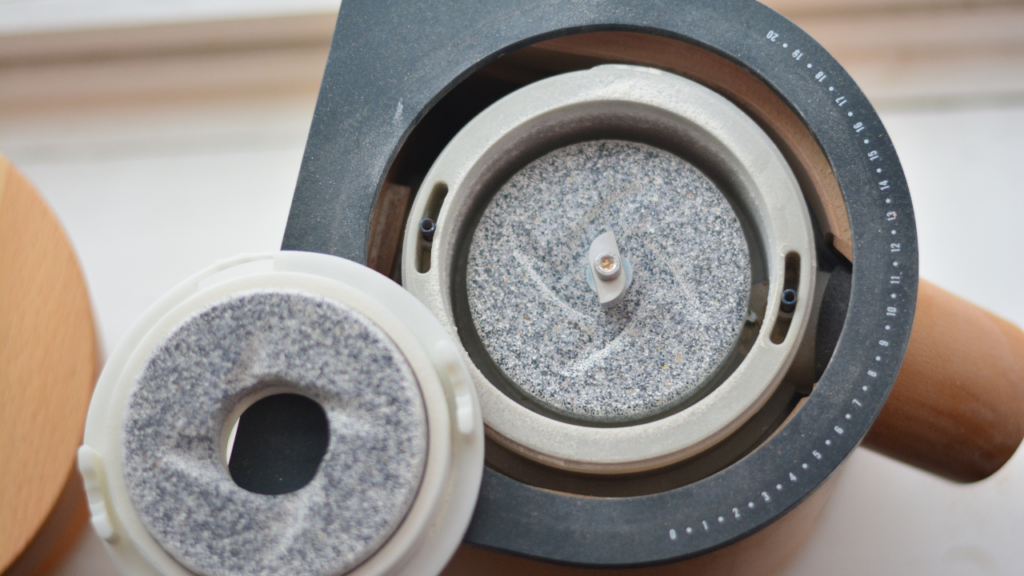
- Adjust the stones, if needed. The cool thing about stone mills is that you can actually hear how course or fine your flour will come out. As you get used to the different sounds, you’ll be able to easily adjust your stones to get just the right courseness or fineness you’re looking for. Some mills (like my mockmill) also have numbers/labels to make this process easier, especially if you’re new to using a stone mill and unfamiliar with the sounds of the stones.
- Pour your wheat berries (or other grains) into your mill.
- Adjust the stones again, as needed. The great thing about stone mills is that you can see the flour coming out, and adjust the stones to change the courseness of the flour, all while the mill is running. The tighter the stones are, the finer the flour will be, and vice versa.
- When you’ve milled as much flour as you need, turn the mill off and use your flour. Allow the mill to run for just a few second after the last of your flour comes out, just to make sure the stones are free of any last bits of flour.
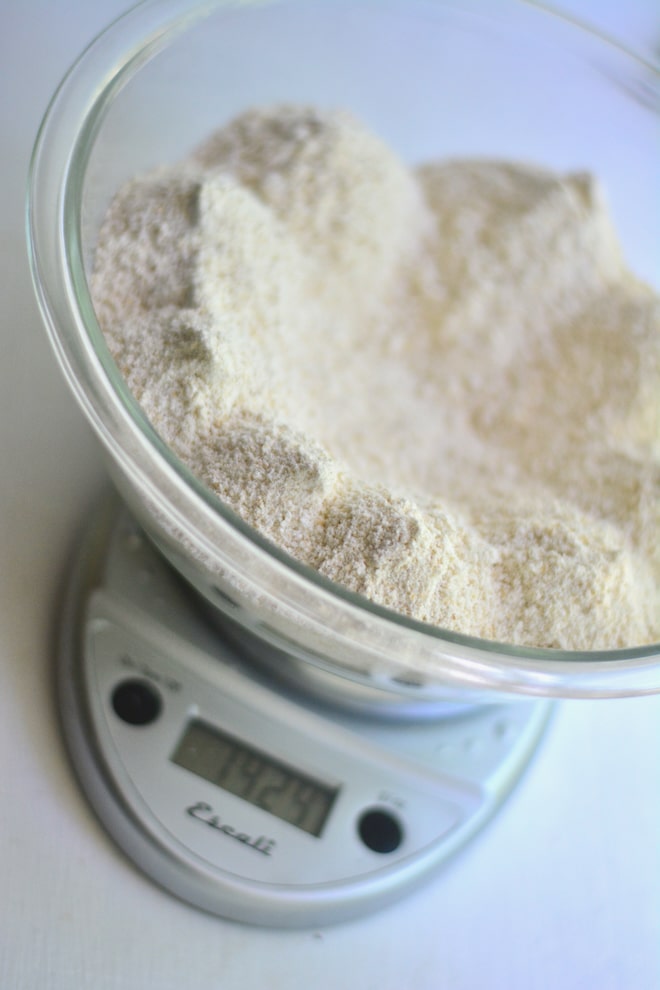
If you’re concerned about keeping your flour as nutritious as possible, you can use an instant read thermometer to temp the flour as it comes out. If your flour gets hotter than you’d like, turn off your mill, give it a rest, and come back to mill the rest of your flour later. There’s some debate on how hot is too hot for nutrient loss with stone milled flour, but I personally think that anything under 120 degrees is ideal.
I’ll show you the differences in impact vs stone mills & get you thinking about how to choose the right one for you in this video:
How to make flour with a grain mill
In order to make flour in a grain mill, you just need a few things.
- Wheat berries (or other grains)
- A grain mill
- A bowl (if using a stone mill)
Turning wheat berries into flour with a grain mill is as simple as allowing your mill to do the work, but there are some considerations and tips I’ve learned along the way that might be helpful to know.
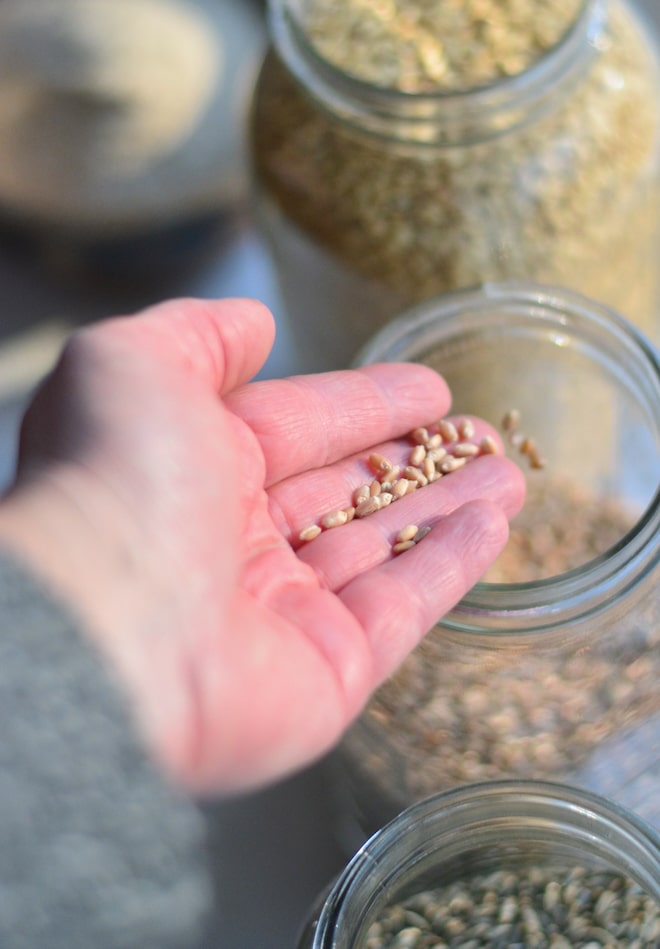
–> Use only clean, dry grains. After investing in a grain mill, the last thing you want is to hurt your mill. Checking the grains you’re milling before using them can go a long way in maintaining your grain mill for years to come. Remove any small stones or other debris that you might find. If you happen to find small, round, dark brown seeds, those actually won’t hurt your mill. They’re Vetch seeds, which are a common cover crop used in rotation with wheat at many organic farms.
–> Learn as much as you can about your mill. User’s manuals can be helpful as well as talking to other people who have the same mill you do. There are little tips and tricks that you might not think of that others have. With time, you and your mill will get to know each other and you’ll learn the ins and outs of your specific machine.
–> If you’re ever in doubt, run rice through your mill. Rice acts as a “cleaner” for grain mills, especially stone mills. If anything ever seems “off,” or if you feel your stones or impact plates might be at all gummed up, milling rice can help clear out any issues before they become problems.
How to use the Nutrimill Harvest grain mill
The Harvest grain mill was my first mill that I got almost a decade ago. While following the general instructions for using a stone mill above will work with the Harvest grain mill, I’ve learned that it has its own particular way it likes to be used. Here are my best tips for using the Nutrimill Harvest grain mill.
I’ve found that the Harvest mill is the most difficult to get very fine flour from out of all the mills I’ve tried. It can be done, though, with a bit of practice. First, disregard the little tab that’s supposed to show you where to turn the knob for fresh flour. Instead, simply listen to the stones and use the flour that comes out as a guide. I’ve also found it’s helpful to turn the mill on, pour your wheat berries in when the stones are somewhat close but not super tight, then adjust the stones to be even tighter once the wheat berries are actively milling. For some reason the Harvest mill seems to not like tightening the stones all the way until the wheat berries are actively grinding, then you can tighten the stones more for finer flour. Once your flour is done milling, open the stones up some while it’s still turned on to allow any flour left in the mill to come out.
Consider double milling your flour through the Harvest mill. When it was my primary mill I was using, I got into the habit of milling my grains through once into somewhat of a cracked grain, then milling my flour from that. It seemed to really help give the mill a jump start on cranking our fine flour. Flour itself can also be milled back through the harvest, just make sure to pour the flour into the hopper at the rate it mills to avoid gumming up the mill, rather than dumping all the flour into the hopper at once, like you would do with wheat berries.
Finally, adjust the types of wheat berries you’re using. If you can’t get fine flour, try milling different grains. Just as an example, Einkorn tends to produce very fine flour, while Kamut and Spelt are harder to mill into fine flour.

How to use the Nutrimill Classic grain mill
The Nutrimill Classic grain mill makes the finest flour of any mill I’ve used. If I’m looking to make large quantities of very fine flour, the Classic is my favorite mill for the job. And although it’s very easy to use, there are a few tricks I’ve learned along the way to make life easier when using the Classic mill.
First, MAKE SURE the flour canister is fully pushed into the mill before using it. There’s a faint line showing where the canister needs to be, and if it’s not fully attached, flour will spew everywhere. I mean everywhere. Not that I know from experience or anything, ahem.
Make sure you use the filter and cup that come with the Classic. Not using the cup or filter can destroy the mill, as they’re both essential in allowing the machine to run properly. Also make sure to flick or knock the flour off of the filter after every use, washing with water only as needed.
If you’re having trouble removing the lid from the flour canister, try using a layer of flour on the rubber part of the lid. This will allow the lid to stay securely on, but will also allow you to remove the lid with ease when the time comes. I’ve fought battles with that lid many times before learning this trick.
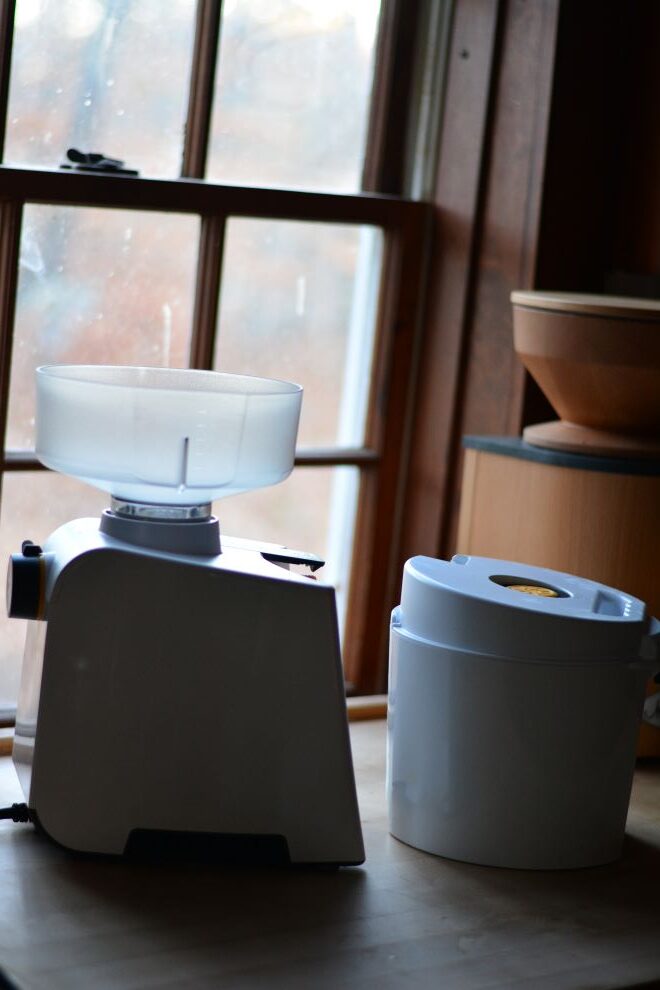
How to use the Nutrimill Impact grain mill
Using the Nutrimill Impact grain mill is very similar to the classic grain mill, with a few differences.
First, make sure your hopper and flour canister are clicked securely in. Since the Impact mill is designed to be more compact, the hopper and flour canister can be stacked and stored separately from the actually mill part, which makes it better for small spaces and storing it away when needed.
Make sure the clip on the outside of the flour canister is secured and clicked in before using the Impact mill. The clip will seemingly stay put when it’s just sitting there, but needs to actually be clicked down to be secure while milling. If it’s not, it will “puff” while the flour is coming out.
Since this mill is mainly designed for making fine bread flour, you’ll have to skip past a few settings on the mill before wheat berries will pass through. The 1-2 settings are mainly just used for smaller grains, while the 3rd setting is the main one to use for wheat berries, sometimes even setting 4-5. It seems backwards, but you’ll have to turn the knob more times for courser flour. The Impact mill comes with a sticker to place on the knob to help you remember which setting is which, but I found that it doesn’t say on long, so you’ll want to just get into the habit of turning the knob a certain number of times to get the desired fineness.
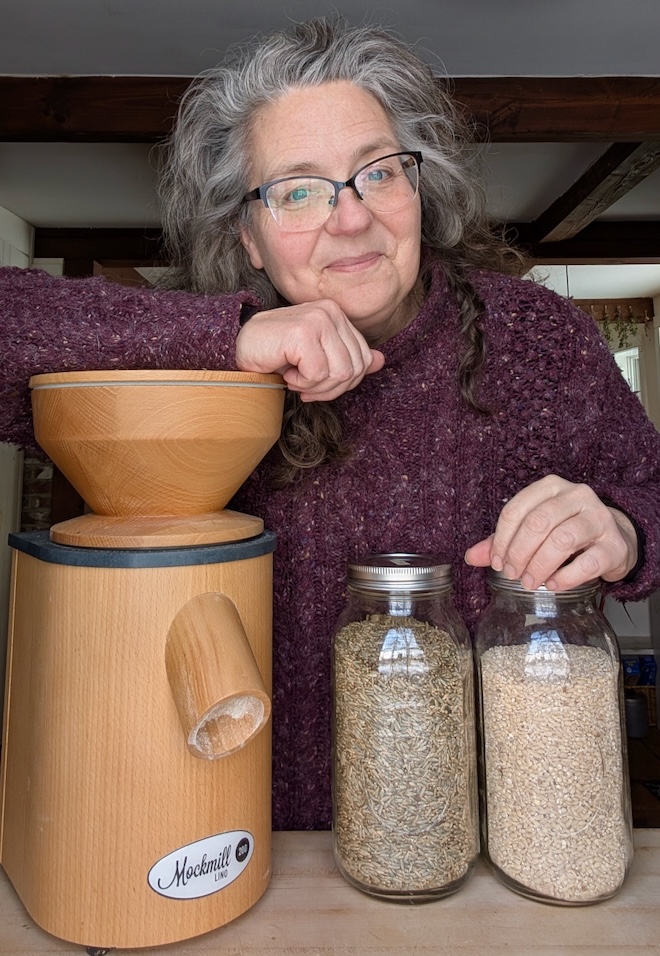
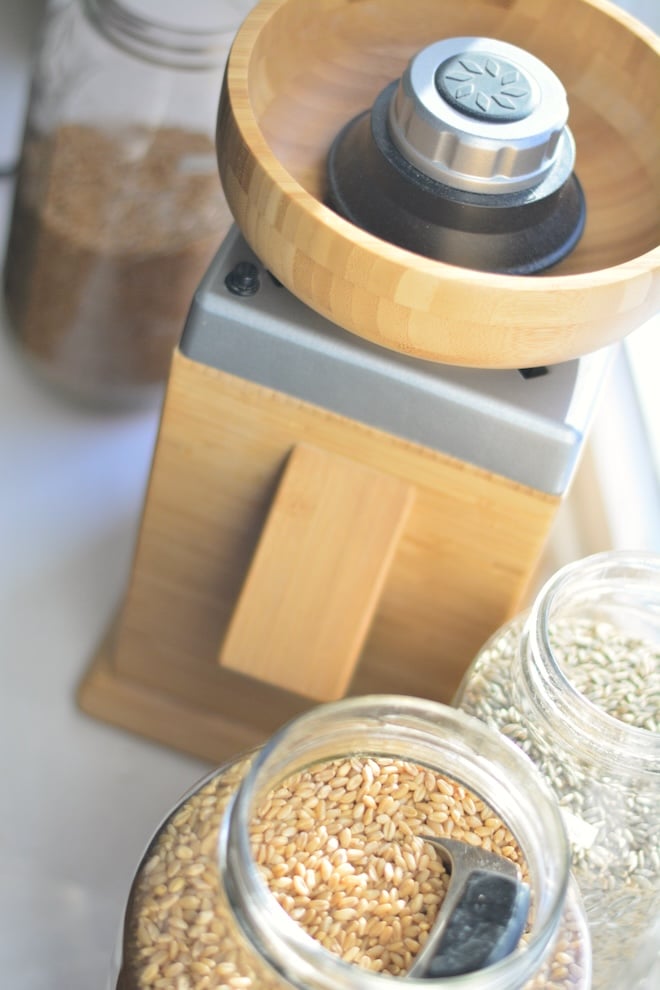
How to use the Mockmill 200 grain mill
The Mockmill is my everyday mill. It’s a stone mill that mills flour on-demand. While it’s very simple to operate, there are a few things to keep in mind.
The 100 and 200 mills are rightly named. The Mockmill 100 is able to mill 100g of wheat per minute, while the Mockmill 200 is able to mill at the speed of 200g per minute. The white mills are the same internal mill as the wooden ones, just with a different outer shell.
There are numbers on the outside of the mill’s hopper than can be used as a guide for milling coarseness. While it’s helpful to reference, as with the Harvest mill, ideally you’ll develop an ear for the sounds of the stones that will allow you to decide for yourself which setting is best for what you’re making with your flour.
If you’re using your Mockmill to make cornmeal or chickpea flour (or to mill any other large-sized things), make sure to place the “lid” on the hopper as it’s milling. I’ve found that if I don’t there’s a good chance large particles will “pop” and fly into my already-milled flour as the rest of the corn or chickpeas are continuing to mill.
If your stones seem gummed up, make sure to mill rice through your Mockmill to clean the stones off.
How to clean a grain mill
Technically, grain mills don’t really need to be “cleaned.” At least, not in the traditional sense. With impact mills, you will need to clean the “parts” after use, like the filter, filter cup, and flour canister/lid. But the actual milling heads inside impact mills don’t really need maintenance or regular cleaning. You are free to mill rice through your impact mill anytime, and that will help clean the milling heads if there happens to be any residue inside the mill. Keep in mind that impact mills can’t be taken apart, and you’ll never actually see the inside of your mill, unlike stone mills.
Unlike impact mills, stone mills may need a bit of cleaning sometimes. The good news is that modern stone mills are self-sharpening, so they don’t need any maintenance in that way.
But if you mill anything out of the ordinary, or mill flour for longer periods of time than usual, you may find that the stones “gum” up a little bit. No worries, just simply mill some rice through your mill, playing with what level of coarseness seems the most effective in cleaning the stones. Stones can also become “glazed” at times, which milling rice will also help clean up.
If your stones are really gummed up for some reason, you may need to use a DULL (butter) knife to carefully cut lines into the gummed up stone before milling rice. Always make sure to unplug your machine before taking it apart to inspect the stones!
Never, ever use water to clean the inside of your mill, regardless of what kind of mill you have. If the outside of your mill needs a cleaning, using a damp rag usually does the trick. Sometimes using a small bottle brush can help clean out your mill of any lingering flour.
Using a grain mill for gluten-free flour
While I’m not gluten-free, I have many good friends who are, and they’ve saved a ton of money milling their own alternative grains. Do keep in mind that for a grain mill to produce truly gluten-free flour, you’d have to purchase a brand-new grain mill (not pre-owned or refurbished) and only ever mill gluten-free grains in it. Even cleaning your stones with rice won’t fully remove the residue and oils of other grains milled, which could lead to exposure to gluten just by using the same grain mill for wheat and alternative grains.
There are lots of gluten-free grains that are perfect for milling;
- Oat groats
- Chickpeas
- Rice
- Buckwheat
- Millet
- Quinoa
- Amaranth
- Teff
My favorite gluten-free “all-purpose blend” is equal parts oat flour and chickpea flour.
Don’t miss this!
And join Fresh Flour University today to take advantage of the introductory deeply discounted price (70% OFF!) and limited-availability gifts (valued over $100!)
More like How to Use a Grain Mill:
- Why I mill my own flour
- How to make flour at home from start to finish
- Wheat berries: everything you need to know
- Home flour mills: Impact vs. Stone mills