Last Updated on March 26, 2024 by Michelle
Kombucha (n): a delicious, bubbly drink that’s ultra good for your gut.
After glancing at the prices in my local market today, I feel I should add something to my kombucha definition…
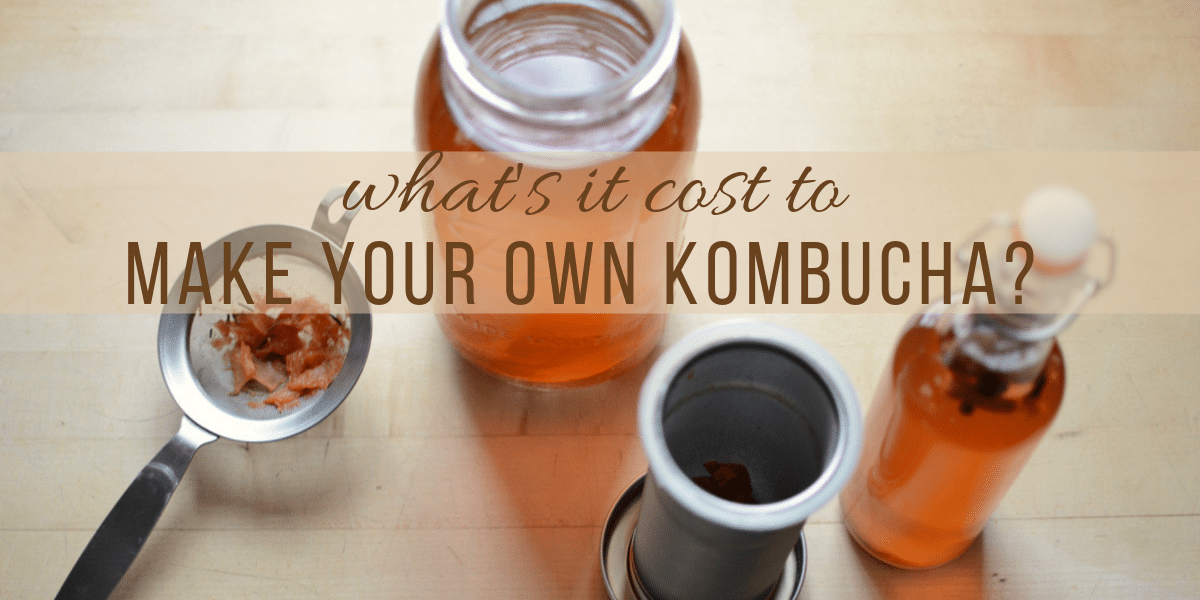
Kombucha (n): a delicious, bubbly drink that’s ultra good for your gut and ultra hard on your wallet if you’re buying it premade.
There I stood, with a few pears and a ginger root in my hand, when I glanced down at the store’s kombucha for sale.
I hadn’t purchased kombucha more than a few times, and that was well over a year ago. Once I started making my own, I never even glance that way when I’m in the produce aisle. I was shocked to see the large price tag:
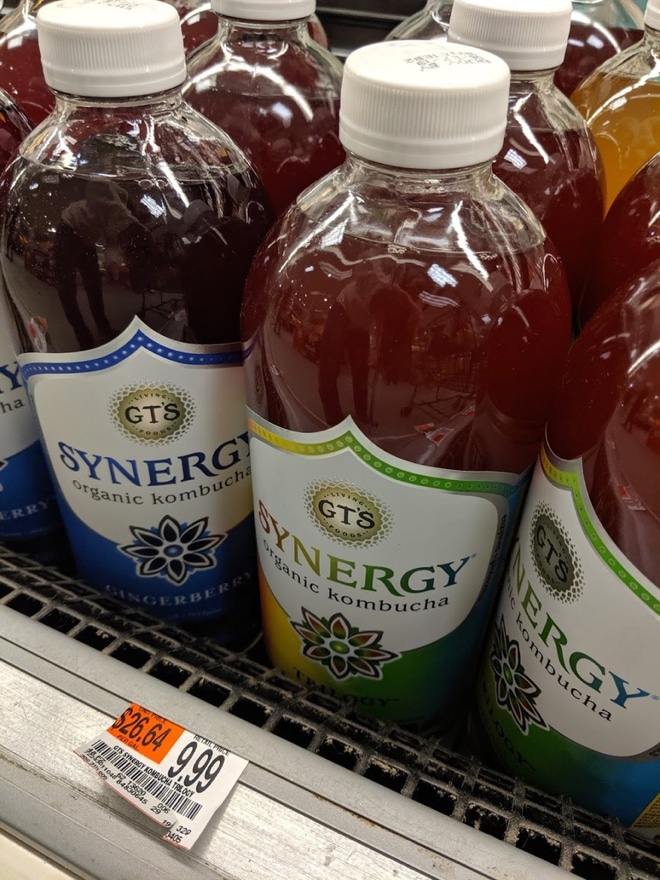
And that bottle, folks, is only 48 oz. Only 3/4 of a 1/2-gallon jar, which happens to be my favorite size to bottle. In fact, I bottle 5-6 large 1/2 gallon jars at a time! I had no idea I was bottling over $60-worth of kombucha every week!
What’s the value of homemade kombucha?
When I make my kombucha at home, I often make 5 or 6 1/2-gallon jars at a time.
So I did the math. At the price they are charging at my local Acme, one of my 1/2-gallon jars would cost $13.30. That means in my 10-15 minutes in the kitchen every week, when I bottle 6 new jars of bubbly, fruity deliciousness, I’m making $79.80 -worth of kombucha.
Holy cow! I’m making $319 an hour (in kombucha currency) for that 15 minutes of my time. And heck, I’m even chatting with a daughter, multi-tasking and making dinner, or checking up on emails at the same time.
Why is store-bought kombucha so expensive?
While I’d never done a cost-benefit analysis, I knew that was about 100x the cost of making it myself. (More on actual costs below.) So why that crazy price for store-bought kombucha? The best I can figure, it comes down to a few factors:
- Brewing kombucha requires patience and time. While that’s no biggie on the corner of my kitchen counter, it’s a pretty big deal in the manufacturing world.
- Kombucha naturally builds up yeast, which leads to lactic acid, which leads to the wonderful bubbles in my drink that I love, but it can also lead to explosions if it’s not kept cold. Since nobody wants exploding bottles in the store, the store has to keep the kombucha refrigerated. Refrigeration slows down fermentation to a crawl but adds to the expense for sure.
- Kombucha is a premium health beverage, and ultra popular, both factors mean manufacturers can jack up the price and consumers will pay.
But honestly, I’m pretty sure it’s that last point that leads to that giant price tag the most.
What does it cost to make your own kombucha?
I was shocked when I sat down and did a cost benefit analysis. Truly shocked.
I analyzed the full gamut of choices, from the most simple way I make a jar of kombucha to the fanciest, most-amount-of-ingredients way I sometimes choose. The results? Are you sitting down for this?
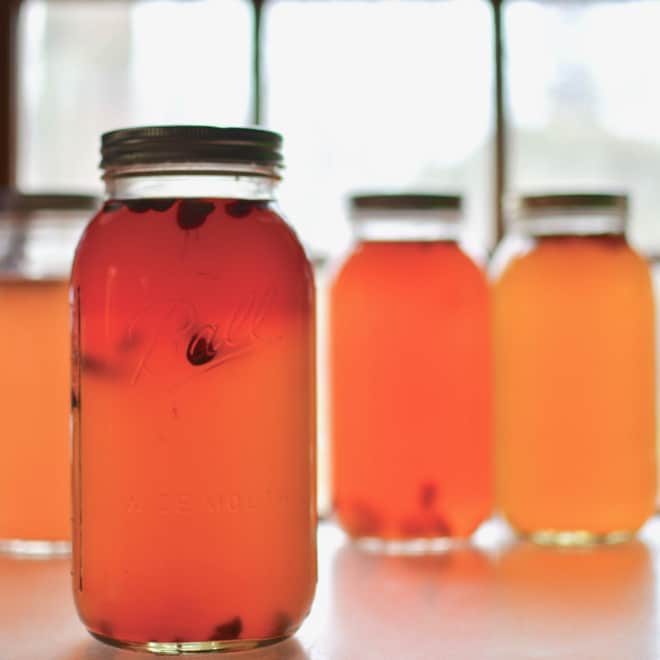
Remember that bottle at my local market that cost $13.30 for a 1/2 gallon of kombucha? My half gallon jars of kombucha cost anywhere from $0.45 to $3.70. Total. So my six bottles I have lined up on my counter right now? These particular jars, combined, cost me less than $4 to make. For all 3 gallons of kombucha, in 6 amazing bubbly flavors.
What are the ingredients of kombucha?
What is the healthiest kombucha to drink?
Hands down, kombucha you make yourself will always be the healthiest. You know exactly what’s in it and can make it exactly the way you want it. Not sure where to start? Or maybe you just want to know all the secrets and inside scoop so you can make kombucha like a pro? Join Kombucha Academy. There’s even a 14-day money-back guarantee, so you have delicious healthy kombucha to gain and nothing to loose.
What are the upfront costs to making kombucha?
This is a hard one to really answer. There are so many variables.
Plus, a lot of the stuff you’ll need–like jars and a strainer–you may already have in your kitchen. Then there are a lot of other great products that you don’t need when you’re starting out. And you may want to up your kombucha game, eventually, with the one item I’ve spent the most on in my past year and a half of non-stop kombucha making. It’s my favorite purchase by far, and was well worth every penny: my stainless steel continuous brew vessel. (Although, if you’re looking for a little more “traditional” option, this ceramic kombucha vessel is great too.)

But no worries about investing in anything near that fancy when you’re just learning the ropes. In fact, you can try making a few batches and make sure it’s something you enjoy making before you invest much money at all.
When you’re ready, go here to see the kombucha products I use and highly recommend.
How do I make kombucha at home?
It’s simple. To make kombuch at home, you’ll need these things (and I’m sure you have a few of them already):
- A scoby
- A good amount of starter tea (this should come with your scoby)
- A container (this just be a mason jar)
- A piece of fabric and a rubber band
Number 1 & 2 are both covered right here… The only really important thing, in my mind, to get started right with DIY kombucha is an organic scoby and a nice quantity of high-quality starter tea. This scoby is the only one I’d recommend. It’s truly fabulous.
You don’t have to purchase a scoby, though. If you have a friend or neighbor who brews kombucha, feel free to ask them to share a layer of their scoby with you. That’s how I got started. And I’m forever indebted to my friend Ang, who gave me that first little chunck of bacteria and yeast in a pint jar. Just be prepared to be patient with your first month or two of brew. Depending on your friend’s starter tea–how much yeast has built up and how much tea they give you with your scoby–it may take a little while to build up your kombucha to great taste and carbonation.
In turns out the starter tea, which comes with your scoby, isn’t talked about much. I guess because eventually, if you’re really diligent and stick with the process long enough, you will build up your own high-quality starter tea. Sadly, most folks who start off with a poor quality starter tea, or too little starter tea, get discouraged after a few weeks because it’s still not fermenting well and it’s bland tasting, without any bubbles.
If you purchase a scoby like my favorite, right here, which is packaged with well over a cup of rich, starter tea, you will be off to the best start. You still need to be patient for a few weeks as your scoby acclimates to its new environment, but before you know it, you’ll be off and running with wonderful homemade kombucha.
You’ll also need a 1/2 gallon jar, or larger, and a piece of fabric and cloth to cover the top, so your kombucha can breathe.
What’s the BEST way to make kombucha at home?
If you’d like to effortlessly have everything on hand, I’d recommend these simple purchases:
- This Master Class in all things kombucha–Kombucha University–in which I include every thing you’ll ever need to know to make perfect kombucha, every time.
- This scoby and
- This starter kit, from Great Fermentations.
Great Fermentations, btw, is also where I found my 4-gallon fermenter… ya know? my favorite kombucha item ever?
I really like Great Fermentations. They’re a small family-run business with a giant amount of heart. They make sure to offer great products for kombucha makers and they love what they do, so I’m always happy to introduce folks like you to a great company like theirs.
What are the priceless qualities of DIY kombucha?
Honestly, even if it cost a lot more to make, I’d still prefer homemade DIY kombucha over store bought, any day. What makes it so valuable to me?
• I love the options I have. The flavors I can create. The new ingredients I can experiment with. I’m not a cookie-cutter kind of person living a cookie-cutter kind of life, so why would I want my drinks to be cookie-cutter flavors?
• I love that when I’m making kombucha myself I have total control over the intensity of the flavor. I like a smidge of hint of pineapple flavor, but a lot of ginger (mmmm). I love blueberry, but I like my strawberry flavor to be subtle. In my grapefruit rosemary kombucha, I love intense amounts of grapefruit flavor, but minimal rosemary for a perfect combination. You get the point. With DIY kombucha, you can play with the exact amount of each flavor you want to add, for the perfect combination for you.
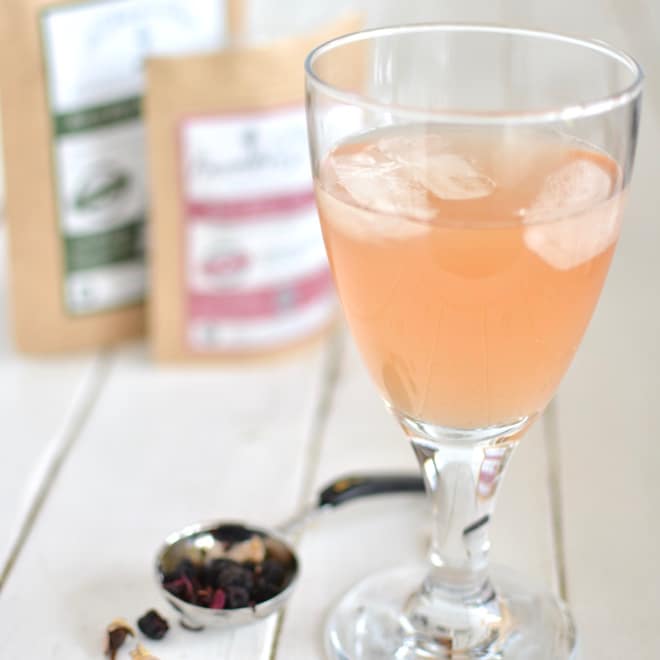
• I love treating my friends to a smorgasbord of gut-healthy yummy drinks when I have company over. I can whip up six 1/2-gallon jars at once, for an insanely tiny bit of money (seriously less than $4 for 3 GALLONS of kombucha!). Then I line up the eye-candy drinks on the counter for them to choose from. Often they don’t have to “choose” at all, but sample some of every jar.
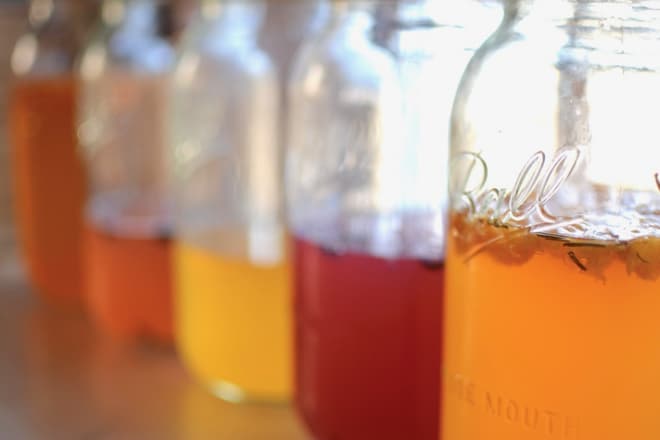
• I love the extra scobys and fermented fruit that each bottle of DIY kombucha presents me. Most often they wind up being wonderfully healthy treats for my chicken, which of course results in even more wonderful food for me, in the form of those gorgeous fresh eggs my sweet hens provide for me every single day.
• I love using the fruit in my yogurt or oatmeal too, if I decide to not share with the hens.
• I love making maple scoby candy with my excess scoby. I’ll have to fill you in on that deliciousness in a future post.
• I love the joy this wonderful drink gives me, just by sitting there in my kitchen looking gorgeous. This one seems like a silly benefit of DIY kombucha, but I kid you not, this stuff gives me joy and makes me smile just because it’s so pretty sitting on my table. That’s a true benefit of making it, no?
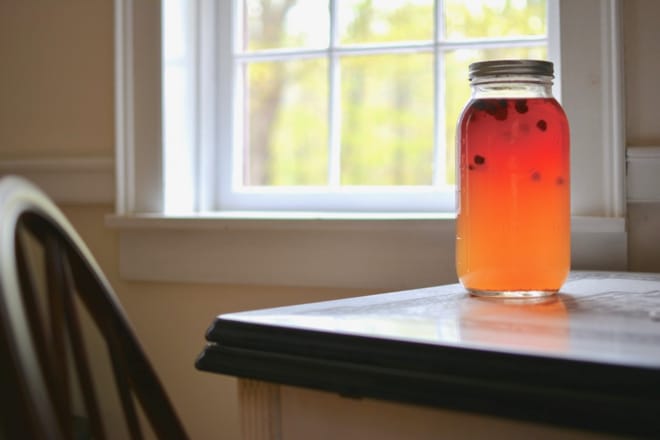
• I love the satisfaction I get from making DIY kombucha. The same satisfaction I get from creating a wonderful from-scratch meal for my family once in a while, or bottling amazing all-natural sugar that I tap from my trees. Honestly, if kombucha is your first DIY, you can’t even imagine yet the satisfaction you will get when you’ve create a delicious bottle of joy so easily. You may soon want to expand into making sourdough bread or baking with maple syrup. Seriously. This could open a whole new world to you.
How do the costs break down?
I have quite a few favorite teas and tea combinations that I love brewing my first ferment with. You do have to be careful that you’re using the right kinds of teas or you take a chance of killing your scoby. If you decide to check out my Master Class on DIY kombucha that I offer–Simple DIY Kombucha–you’ll be an expert on what teas to use.
In general, I love lots of options. Just a few include this delicious organic loose-leaf rooibos and this kombucha tea made by the experts at Farmhouse Teas. I broke down the cost, per tablespoon (or 4 bags worth), of every tea I’ve ever used and the cost per tablespoon (the amount needed for every 1/2-gallon jar of kombucha) range was 22.5¢ to $1.20 for the tea itself.
I factored in which kind of sweeter I may use, from pure cane sugar to maple syrup, and my sugar costs range from 22.2¢ to $1.50 per every 1/2-gallon jar. (While we make our own maple syrup, it’s not free or cheap even to make your own, so I used the standard market price for maple syrup in my analysis.)
Then there’s the second ferment fruits and herbs that I add for flavor. This step can wind up with zero cost for three reasons:
- You can totally skip this step if you want,
- You can grow your own herbs, and
- You can use older, past-its-prime fruit for flavoring; fruit that you even would be throwing away otherwise.
But, I also love using frozen fruit that I purchase for this purpose, dried herbs that I’ve grown or purchased, or flavored teas that are blended just for kombucha. (CeAnne, over at Farmhouse Teas is the only tea expert I know who is doing this, and she does it so deliciously well. Check out all of the Farmhouse Tea Kombucha flavors right here.) So this step can range from $0 – $1.21 per 1/2 gallon of kombucha.
But there are many wonderful organic teas I love for flavoring, I share links to them and recipes right here.
To sum it all up?
My 1/2-gallon jar of homemade kombucha costs me anywhere from 44.7¢ to $3.91. For a grand savings of $12.85 – $9.39 for every single 1/2-gallon jar of kombucha I make here in my kitchen.
Or, to break that down even more, homemade kombucha can cost anywhere from 7/10th of a penny to 7 cents per ounce, which would mean a 16 ounce bottle (which costs $3 in my local grocery store) costs anywhere from 11 cents to 97 cents if I make it myself. So for every little bottle of kombucha I make myself I save $2 to $2.89 per bottle. Wow.
And I did you catch that cost? I can make it for as little as 11 CENTS a bottle guys. Amazing.
Do you wanna up your game?
Now that I figured out the crazy amount of money that I’m saving by making my own kombucha, I felt zero guilt at any investments I’ve made into this process, to make it easier, more enjoyable, and more delicious. Here are a few of those things… the things that make me happy every single time I go to make more DIY kombucha. (Keep in mind NONE of these are necessary to make your own kombucha. So don’t be intimidated by this list. It’s just my what-makes-me-happy list.)
• Try this filter for a mason jar!
I love this stainless steel filter that I slide right into my second ferments I do in a mason jar. I use the quart-sized filter in a half-gallon, wide-mouth mason jar. And, yes, I realize the description says it’s for making cold filtered coffee. Parker, the owner of True Leaf Market, is a great guy. When I called him to ask him some questions about this filter to see if I could use it in kombucha making, he didn’t laugh once.
In fact, Parker was totally intrigued and loved knowing there was this other use for this awesome filter set up. And he even offered a sweet coupon to all my readers who join Kombucha Academy.
And if you hop over to look at this bad-boy filter, tell Parker that Michelle said “hi.”

• Let the pros help you choose your teas.
I love that Farmhouse Teas has done all the expert research and field testing to put together the best possible teas for both brewing kombucha (check out these first ferment teas) and flavoring kombucha (check out these second ferment teas).
• Serve your kombucha in style.
Like I said, I love using plain ole half-gallon mason jars for both first and second ferments, but if you want to up your game and have elegant bottles to take some kombucha to a friend’s dinner party or just impress the socks off anyone who steps in your kitchen and sees these lined up all pretty, I love using swing top bottles. You can snag some 16-ounce ones or some nice larger ones like these. Bonus, if you’re having trouble building up carbonation, the narrow necks and nice seals of these bottles help with that, no matter which size you use. Kombucha Academy gives you lots more insight & tips for the best carbonation.
• Top your mason jars with the best gaskets.
Then there’s these lids. A really impressive stainless steel construction and wide, intense, amazing gaskets make these the best lids I’ve found anywhere. Hands down.

• Try an all-natural sweetener.
In Kombucha Academy I break down all the details of why I make some kombucha with maple syrup every week and how I do it. If you want to add maple to kombucha, I highly recommend this all-naturally delicious maple syrup.
• Make more. Continually.
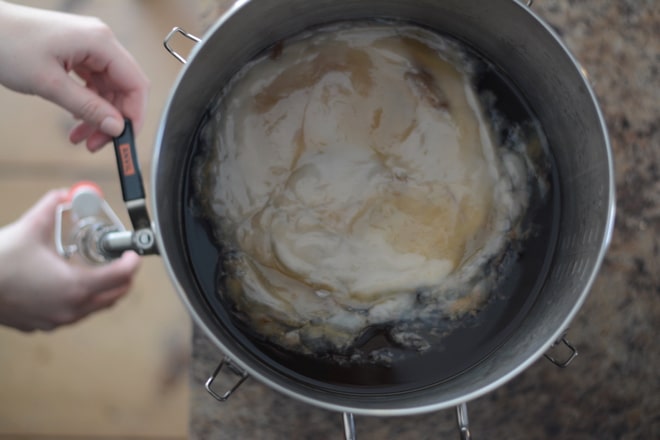
If you’re looking for a broader array of bacteria and beneficial compounds in every glass of kombucha that you enjoy, or if you just want to be able to draw off just one glass to drink at a time, or if you just love the idea of four gallons of kombucha, you may love upgrading to this 4-gallon fermenter.
Kombucha recipe (or lots)?
I share some delicious kombucha recipes–including lilac blueberry!–in this post, and here’s another one of my favorite recipes for kombucha made with roses and berries.
I’ve also put together a little deliciously fermented gift for you that I think you’ll love, and I parked it right here for you. Kombucha Made Simple–an in-depth book, including more of my favorite kombucha recipes!
Want perfect DIY kombucha every time?
I’ve worked hard to pull together an intense Master Class that will help you have perfect DIY kombucha every time–for only a tiny fraction of the cost to purchase it! And, the best part? Your own kombucha will be just the way you like it!
Join Kombucha Academy and make sure to take advantage of the $60 worth of valuable coupons to get you started with some great products.
More info you’ll love:
How to use tap water (not filtered) when making kombucha
Everything I recommend–and all my favorite teas–for making kombucha
The best teas for tea fanatics
He gives food to every creature. His love endures forever. Psalm 136:25
Pin this for later!
Click on the image below to pin this post.
Find out why SoulyRested was considered to be one of the Top 20 Must-Read Homesteading Blogs of 2018 and then one of the Top Homesteading Blogs of 2019 as well.
Glance at my Resource Page if you’d like to get a glimpse of supplies I use for DIY kombucha, maple syrup making, gardening, homeschooling, homesteading topics, nature journaling, and more.
I’d love to connect!
To find me in some other neck of the woods, just click any (or every!) icon below:




Hi Michelle, I have been making kefir and just can’t get past the sour taste (so the dog gets it) I want to try to make Kombucha, but live alone and don’t want a gallon of it in the fridge. Can I use a 1 qt. Mason jar?
Absolutely! Great question! Go too SoulyRested.com/kombucha and print out the free printable there. It tells you your ingredients you will need for everything from a quart jar to a 4-gallon vessel. I highly recommend getting some rooibos tea for your first ferment to help you avoid any “vinegary” taste in your kombucha (CLICK HERE FOR A LINK TO THE ROOIBOS I LOVE.) or try this recipe. (CLICK RIGHT HERE) It’s perfect every time I’ve made it. (I’m assuming if you’re not crazy about the sourness of kefir you may not appreciate it if you kombucha goes a little vinegary.) Keep me posted and let me know how it goes!
Great article Michelle. I love your passion.
I noticed the 4 gallon fermenter comes with a lid. Do you use that lid when kombucha is brewing, cover with cloth instead, or leave the top open?
Great question! I don’t use the aerator that comes with it (which is needed for wine making), so that leaves a 1-2″ opening in the lid. I cover the container with a cloth then place the lid on top and clip it on, so the container is “breathing” but bugs and debris stay out. Hope that helps. 🙂